


Modern bathrooms, in addition to aesthetic values, primarily require functional equipment. In concern for the comfort and safety of all users, including children and the elderly, plumbing designers offer a range of modern and practical devices. The traditional solution, involving the installation of a shower and its accompanying shower tray, is slowly becoming obsolete. A more practical approach is the installation of a shower cabin directly on the floor equipped with a linear drain.
What is important to know about linear drains?
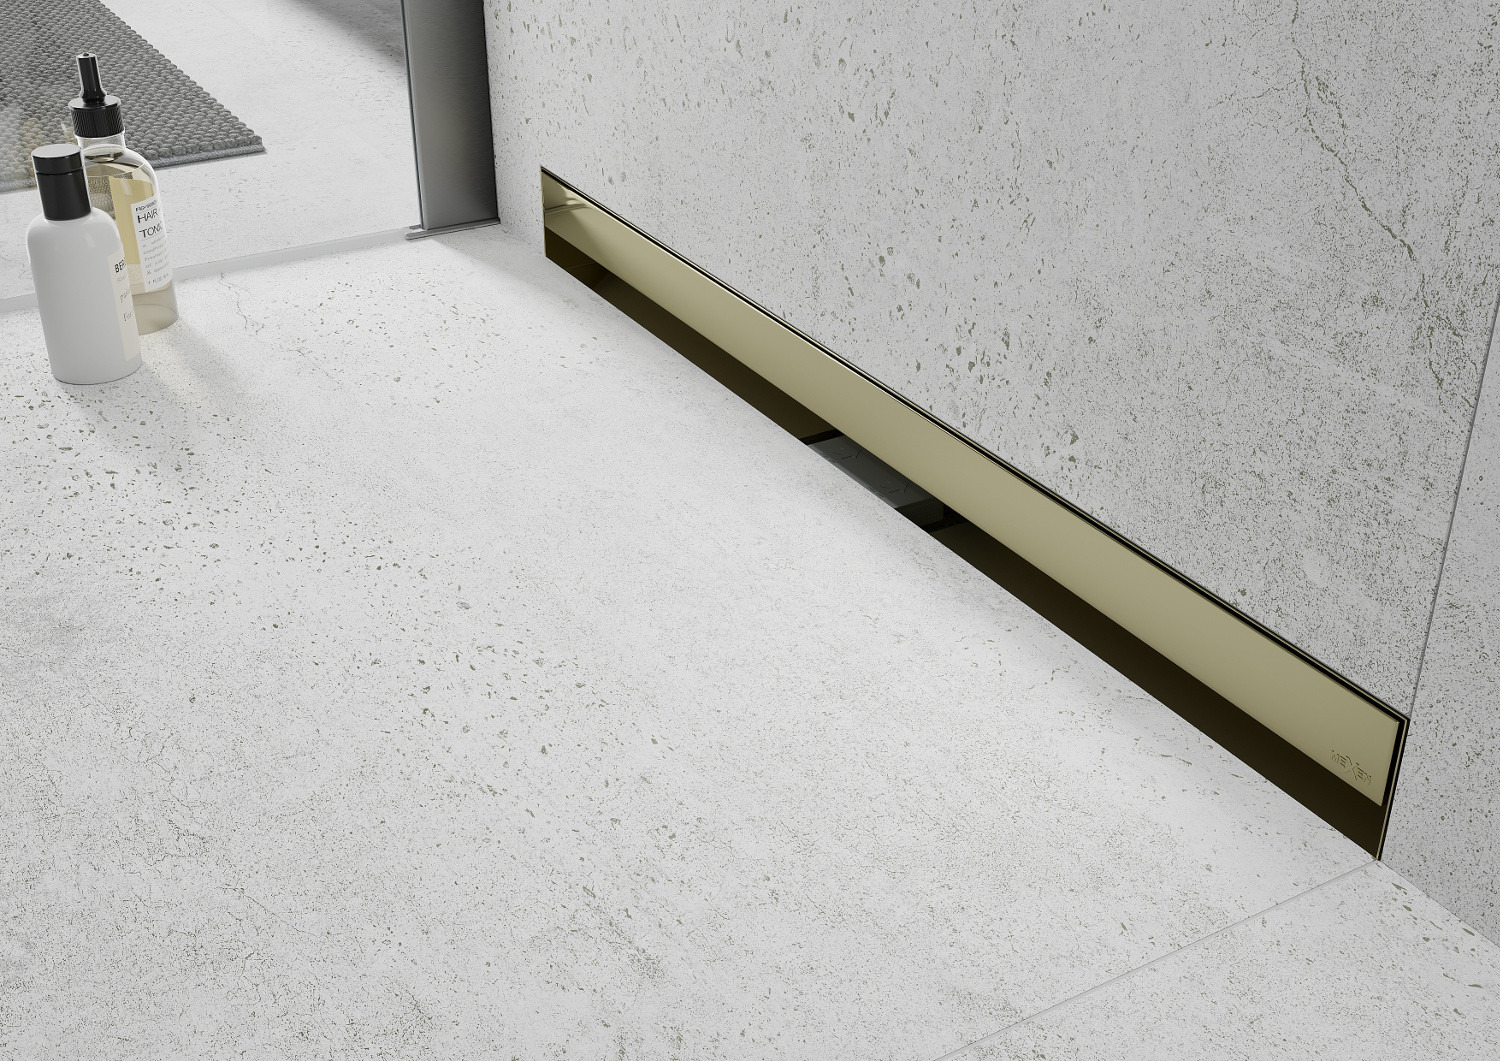
A linear drain is a system for effectively draining water from the shower to the sewer connection. It consists of a channel, a grate, and a siphon. Most siphons have a vertical shape, although horizontal siphons are becoming more common. The former are characterized by high throughput, allowing for trouble-free drainage of water from the shower, while the horizontal construction of the siphon makes it easier to fit everything under the floor. When choosing, it is also worth paying attention to the quality of workmanship, as a linear drain must serve for years, so it should be solid and durable.
The most popular and frequently chosen is the classic linear drain equipped with a decorative cover made of stainless and acid-resistant steel. There are also flat linear drains, prepared to be filled with tiles or glass, or narrow ones with a minimalist grate. You have to decide which drain will work best in your bathroom.
In the floor or in the wall? - the location of the linear drain installation
A linear drain can be embedded in both the floor tiles and the shower wall. Regardless of the type of linear drainage chosen, it is important to remember to maintain the appropriate slope of the floor in order to achieve the correct direction of water drainage from the entire surface of the floor to the siphon. Depending on the location of the drain installation, the slope should be made on one or both sides.
-
If the linear drain is located under the shower wall, the slope of the floor will be one-sided, while when installing the linear drain in the middle of the cabin, a two-sided slope is required. The slope angle should not be less than 0.5%, which means that the grate should be about 2 mm below the level of the tiles.
-
The installation of a linear drain in the wall also requires a connection to the vertical sewer system, but does not interfere with the surface of the tiles, leveling compound, or ceiling. However, here, too, it is required that they be laid out to ensure proper water drainage. Linear drains of this type are chosen in the case of underfloor heating.
Installing a linear drain - what to pay attention to
For the water drainage system from the shower to function flawlessly, proper installation of the linear drain is essential. It is worth remembering that such a drain requires lowering the floor level by about 15 cm – this is because it must be positioned higher than its connection point to the sewer system. Such a pipe layout is not a problem if we intend to install linear drainage in a newly built structure. In the case of bathroom renovations, it may turn out that a too low floor or too high siphon will not allow the linear drain to be installed in the floor.
Advantages of the linear drain
Installing a linear drain is a solution that has many advantages:
-
allows for more economical use of bathroom space, as the size of the shower cabin is not limited by the dimensions of the shower tray,
-
enables the installation of selected tiles over the entire floor area, adding elegance to the bathroom,
-
the linear drain is an excellent solution for the elderly and disabled,
-
the linear drain makes it easier to keep the bathroom clean - cleaning the shower cabin without a shower tray is easier and less time-consuming.
Installing a linear drain step by step
The decision to install linear drainage has been made! It is time to proceed to implementation. Here are the steps to take to install the linear drain.
Step 1. Choosing the right linear drainage
The type of drain must be adapted to the installation site, i.e., the already existing sewer connection and the size of the cabin
Step 2. Installing the sewer connection and linear drain
Pipe installation should be adapted to the type of substrate, e.g., whether it is a ground floor, a ceiling, a dense concrete slab, or a monolithic one. We remember about the pipe slope, which should be about 2.5%, or 2.5 cm for every meter.
When installing the linear drain, care should be taken to ensure that its grate is located higher than the sewer connection. With adjustable legs, you can set the correct slope angle. The drain grate should be about 2 mm below the floor level.
Step 3. Connecting the siphon and pipes to the sewer
The next step is to connect the siphon and pipes to the linear drain. At this point, it is essential to perform a leak test and ensure that the installation does not leak anywhere. We will also gain confidence that the sewer connection is perfectly matched to the installed drain. If everything is airtight, you can proceed to the leveling compound, which must take into account the appropriate slope of the surface and the thickness of the tiles along with the adhesive (about 1-2 mm). When installing a linear drain, we must pay attention to such details.
Step 4. Waterproofing the substrate and wall
When installing linear drainage, it is necessary to ensure the waterproofing of all walls that will have contact with water. A recommended agent is liquid foil, whose two layers adequately protect against leakage.
Step 5. Finish, i.e., laying the tiles
Laying the tiles is already the last, but by no means the least important activity. Their choice will affect not only the design but also the safety and comfort of use. It's best to buy non-slip tiles with a high abrasion class. The tiles should not be porous to avoid absorbing water. When laying the tiles, it is important to remember to maintain the slope of the floor toward the drain.
We have presented step by step how to install a linear drain. We believe that thanks to the tips contained here, the drainage installation will proceed without problems.
Related products

Mexen Flat 360° M08 swivel linear drain 60 cm, Black - 1725060-40
€61.70 -19.93%
€49.41Availability: In stock

Mexen Flat 360° M12 swivel linear drain 60 cm, Chrome - 1021060-40
€48.70 -19.98%
€38.97Availability: In stock

Mexen Flat 360° M13 2in1 swivel linear drain 80 cm, Chrome - 1010080-40
€58.50 -19.92%
€46.85Availability: In stock

Mexen Flat 360° M18 swivel linear drain 60 cm, Gold - 1523060-40
€74.70 -19.96%
€59.79Availability: In stock

Mexen Flat 360° Slim swivel linear drain 60 cm, Black - 1741060
€61.70 -19.93%
€49.41Availability: In stock

Mexen Flat 360° Slim swivel linear drain 90 cm, Rose gold - 1641090
€107.10 -19.96%
€85.73Availability: In stock

Mexen Flat square floor drain 15 x 15 cm, Black - 1710015
€50.30 -19.91%
€40.29Availability: In stock

Mexen Flat square floor drain 15 x 15 cm, Chrome - 1010015
€42.30 -19.85%
€33.90Availability: In stock

Mexen Flat Wall 2in1 linear wall drain 60 cm, Gold - 1530060
€84.50 -19.95%
€67.65Availability: In stock