


Ceramic tiles are probably among the most frequently chosen solutions when it comes to wall and floor coverings in bathrooms. It's an excellent way to provide protection against water damage over large surfaces while also creating a space with a unique character. But what if, at some point, your favorite tiles stop appealing to you? Or if really ugly tiles were installed in the bathroom of the apartment you are moving into? You can either undertake a complete renovation, chipping off the old tiles and installing new ceramic ones, or you can choose a less invasive solution, namely painting the bathroom tiles.
Can you paint wall tiles in the bathroom?
Are you wondering whether it's worth painting bathroom tiles? Definitely yes, especially if you don't feel like undergoing a complete renovation and incurring a significant expense. After all, new tiles can be quite expensive. Painting floor and wall tiles is definitely a cheaper solution, while also allowing you to create an amazing transformation of the bathroom. You just need to properly prepare the surface, choose the right paints for painting tiles, and you can get started!
A DIY painted bathroom is an opportunity to realize your most outrageous ideas, creating patterns that are hard to find in collections of kitchen, bathroom, and all other tiles. All you need is a bit of creativity, a small brush, and appropriately selected renovation paints designed for ceramic substrates, adapted to the demanding conditions usually found in a bathroom, with high resistance to moisture and the action of detergents.
.jpg)
Prepare bathroom tiles for painting
Before choosing your favorite paint, you need to prepare the tiles in the bathroom for renovation. First, you should get rid of any dirt; wash the tiles with warm water and a detergent, and then they can be wiped down with extraction benzene and left to dry completely. Thorough cleaning of the surface is very important because even a small amount of dust or plaster can negatively affect the adhesion of the paint.
If you don't want to paint all the tiles the same color, now is the time to use painter's tape. Use it to cover elements that will remain unpainted or will be covered with paint in a different color. If there's old silicone at the joints of the tiles with ceramics, it should be removed. And that’s where the preparation of the tiles for painting ends. You now have the wall surface ready for painting the tiles.
Painting ceramic tiles step by step
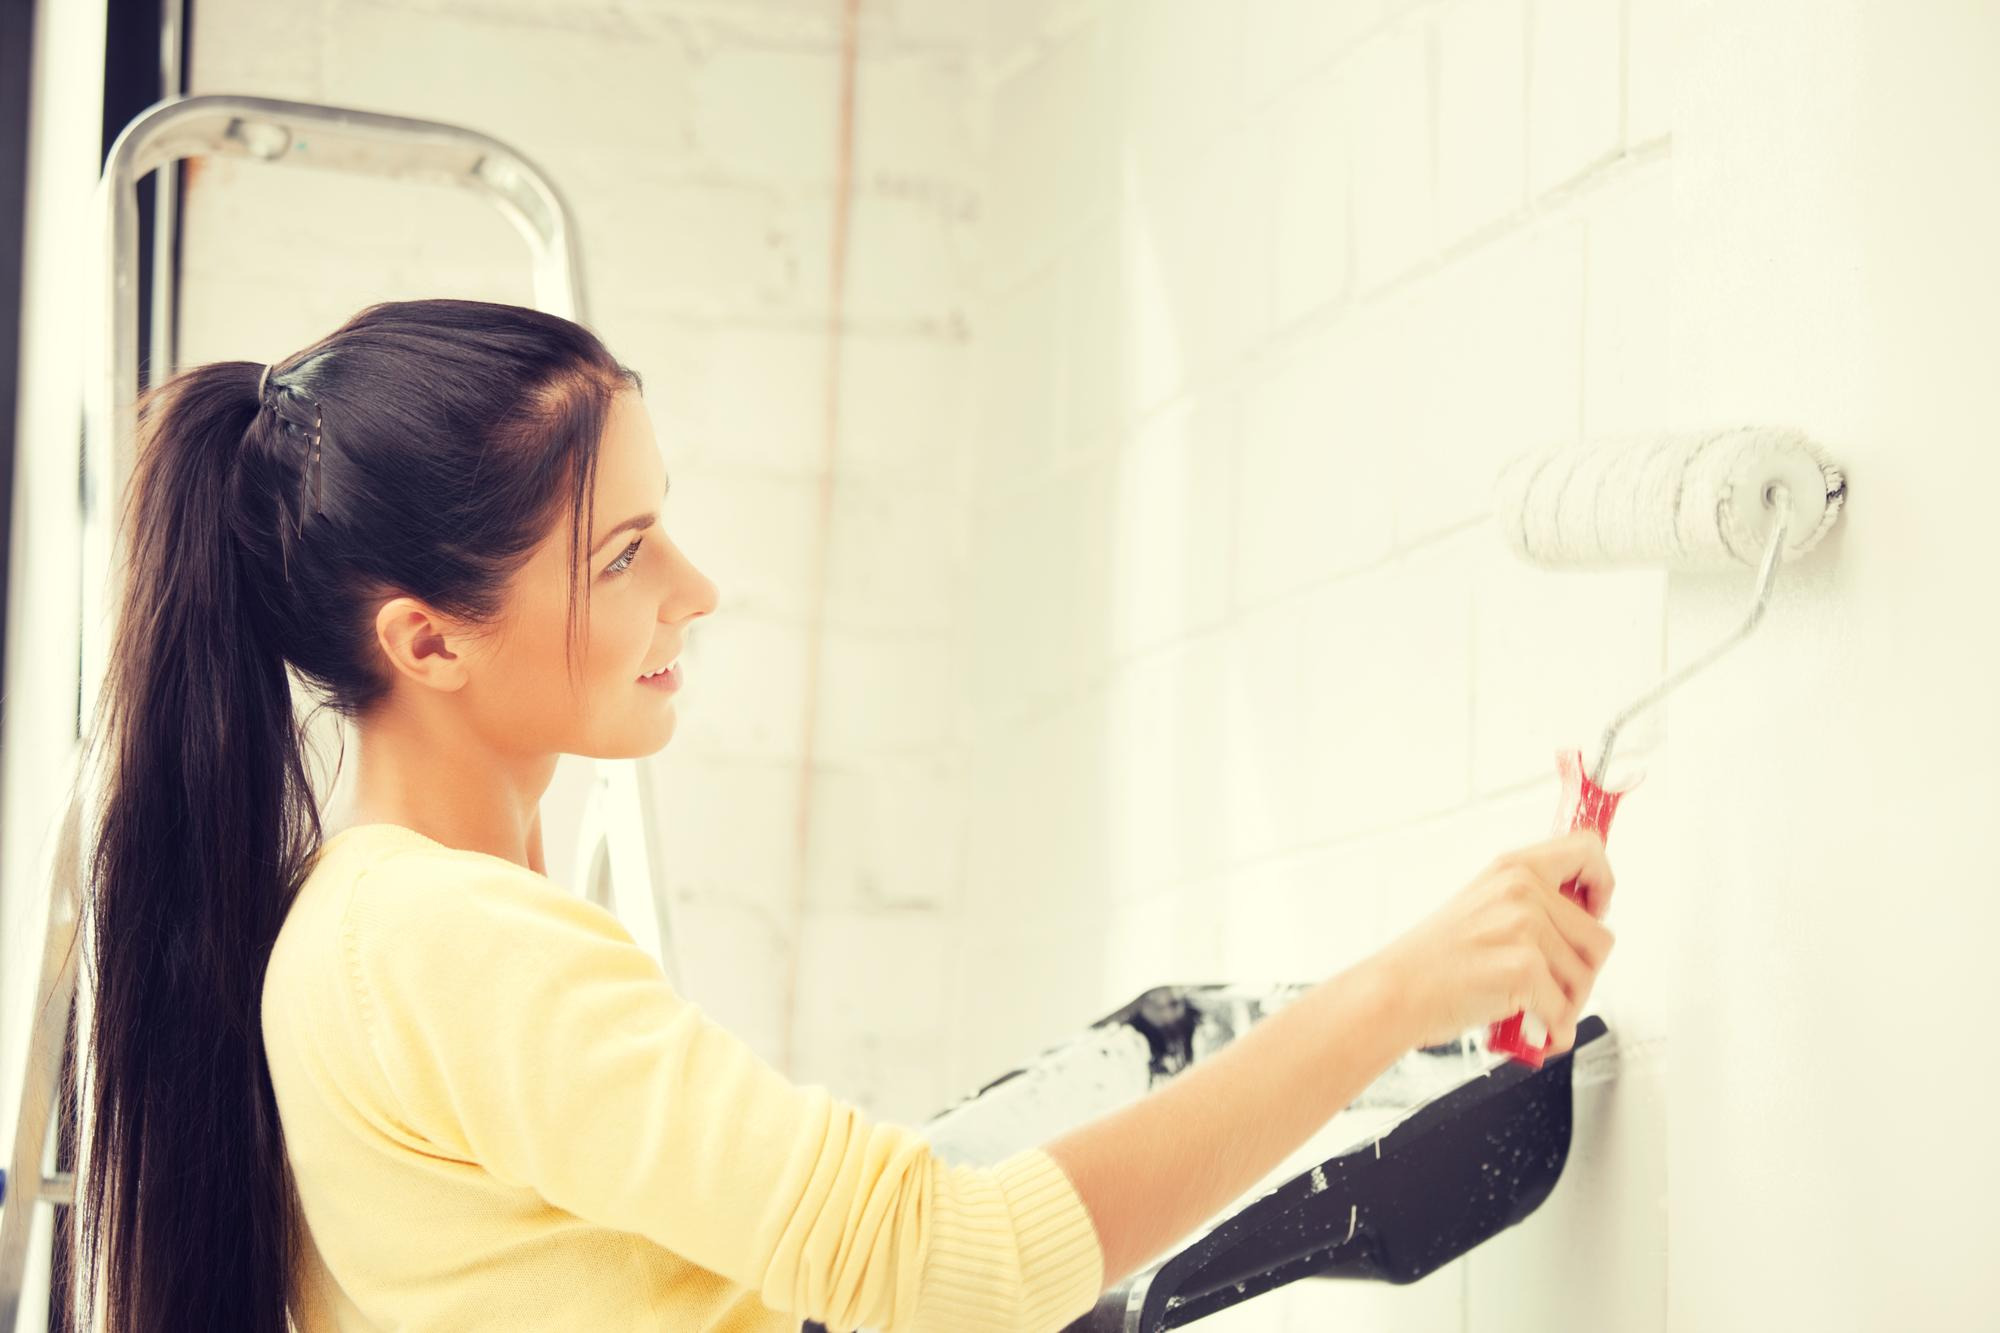
If you already have special paints designed for glazing, you can start painting the bathroom tiles. Where to begin? It's easiest to start with the grout. Cover the grout with paint, applying it carefully over the entire surface using a small brush. This method is useful if the tiles and grouts will be the same color. If you dream of a contrasting color combination, then first paint the tiles and only afterward take care of the grout.
The next stage will be actually painting the tiles in the bathroom. Here, either a large brush or a much more convenient paint roller will come in handy. The first coat of paint should be relatively thin; we leave it for the time needed not only for the paint to dry but also for it to reach into the microscopic pores of the plaster. The paint should be applied using a crosshatch method, which allows for thorough coverage of each tile. The second coat is applied in the same manner, ensuring that the paint is of the same thickness everywhere. This performed transformation of the bathroom does not involve substantial financial outlays but allows for achieving a truly spectacular effect. If we are not sure whether we are carrying out the process correctly, we should follow the manufacturer's recommendations during the painting of the tiles - this is something worth remembering first and foremost!