


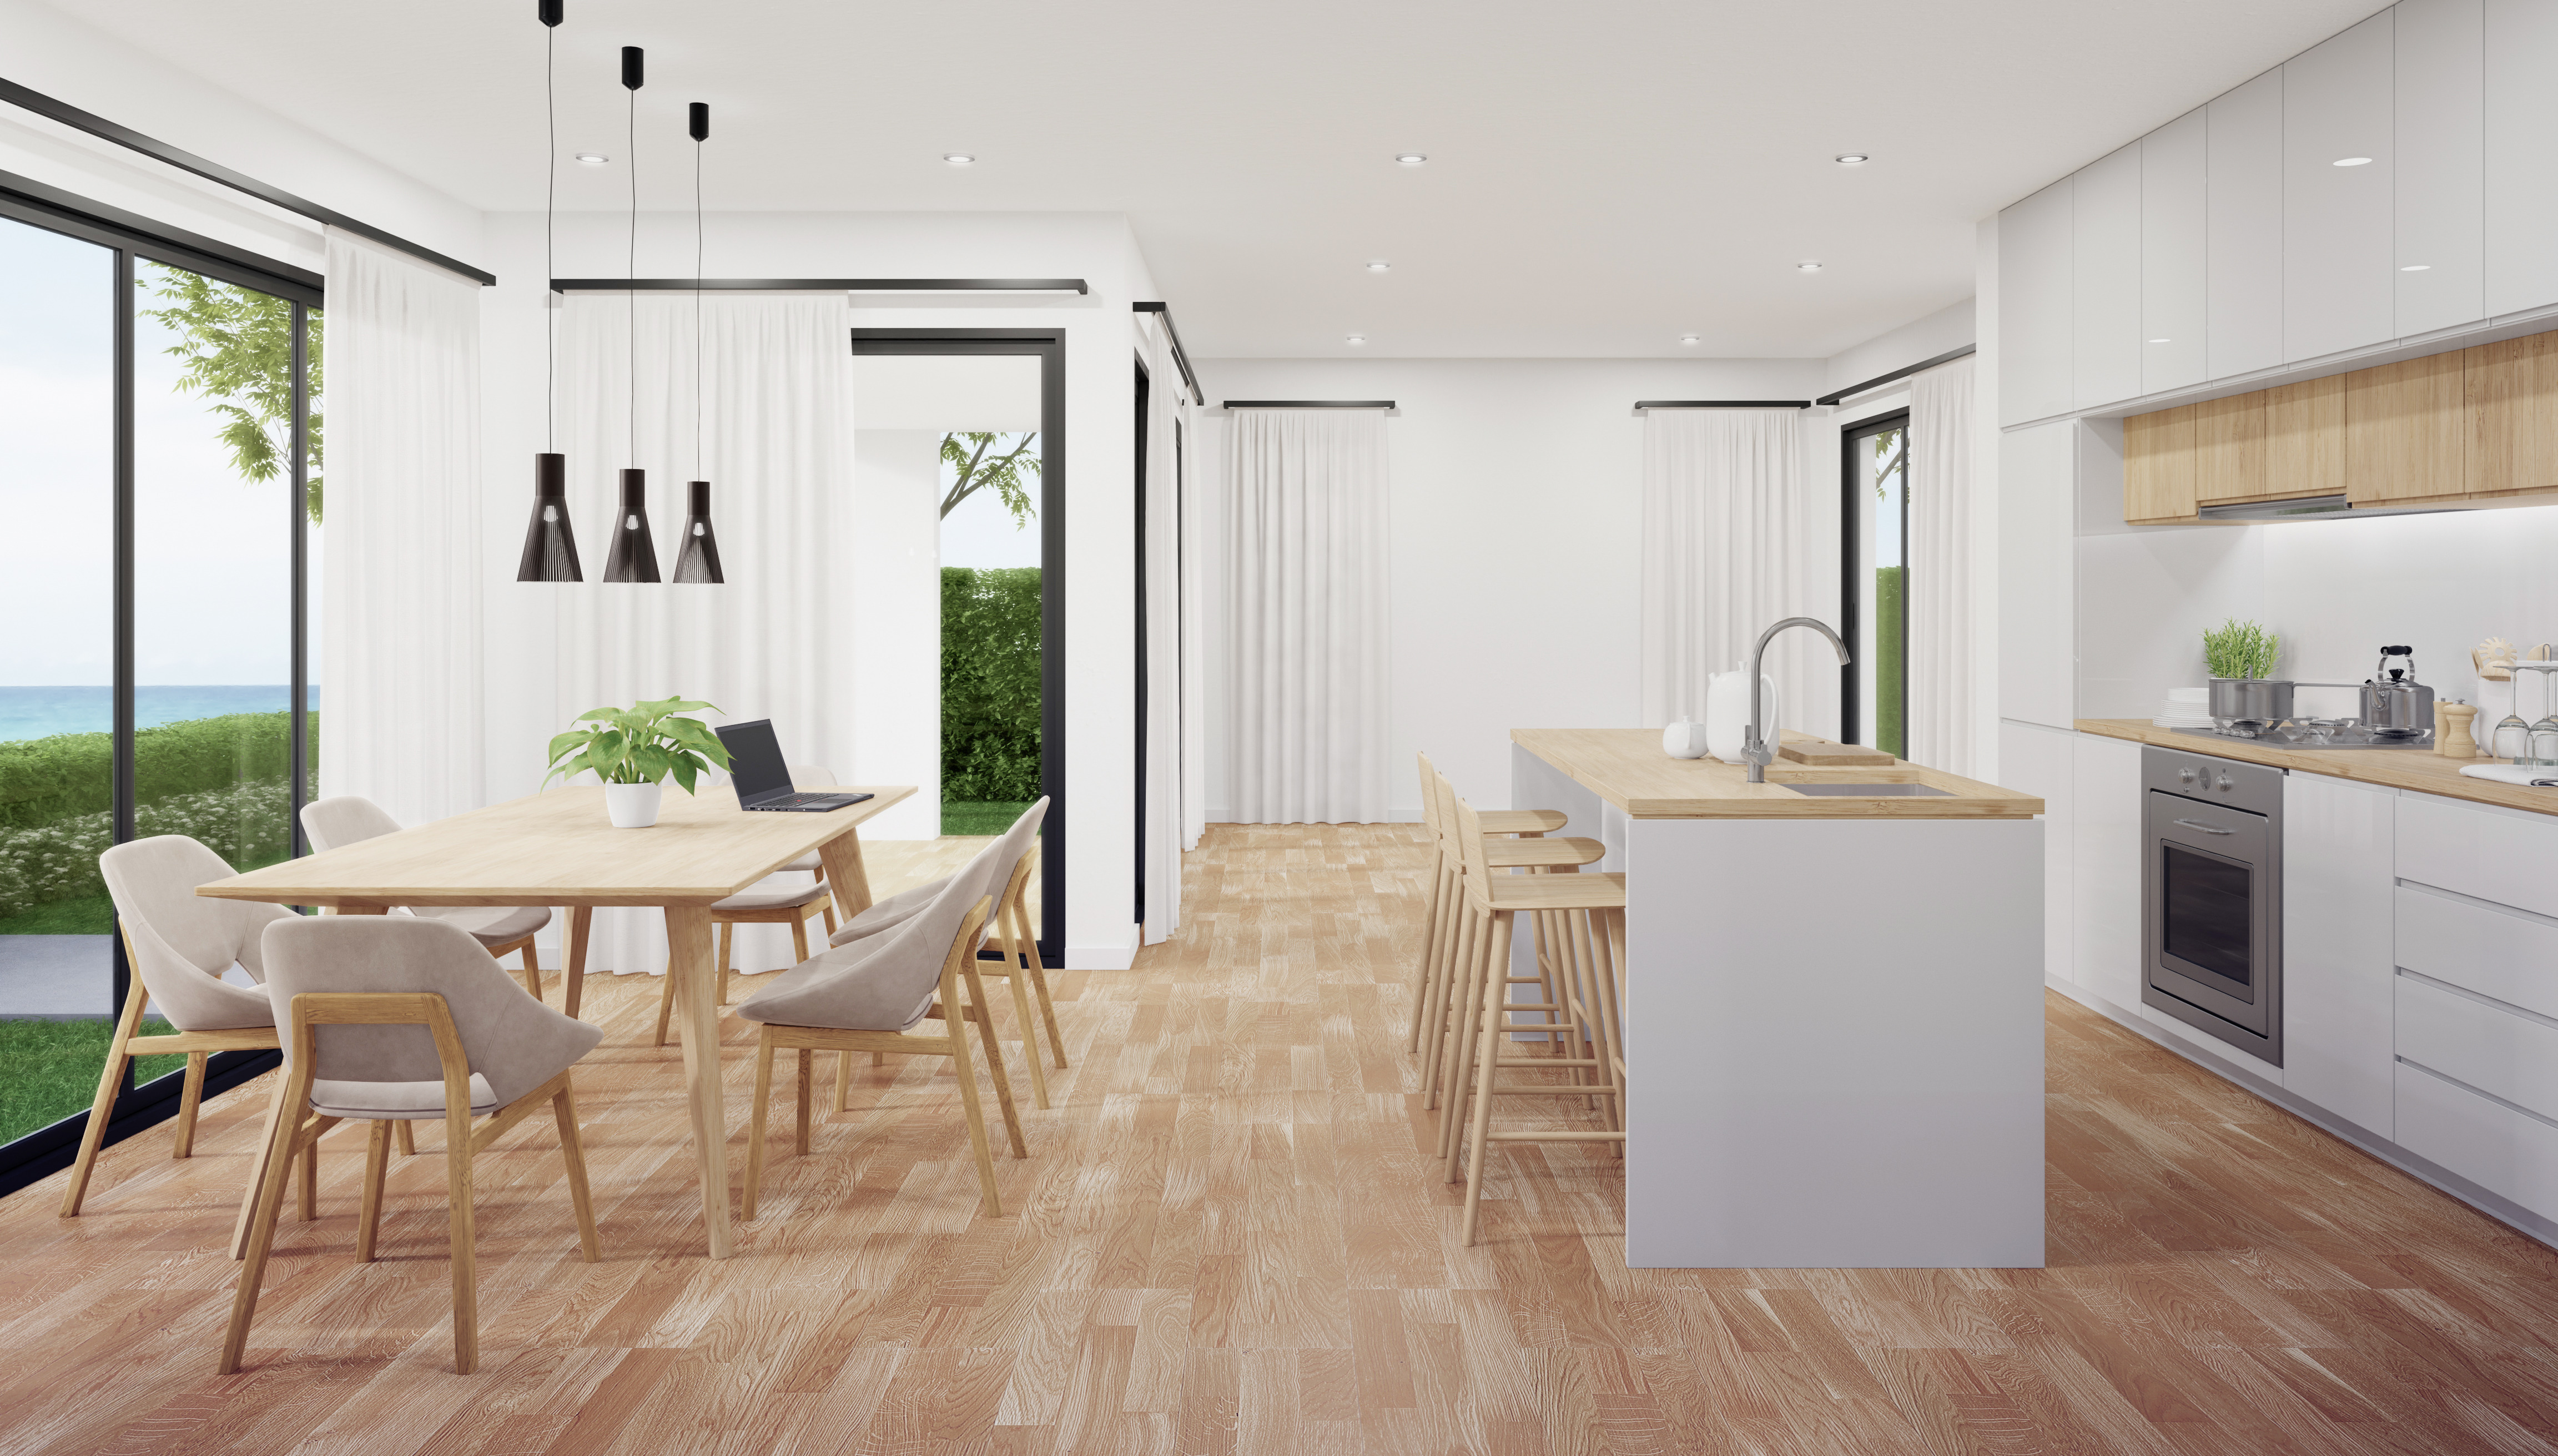
The times when kitchen lighting relied solely on a single ceiling lamp are long gone. Modern kitchens can boast advanced ways to illuminate selected areas, such as the stove, worktop, or kitchen island. We are increasingly reaching for LED under-cabinet lighting, which creates a unique atmosphere in any room. Wondering how to install LED strips in your kitchen? Check out our tips; it's really simple.
Why Should You Use LED Strips?
LED strips allow for convenient lighting of a chosen fragment of the kitchen, especially if we use them as under-cabinet lighting. They provide adequate illumination for the entire worktop surface, making it much easier to prepare meals. It's also worth noting that LED strips are a very economical solution, especially compared to traditional incandescent lamps. They are also a very convenient way to illuminate interiors; you can install LED strips even in places where there is no easy access to power, as some models run on batteries.
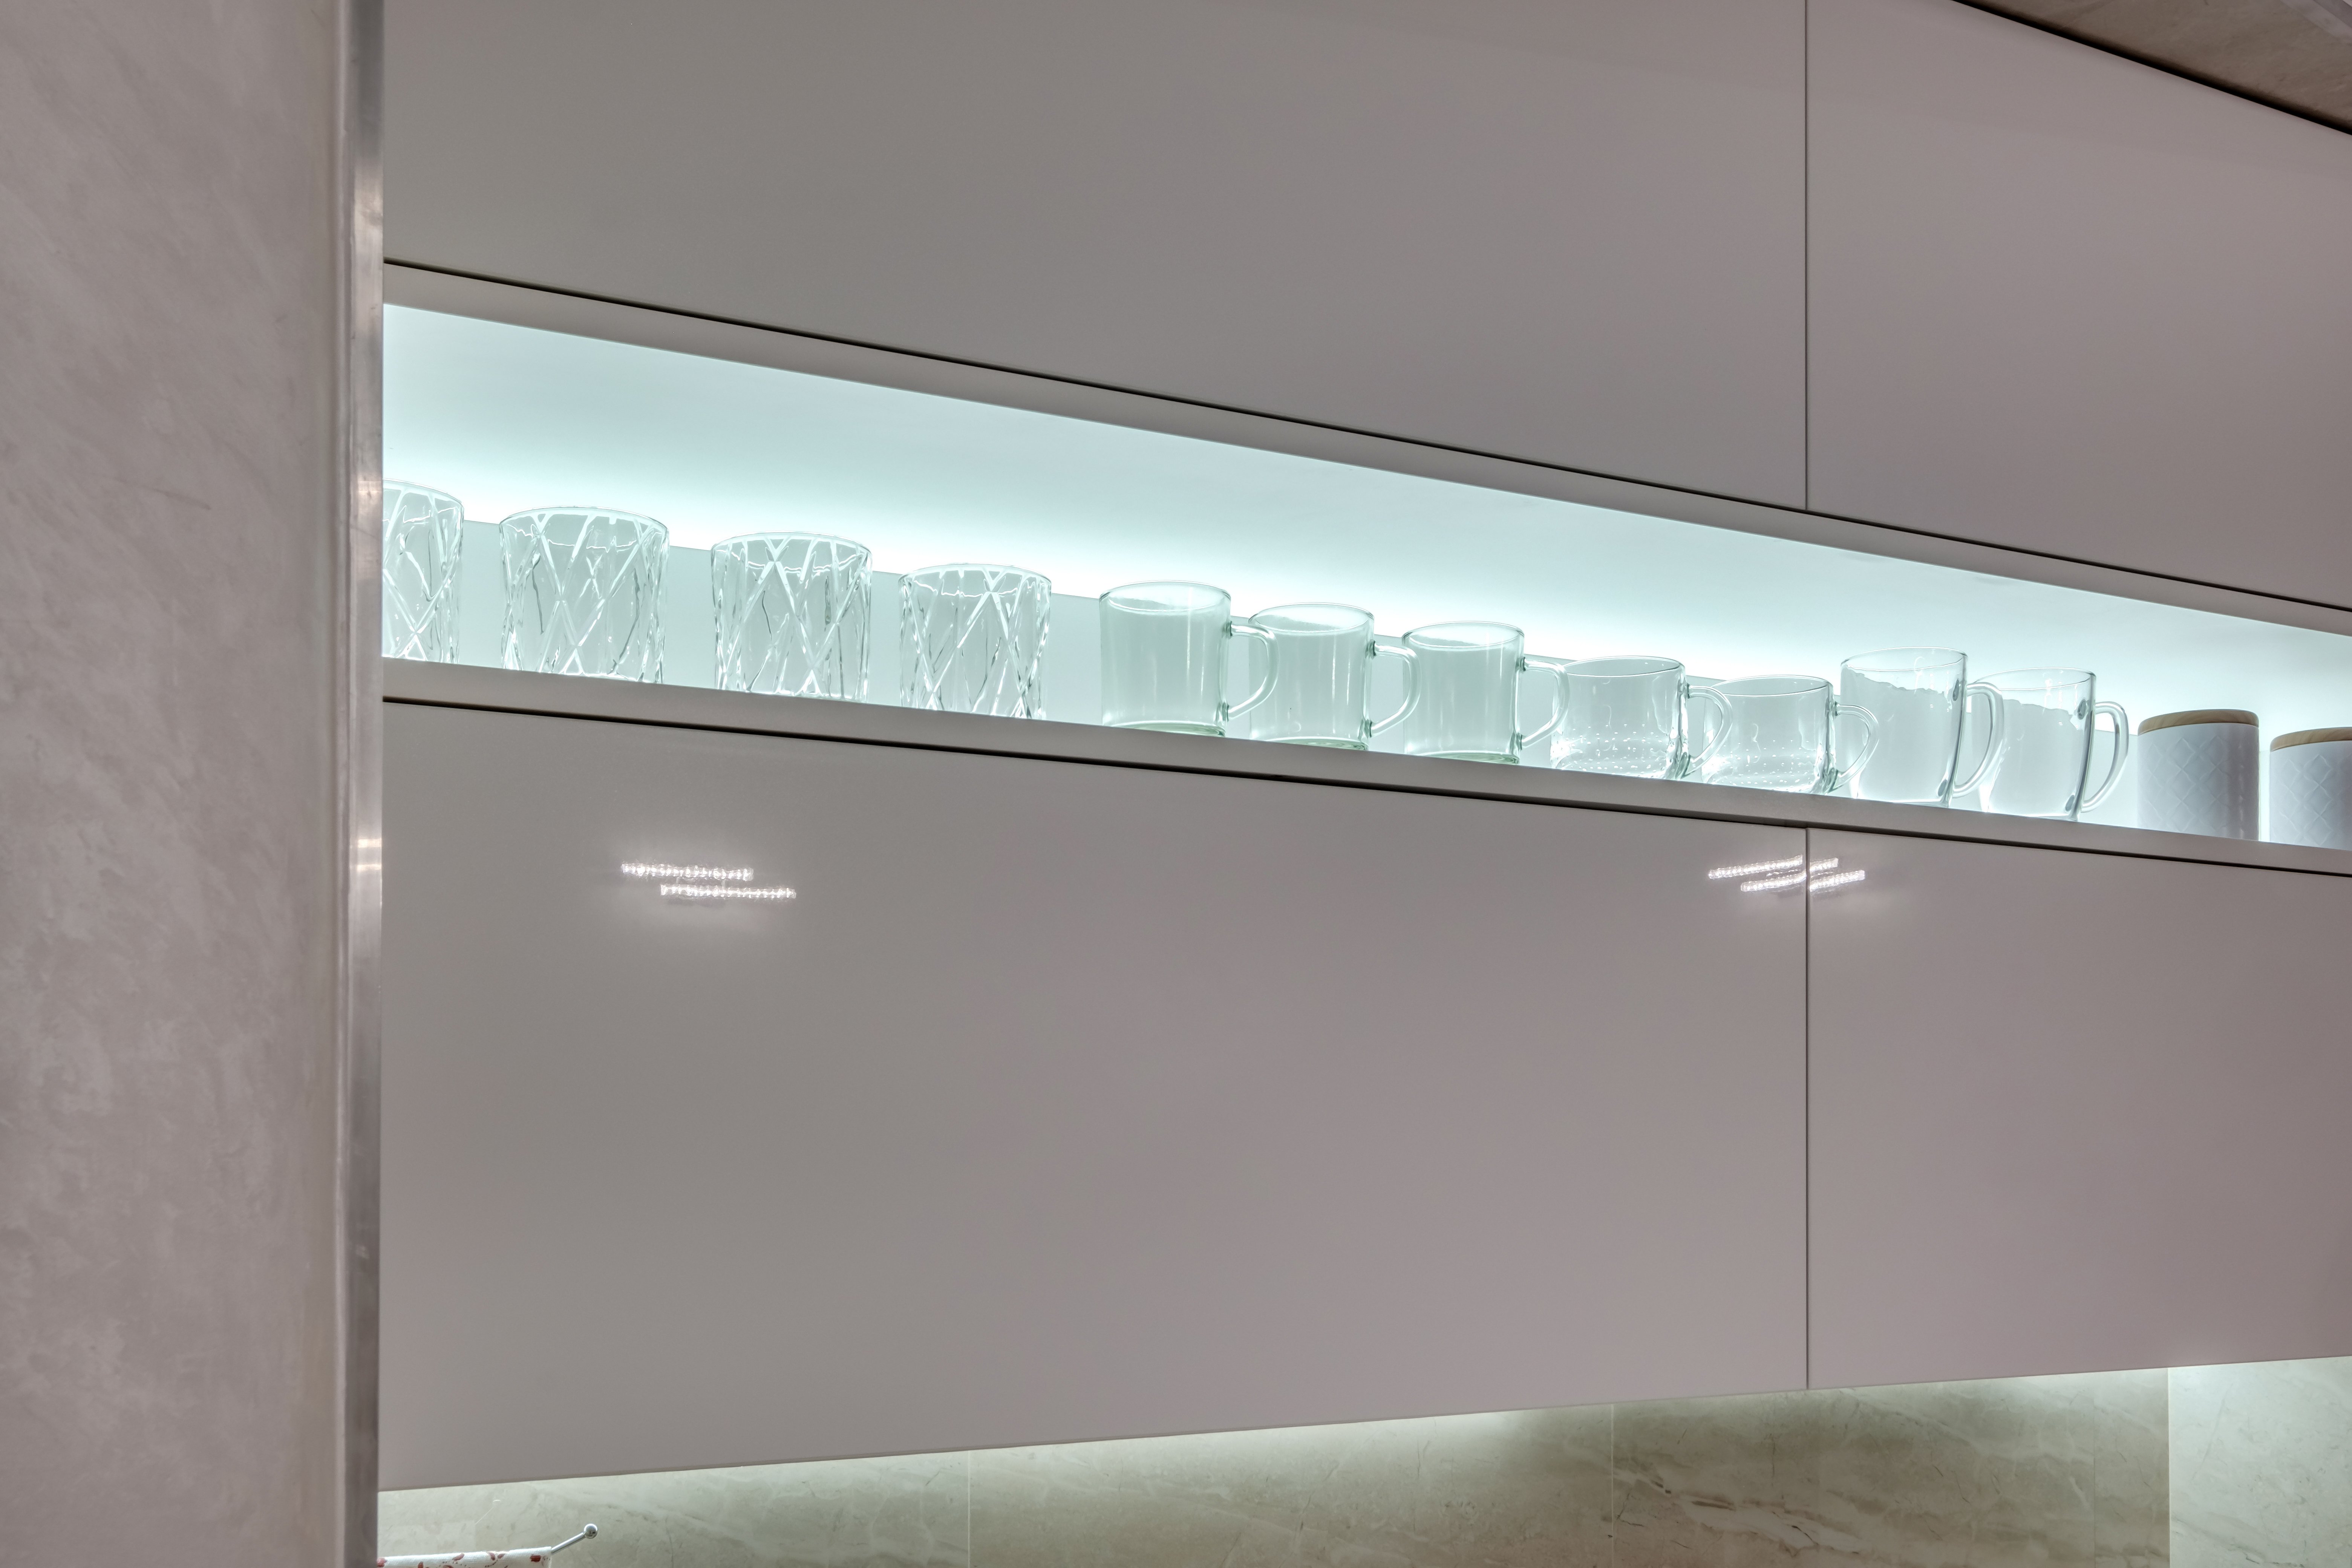
LED light under cabinets can achieve a very interesting visual effect, as there is a possibility to adjust the light intensity, and you can also opt for colored LED strips, matching the light color to your mood. Placing lights on the underside of the cabinet is the easiest way to highlight original furniture, while placing strips inside the cabinet allows you to showcase elegant tableware or stylish glassware.
LED Lighting – What to Consider Before Purchase
Before deciding to buy LED strips, you should pay attention to several features that this type of under-cabinet lighting may exhibit:
-
color of emitted light
-
light power of the strip
-
length of the strip
Depending on whether you need pronounced lighting for the worktop or perhaps you are looking for additional lighting for your kitchen, you can choose LEDs of different power. As for the color of the emitted light, that is also a personal preference; some prefer neutral light, while others might opt for a warm hue reminiscent of sunlight. The length of the strip should typically match the length of your kitchen cabinets, but often strips can be cut and connected together to achieve the desired length.
Another thing to remember before buying is access to the electrical installation. If you plan to install under-cabinet lighting far from the nearest socket, and you do not want cables running along the cabinets, choose strips that use battery power. This is a very functional solution, making installation easier.
Installing LED Strips, Step by Step
LED lighting can be installed independently on the underside of the cabinet, but it's worth obtaining the necessary accessories and tools to facilitate the work. Therefore, you should obtain not only the LED strip but also profiles and a properly selected power supply and power cable. Under-cabinet lighting is most often installed inside aluminum profiles mounted to the bottom of the cabinet. These are usually corner profiles attached to the point where the cabinet meets the wall. Installation in a profile ensures the safety of using this type of lighting, as it allows for proper heat dissipation generated by the lamps.
We start by installing the chosen LED strip in the appropriate aluminum profile – the strip sticks easily to it. It's best to use special double-sided tape that guarantees optimal adhesion – this is usually included in the set. The next step is connecting the LED strip to the power supply. How you do this depends on the type of power supply chosen; in a simpler version, we screw the wires to the transformer, while in a more advanced version, you will need to solder them. Now you can attach the profile with the lighting in the chosen spot in the kitchen and connect it to the power or insert an appropriate battery into the power supply. LED light sources on kitchen furniture or neatly arranged LED under-cabinet lighting are a very good solution that fits any kitchen, and is simply kitchen lighting that is very practical and useful for daily tasks like chopping, cooking, or other kitchen work.