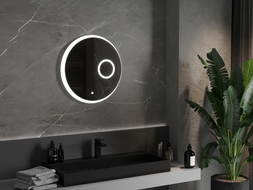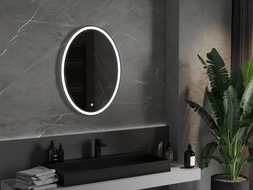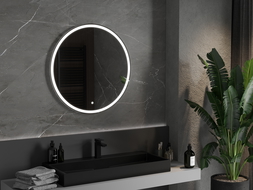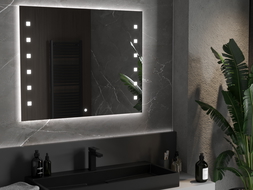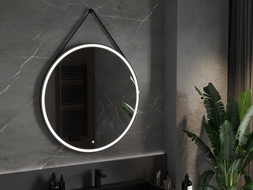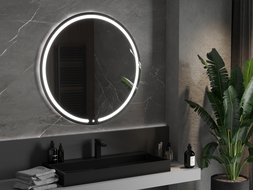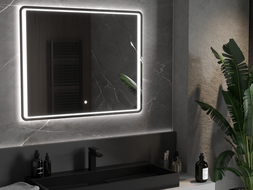
The mirror is undoubtedly an essential element of decor that is hard to imagine without in a functional bathroom. However, sometimes it can happen that there is not enough space in the bathroom for a classic large hanging mirror. Does that mean you will have to do without a mirror surface? Not necessarily; in such a situation, you can opt for an original solution, which is a glued mirror. In this text, we will suggest how to finish a glued mirror to make it a true decoration of your bathroom.
We suggest how to attach a glued mirror
In a small bathroom, where it's hard to find space for a large bathroom mirror, you can opt for an equally striking solution, which is a glued mirror. Gluing a mirror to tiles does not require drilling holes into them and can be done in any location within the bathroom. Installing a glued mirror is not particularly difficult, so you will successfully manage it without the help of professionals.
At the beginning, choose a spot on the wall where you will attach the mirror. Before you start installing the glued mirror, make sure you have the right mounting adhesive that will connect the mirror to the wall. Clean and dry the tiles, precisely mark the spot where the mirror will hang, and you can use a level. Next, apply adhesive to the back of the mirror and press it firmly so that the adhesive layer bonds with the surface of the tiles.
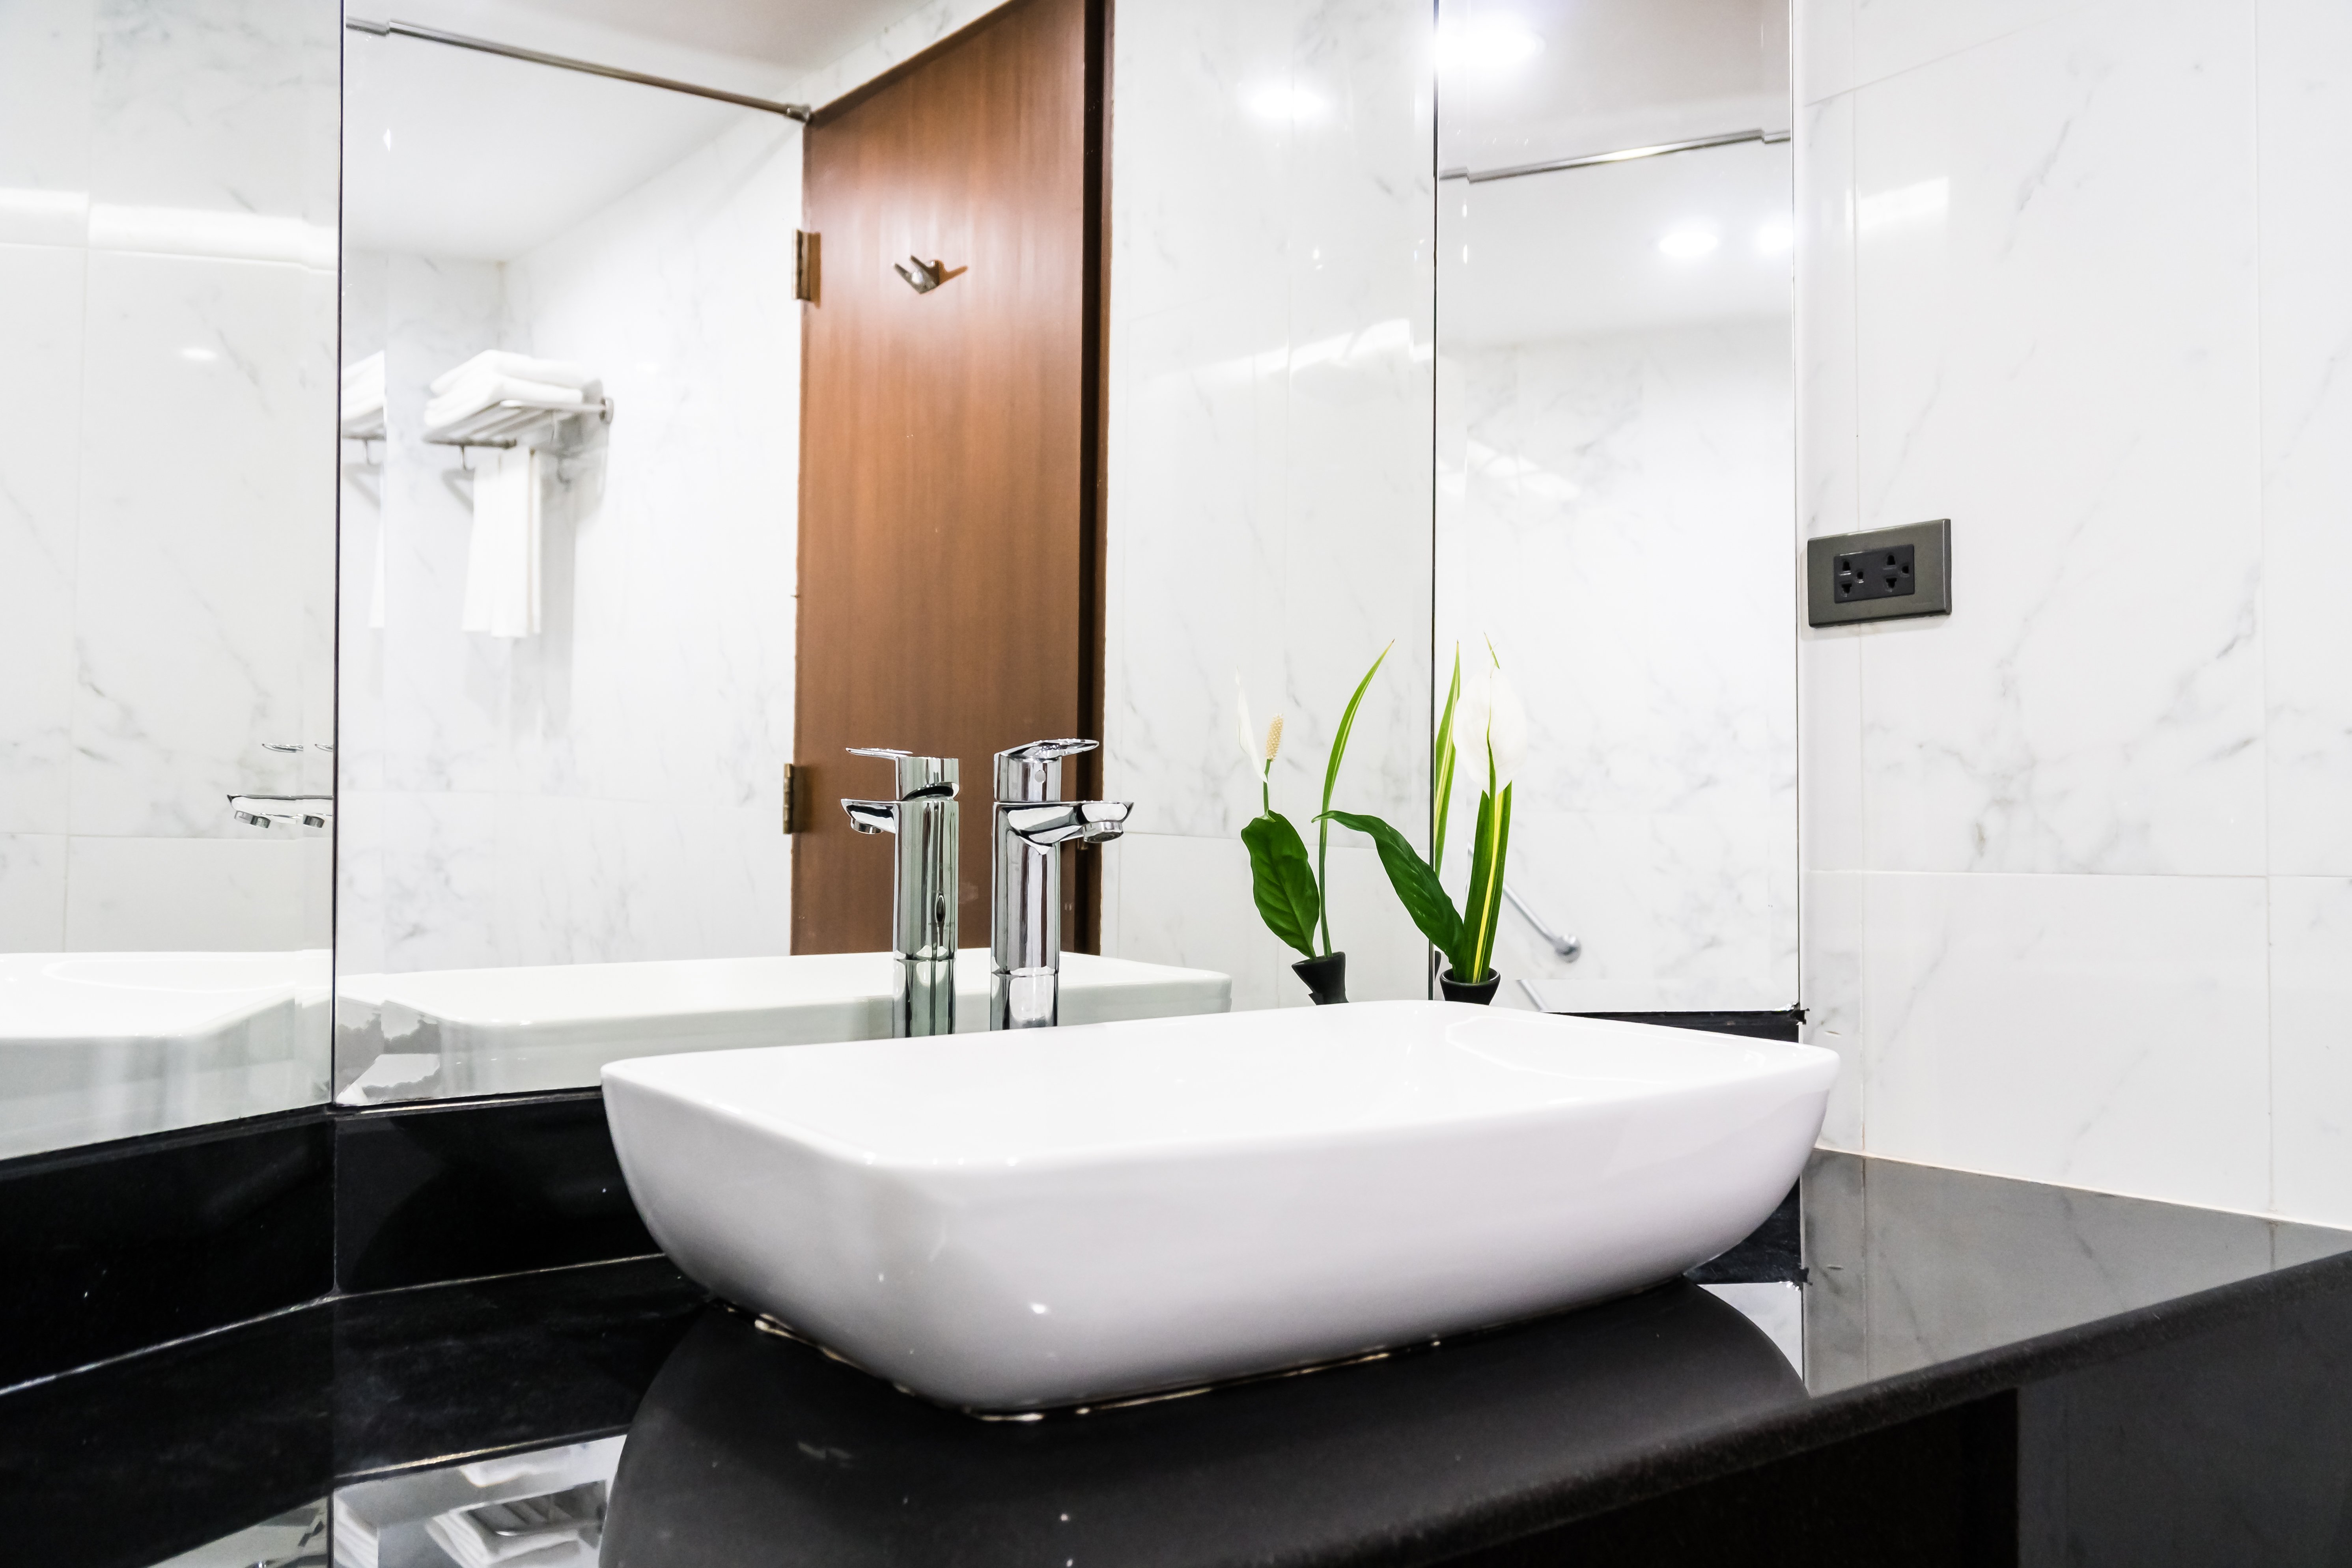
How to finish a glued mirror?
After the adhesive has completely dried, we move on to the stage aimed at finishing the glued mirror. The most important step here is sealing; this stage not only provides an elegant look to the glued mirror but also protects its surface from moisture penetrating behind the glass, which could lead to the mirror detaching from the wall surface.
Most professionals recommend using glazing silicone for this task. It is significantly softer than regular grout, which eliminates the risk of accidentally damaging the glass. Pay attention that you should not use vinegar-based silicones, as their caustic properties can damage the surface over time. The best choice would be neutral silicone designed for use with glass.
To achieve an elegant effect, it is worth choosing silicone that closely matches the color of the tiles. Be sure to fill every gap around the mirror with silicone, creating a uniform surface in this manner. However, remember that before you start working, you should protect the edges of the mirror to prevent silicone from getting dirty. Any excessive silicone must be quickly removed from the tile surface since dried silicone is much harder to remove.
Why choose a glued mirror?
The solution in the form of a glued mirror on tiles will work perfectly in any room, regardless of the shape of the interior. Thanks to the absence of a frame, it will fit both into a modern bathroom and one equipped in a more classic style. An undeniable advantage of a glued mirror is the possibility of perfectly matching the shape of the mirror to the shape of the wall. You can order a glued mirror of a convenient size and shape, without needing to leave space for a frame around the mirror. This allows you to have a large mirror where you can comfortably see your entire silhouette.
A mirror integrated with tiles works excellently when the bathroom is small and awkwardly shaped, and there is no room for hanging classic mirrors. It does not require drills or fixings; just the right adhesive is needed. Sealing the mirror edges with silicone ensures that it will look just as elegant for many years as it did on the day it was installed. Additionally, you can further decorate the mirror to fit perfectly into the bathroom decor. Great solutions could include decorative light garlands or mosaics in various colors applied to the glass or around the mirror edges.

