


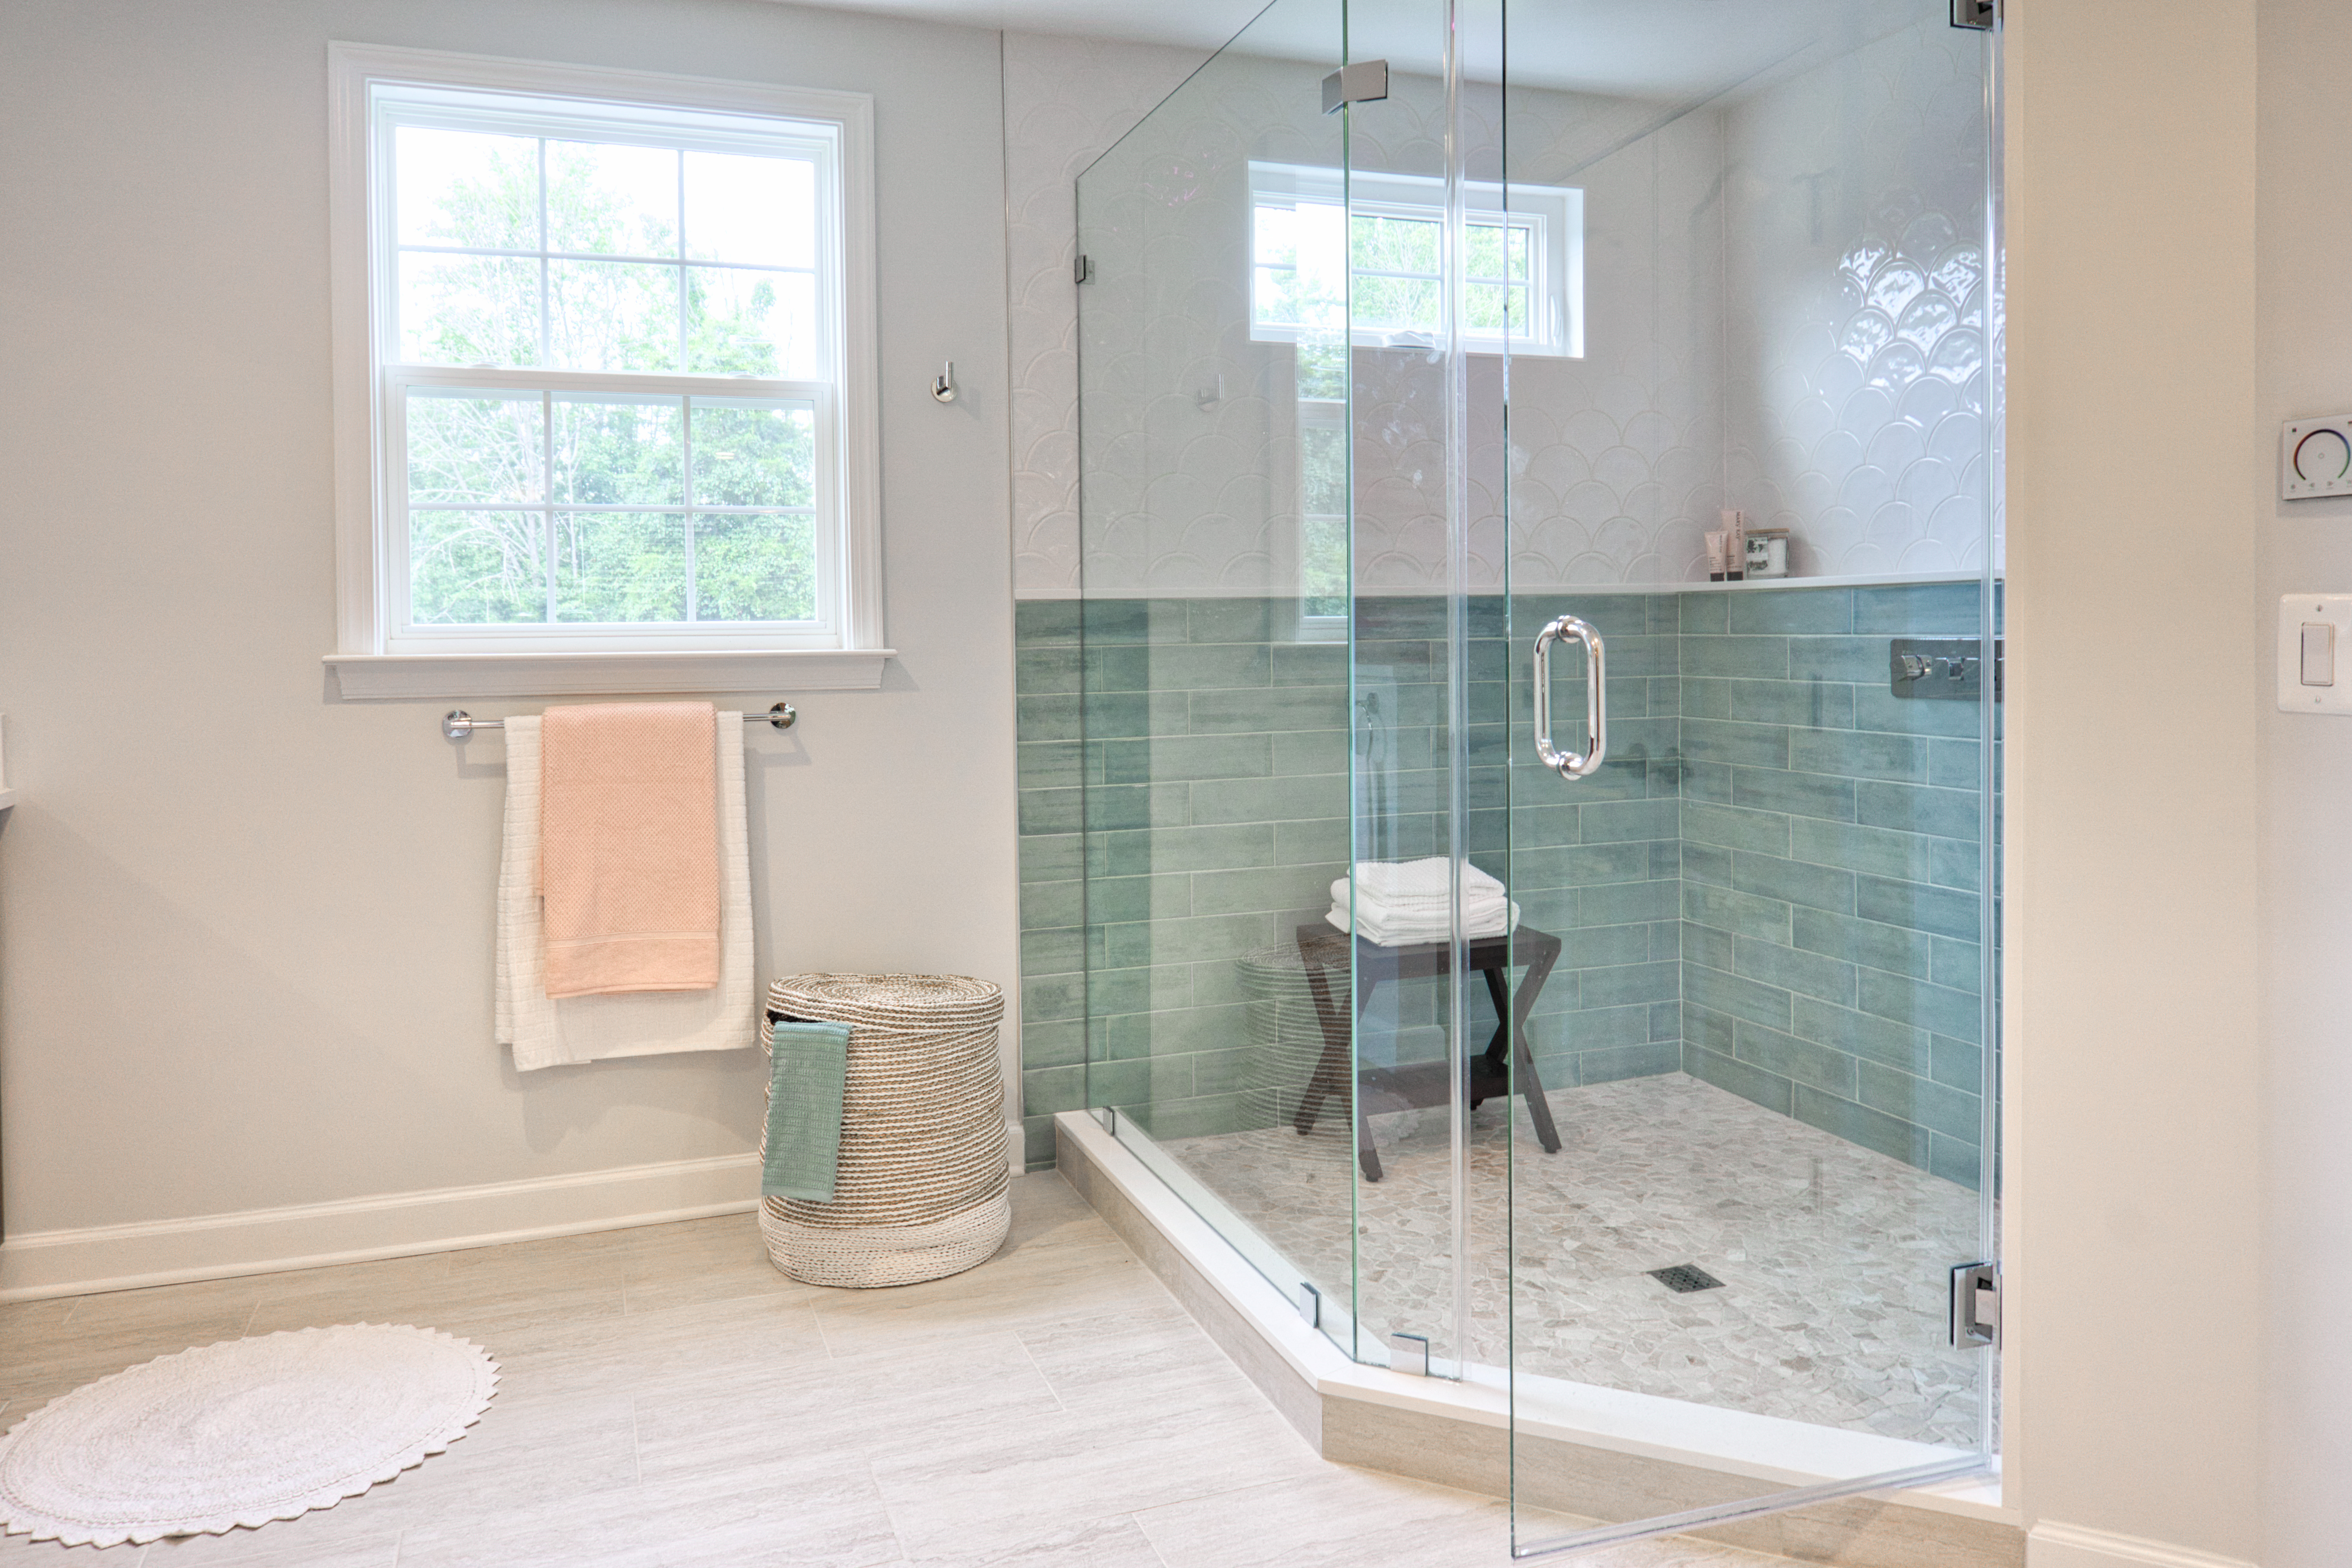
A shower cabin is one of the most important elements of every bathroom. Even equipped with a very low shower tray, it guarantees that water from the shower will go directly to the sewage system and will not pool on the floor. The one with a high shower tray can effectively replace a small bathtub, especially when there are small children in the house. On the other hand, a walk-in cabin gives the interior a designer look. Which one do you choose? We will guide you through the process of installing a shower cabin. This may help you make your decision?
Activities Preceding the Installation of a Shower Cabin with a Shower Tray
The installation of the shower tray should be preceded by proper preparation of the substrate, including the waterproofing of the floor and marking the location of the drain on the floor, where we will install the siphon. Properly connecting the shower tray to the sewage system will prevent water from the shower cabin from flooding the bathroom, and the right insulation products, appropriate adhesives for attaching and grouting tiles, as well as silicone for sealing the shower tray, will ensure that we do not need to worry about dampness or flooding of rooms located on the lower floors. Of course, the shower cabin and shower tray can only be installed in a place where hot and cold water has been previously supplied.
Installing the Shower Tray - Sequence and Scope of Work
The first step is to set the shower tray in the planned location and adjust its height. Special legs are provided for this purpose. After tightening them, check whether each of them rests on the floor. It is worth checking any unevenness with a level and appropriately adjusting it; otherwise, the shower cabin will be leaky. We also need to ensure that the adjusted length of the legs allows for an effective application of the masking panel. Next, install the siphon and connect it to the flexible drain pipe. Remember to place the seal and maintain the proper slope. Another important step is to test for tightness. If nothing leaks, tighten the masking panel of the shower tray and seal the edges with silicone. After 24 hours, you can start installing the shower cabin.
Installing the Shower Cabin on the Shower Tray
Once the installation of the shower tray is completed and the silicone dries well, we can proceed to install the shower cabin. First, we determine the location where the vertical profiles should be placed. We hold them against the wall and mark the places where the fasteners will go. We prepare holes for the expansion plugs, and with their help, we attach each profile to the wall. We apply sanitary silicone to the profiles, which will ensure tightness at the junction of the profile with the wall and prevent water from escaping outside the cabin.
The remaining profiles and strips are connected outside the shower tray. The prepared frame is then placed on the shower tray. We connect the lower horizontal frame with the vertical profiles. We follow the same process for installing the upper frame. In the resulting shower cabin frame, we insert the glass so that the corners fit into special clips. We secure them with silicone seals. The next step is to seal the junction of the glass with the bottom profile with silicone. Then we push the top profile all the way. We tighten the upper clips with a screwdriver and place the caps on them.
How to Install the Doors of the Shower Cabin?
The last stage of installing the shower cabin with a shower tray is attaching the doors. Before we place them in the cabin, we first screw the upper rollers to them, which we can adjust using special screws. Next, we attach the rollers to the bottom of the cabin. The sliding system needs to be mounted very carefully, and we also need to ensure that all elements are adjusted and leveled. This way, we can be sure that the doors will slide smoothly. Seals also play an important role, as they protect the cabin from leaking. We place them between the glass and the vertical profiles of the cabin, as well as at the contact points of both door leaves. Some cabin models have special magnetic seals in the doors that ensure exceptional tightness.
Or Maybe You Want to Install a Walk-In Shower Cabin?
Walk-in shower cabins, also known as shower walls, are universal. They do not require a shower tray, as they are placed directly on the floor. They fit into any interior, provided that the substrate has been previously prepared, meaning that the appropriate slope angle of the floor is ensured and a wall or floor drain is installed. The simplest walk-in wall is a glass pane mounted to one or two profiles and completely devoid of doors, which increases its functionality. Another advantage of such a cabin is its reliability due to the few assembly elements. Moreover, it is easy to keep clean – a single glass pane is easier and more convenient to clean than a shower tray with a shower cabin.
Installing this type of cabin is very easy and does not require dimensional restrictions. We are only limited by the size of the bathroom. An undeniable advantage, especially for older or disabled individuals, is the flush surface of the floor behind the glass pane with the floor of the entire bathroom. Have you already decided which shower cabin you will choose?
Related products


Mexen Apia extendable shower cubicle 100 x 100 cm, Transparent, Black - 840-100-100-70-00
€344.10 -20%
€275.29Availability: In stock


Mexen Apia extendable shower cubicle 100 x 70 cm, Transparent, Chrome - 840-100-070-01-00
€285.70 -19.98%
€228.60Availability: In stock


Mexen Apia extendable shower cubicle 105 x 100 cm, Stripes, Chrome - 840-105-100-01-20
€340.90 -19.98%
€272.78Availability: In stock


Mexen Apia extendable shower cubicle 115 x 100 cm, Transparent, Black - 840-115-100-70-00
€360.50 -19.98%
€288.46Availability: In stock