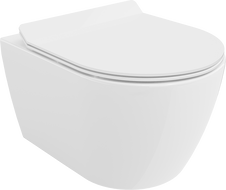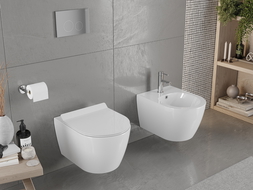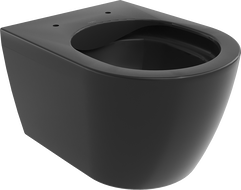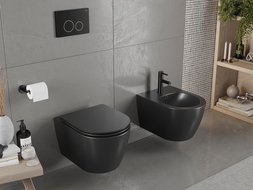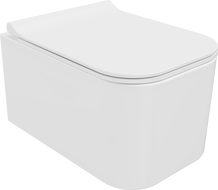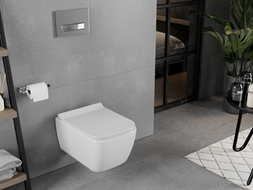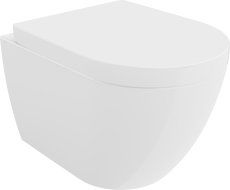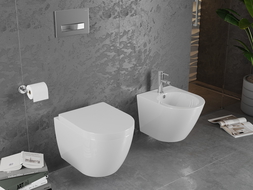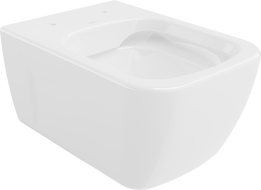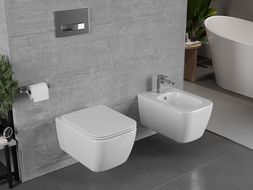
Wall-hung toilet bowls are modern and functional solutions that are slowly replacing once-popular compact toilets. Although their installation may seem complicated, it is actually not a problem even for a novice DIY enthusiast. Check which plumbing elements are necessary for a proper installation and what tools to use to independently and correctly install a toilet bowl.
Installation of a Floor-Standing Toilet Bowl - Where to Start?
The first step is to secure the toilet to the floor using screws. If you opt for a low-flush installation, remember to check its width! Installing a toilet bowl too close to the wall may cause the cistern to not fit behind it. With limited space, users will not be able to rest the lid on the bowl, significantly reducing the comfort of using the toilet. If it is important for you that the bowl and cistern are perfectly matched, consider purchasing a compact, that is, a flush tank that is a complete set with the toilet bowl.
Principles of Installing a Toilet Bowl
The water supply line connecting the toilet bowl to the vertical or drainage pipe must be located no more than 1 m from the vertical. It is also important to maintain the appropriate height difference between the siphon and the connection point of the bowl to the vertical (no more than 3 m). Adhering to these basic principles is particularly important if you plan to place the toilet bowl in a different location. The supply line to the toilet should be separate and connected to the vertical lower than all supply lines for that level.
Low or High-Flush - Which Solution to Choose?
The market offer for high-flush toilets is shrinking - no surprise, since low-flush installation seems more beneficial in every respect. Aesthetic, functional, and quiet, it prevails over outdated solutions and offers greater user comfort. Its design is based on the installation of flush tanks either on the wall or concealed at a height of about 130 mm above the bowl, allowing for faster filling of the flush tank. The plumbing elements require connection to the installation using a stop valve at a height of about 1000 mm.
During the installation of the toilet bowl, a pressure flush valve can also be used, which is particularly recommended for large interiors. Unfortunately, this solution has some disadvantages, including high noise levels, low resistance to impurities, and incomplete flushing. Note! Pressure valves must be installed on the same axis as the toilet bowl. The water supply line should conclude with a 3/4 thread at an appropriate distance from the floor (at least 100 cm).
Installation of a Wall-Hung Toilet Bowl - What Do You Need to Know?
The installation of a wall-hung toilet bowl requires the use of specialized plumbing elements, such as a concealed frame mounted to the wall and floor or exclusively to the floor. Before starting the work, consider whether the wall-hung toilet bowl will be mounted to a partition wall or a masonry wall. In the first case, it is enough to install a concealed toilet for light construction, while in the second - for heavy support. Precisely defining the needs and outlining the work schedule will greatly facilitate the execution of subsequent tasks.
How to Install a Wall-Hung Toilet Bowl? Stages of Installation
The installation of the frame for the wall-hung toilet bowl begins by positioning it against the wall, leveling everything, and marking the place for installing the upper edge of the structure. Subsequently, holes should be drilled in specified places and the brackets secured - this stage of work requires great precision, so be sure to use a level and check that the support stands perpendicular to the ground.
After installing the frame, proceed to install the outlet and the hangers for the toilet. Before you mount the drain elbow to the bracket, close the drain and water supply using two caps. Then, screw the hangers for the wall-hung bowl into the holes. How to install the toilet bowl to the frame? To install the frame to the plumbing system, connect the flush valve to the system, and then enclose the structure using drywall panels.
The last step you must perform is to connect the outlets by cutting the pipe supplying water from the flush tank and connecting it to the outlet from the bowl. Finally, remember to install the bowl and the flush button using the hangers.

