


An appropriately installed shower cabin is easy to recognize by the fact that all elements fit together - there are no visible damages or scratches, nor any remnants of materials used for installation. Above all, the tightness of the cabin indicates proper installation. Tightness of both the shower walls and the shower tray. If this characteristic is missing - unfortunately, it may lead to unpleasant consequences such as a wet floor, mold growth, and material rotting.
Sealing the Shower Cabin and Tray. What is Needed to Seal a Shower Cabin?
A shower cabin that is not properly sealed, instead of being a source of comfort and pleasure, becomes a reason for sadness, irritation, and worries. There can be several reasons why the cabin installation is not properly isolated - among the most common are:
- improper placement of the cabin on the bathroom surface,
- damaged silicone,
- deficiencies in other sealing materials.
Such shortcomings can lead to unpleasant consequences. During every shower, the cabin may leak water. Over time, if this continues, numerous stains and mold may appear. Additionally, regular wiping of the floor or checking for pipe blockages will be necessary. All of this requires time and money, which is why it is worth sealing the cabin properly.
Of course, no one wants to deal with these problems. However, often users rush to install the cabin or do it themselves. They lack experience or knowledge and instead of letting a professional handle it, they rely on their own luck - unnecessarily. Fortunately, even despite the initial lack of tightness, many issues can be repaired - it is possible to seal the shower cabin on your own.
So how to seal a shower cabin? It is advisable to start by understanding the tasks to prepare for. The cabin should be thoroughly inspected and any leaks should be located. Then it is worth considering what products will be needed for this work. Above all, sealing products should feature the best waterproof properties and complete resistance to bacteria, mold, and moisture. Moreover, they should not react with the cleaning agents used for the cabin.
Shower Cabin and Silicone
For years, the most commonly used sealing agent for a shower cabin with a shower tray is silicone. There is nothing surprising about that - it boasts excellent effectiveness. Moreover, it is relatively easy to apply. Before purchasing, it is important to remember that it must be designed for bathrooms, which means it should have high resistance to moisture, water, and mold. Many such products are available on the market, and one can choose among its numerous varieties: stone silicones, universal ones, glass silicones, sanitary silicones, and high-temperature silicones. Of course, for the bathroom, the sanitary silicone is most suitable. Sanitary silicone is resistant to moisture, as well as to high temperatures that water flowing from the showerhead may have. This solution is solid and durable, lasting for many years.
However, sometimes sealing the shower cabin after the fact is of little use. Therefore, it is crucial to ensure appropriate tightness already during the installation stage. Above all, attention should be paid to properly isolating the shower walls. In this role, liquid waterproofing membrane works well. It is worth remembering that it should be applied directly to the wall, not on the bathroom tiles. The waterproofing membrane should also be present on the surface where the shower tray will be mounted. This action is extremely important because even in cases of minor leaks, the wall will not absorb water, preventing it from becoming a breeding ground for numerous fungi and bacteria. Liquid waterproofing is a forward-looking solution that allows for maintaining cleanliness and hygiene on shower surfaces for many years. The final point of insulation is the corners and waterproofing strips. They appear in points where the shower walls and bathroom walls meet. They should be installed by pressing them into the silicone layer.
Replacing Shower Cabin Sealant
A common cause of leaks is old, worn-out silicone. Therefore, the easiest way to increase tightness is to replace the old product with a new one. Before starting the work, it is necessary to locate the used, leaky silicone. If there is mold on it, it should be completely removed along the entire length of the joint. A frequent mistake made by amateurs is applying new silicone over old silicone. This is a huge mistake! Such connections do not work. The products will not bond properly, and the leaks will return shortly after. The area from which the old silicone has been removed should be thoroughly cleaned, and any greasy stains or dirt should be removed using chemical preparations. The adjoining shower walls or bathroom walls should be protected with painter's tape so as not to stain them with silicone.
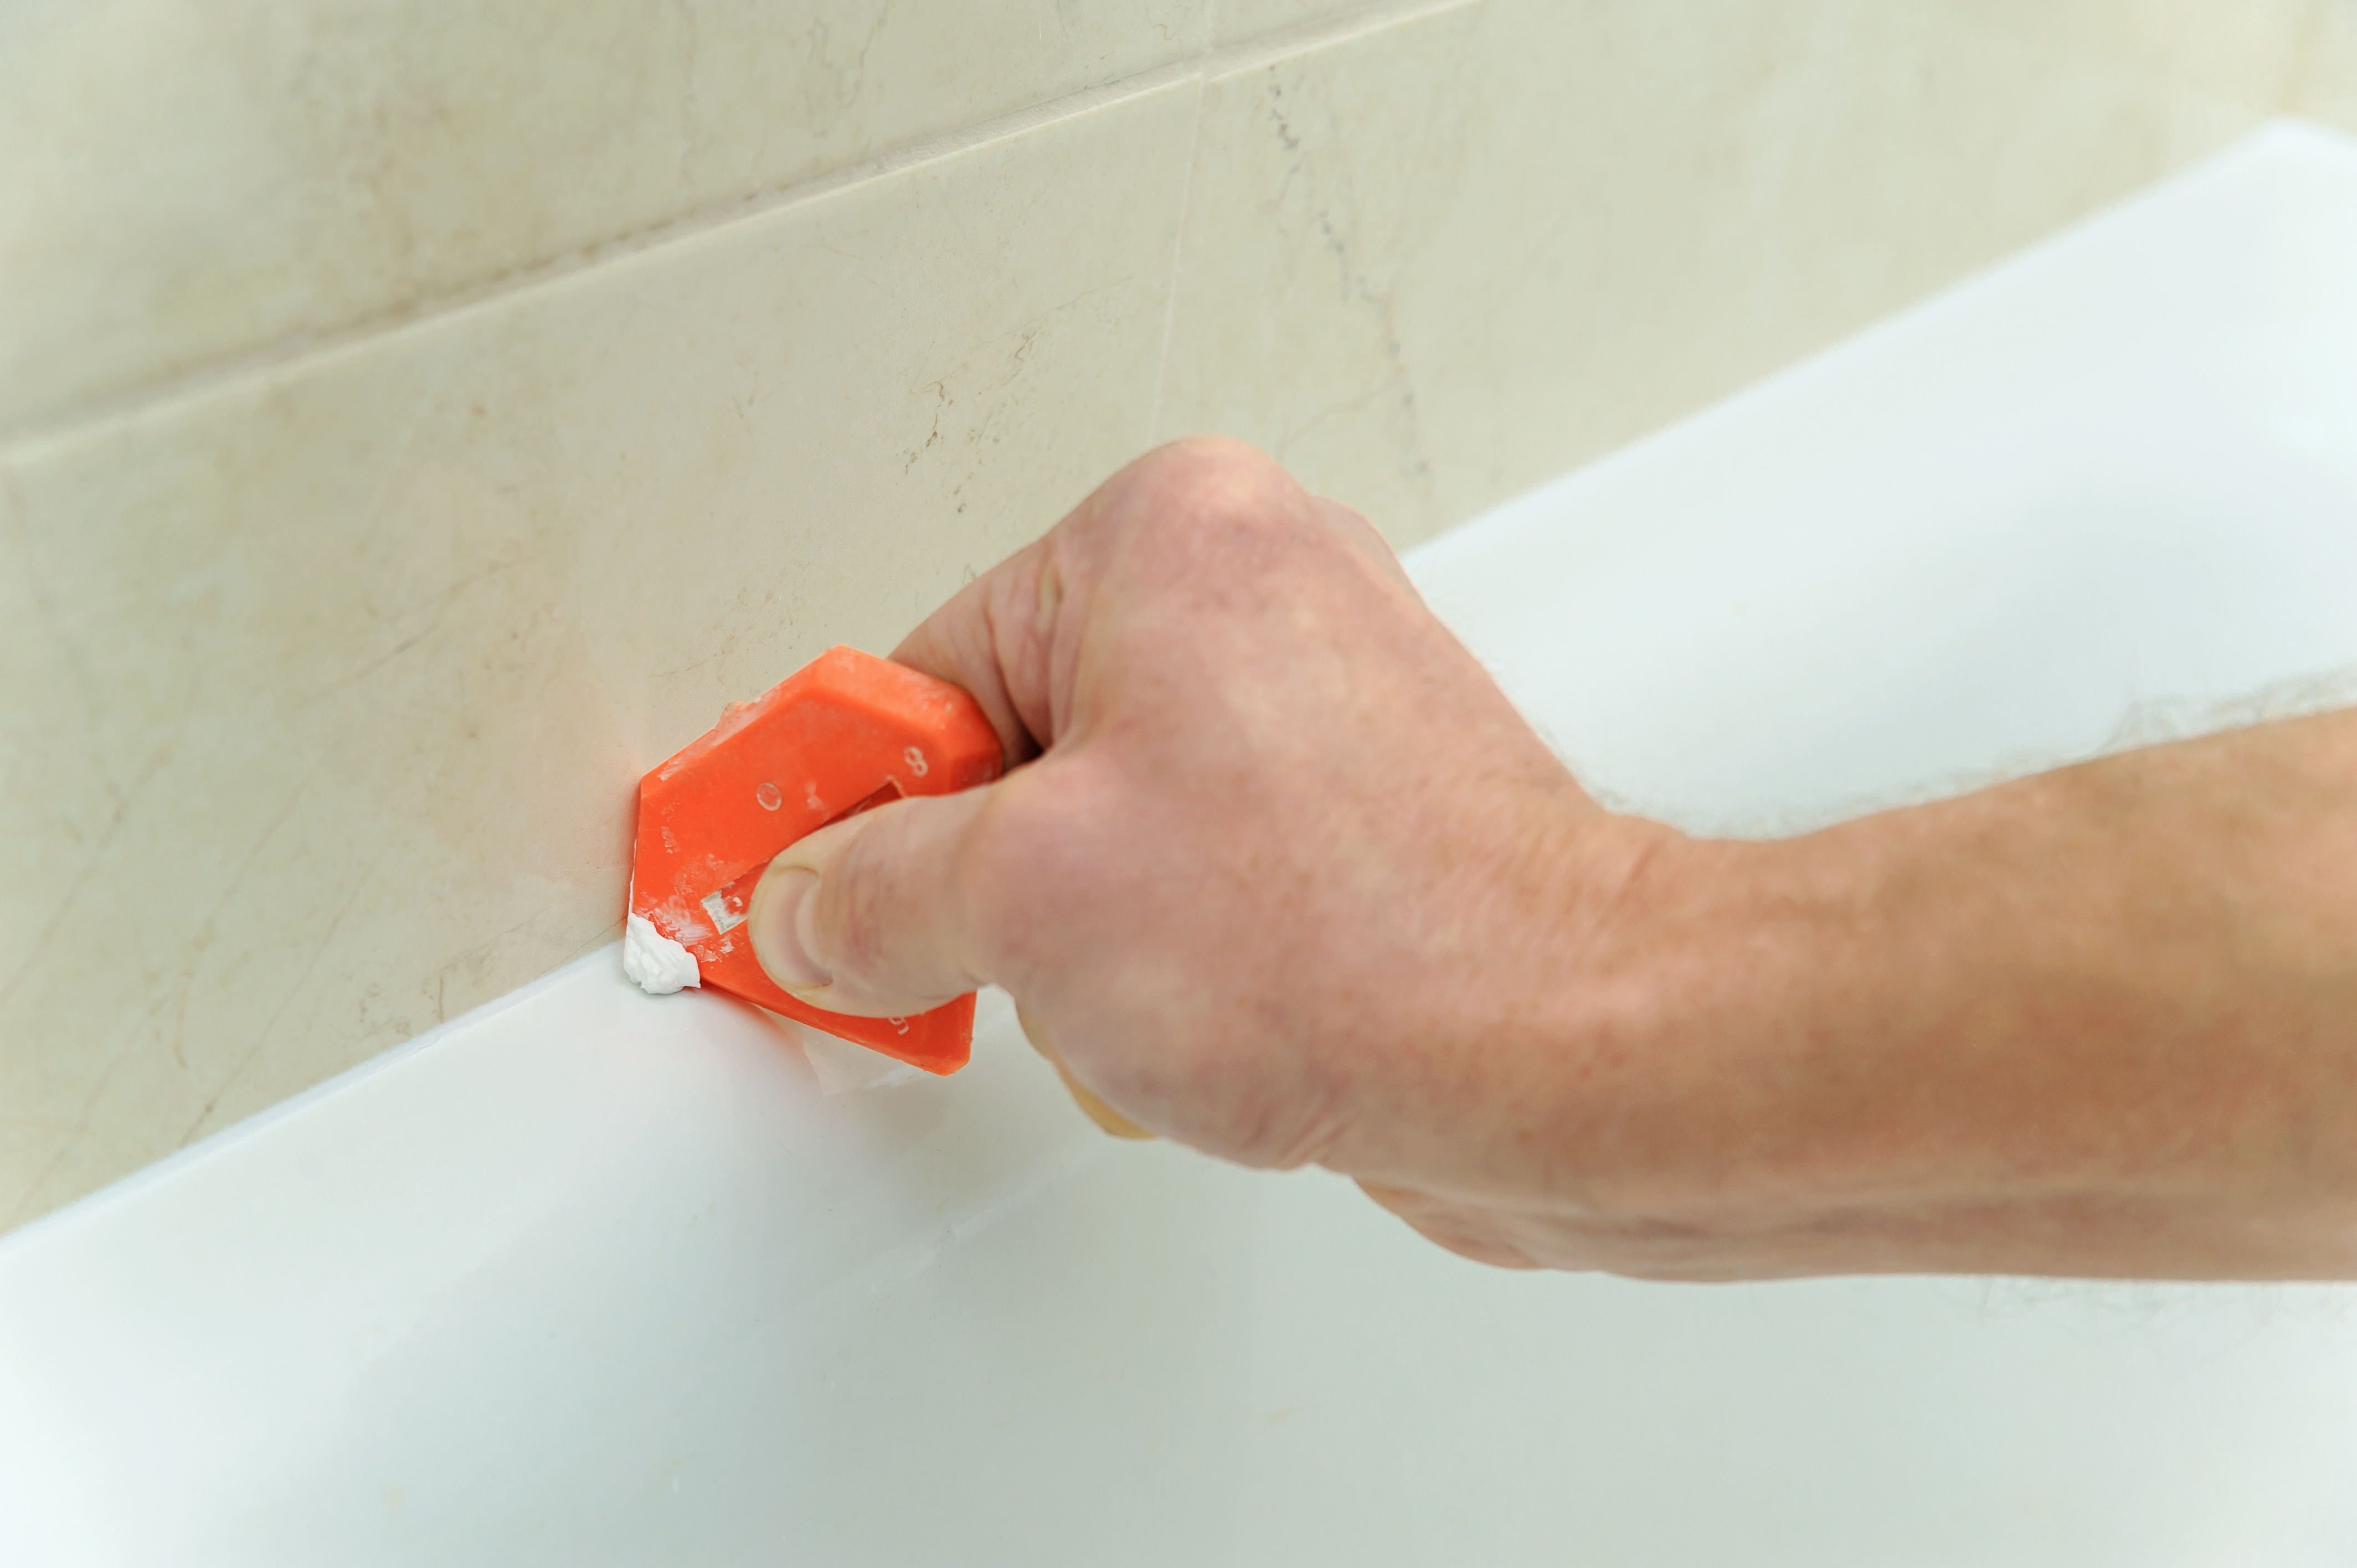
On such prepared surface, silicone can now be applied. Of course, a special silicone gun will be needed. The tube with the product is placed in this tool, then the tip is applied to the joint - with gentle and careful movements, the silicone should be spread along the entire length. When it appears in the gap - all that remains is to wipe the joint with a solution of soap and water. This prepared joint will look elegant and classy. Moreover, it will not cause leaks, which will increase the comfort of using the shower for many years.