


When planning a bathroom renovation, it's best to hire a plumber with the right experience to connect plumbing fixtures. However, if you feel up to the task, you can try to install the faucet yourself. As it turns out, you don't need too many specialized tools for this. All you need is to acquire basic plumbing tools and a step-by-step installation guide for the faucet. We will advise you on how to install the fittings and how to choose the right thread!
Before you install the faucet
Many people decide to connect their bathroom faucet themselves. Although it's not a particularly complicated task, it's worth checking the installation method step by step. This way you can prepare all necessary accessories and avoid mistakes that might complicate the use of the tap in the future.
What to pay attention to when choosing a faucet?
Currently, there are many types of bathroom faucets available on the market. This makes it much easier to choose a suitable option for any bathroom. Besides aesthetic values, the type of fittings is also very important. Among the numerous options, you will find faucets:
- single-hole,
- double-hole,
- free-standing on the ceramics,
- free-standing on the countertop,
- wall-mounted.
In the case of sinks, single-hole models are definitely the most popular, meaning they are attached to a single connection point. A slightly less commonly used solution is the double-hole faucet. The way of controlling the water does not have a significant impact on the installation of the faucet, as both types of fittings are installed in the same way. Regardless of the chosen option, it's important to remember that when replacing the tap itself, it needs to be matched to the previous connection variant.
Having the right tools is essential
If you want to install a faucet, it’s very important to have the right tools. As it turns out, basic plumbing tools are usually sufficient, such as:
- pipe wrench,
- pliers,
- adjustable wrenches,
- screwdrivers.
An exception is the installation of decorative faucets with chrome-plated elements. In that case, it’s best to use a wrench with protective pads to avoid damaging the surface of the fittings. For the installation of a combined faucet with a drain plug, a metal saw or scissors may be useful, with which you can shorten the control rod if necessary. In some situations, it might also be helpful to have a level, pipe scissors, or calibrator on hand.
What installation accessories are essential?
While the most important accessory for the sink is the faucet itself, it’s also necessary to remember other installation parts. The fittings can often be purchased in a set with various accessories. Most commonly, all necessary connection elements are included. In such a case, you only need to purchase the appropriate siphon. If the piping does not include shut-off valves, they will need to be selected. It is then important to pay particular attention to the diameter of the threads for connecting the hoses. If you take care of the right accessories, the installation of the faucet should go smoothly.
Faucet installation step by step
The installation of the faucet largely depends on the type of these accessories selected. In the case of single-hole models, the water supply pipes are attached to special sockets in the base. It's important to remember not to forcefully screw the pins into the body to avoid accidentally damaging this element.
- Before starting to screw in the hoses, it’s best to coat the sealing o-rings and the threads of the fitting with specialized silicone-teflon grease intended for fittings.
- Then, you can install the hoses at the base, ensuring that the sealing diameter in the body is slightly larger than the hole in the sanitary appliance.
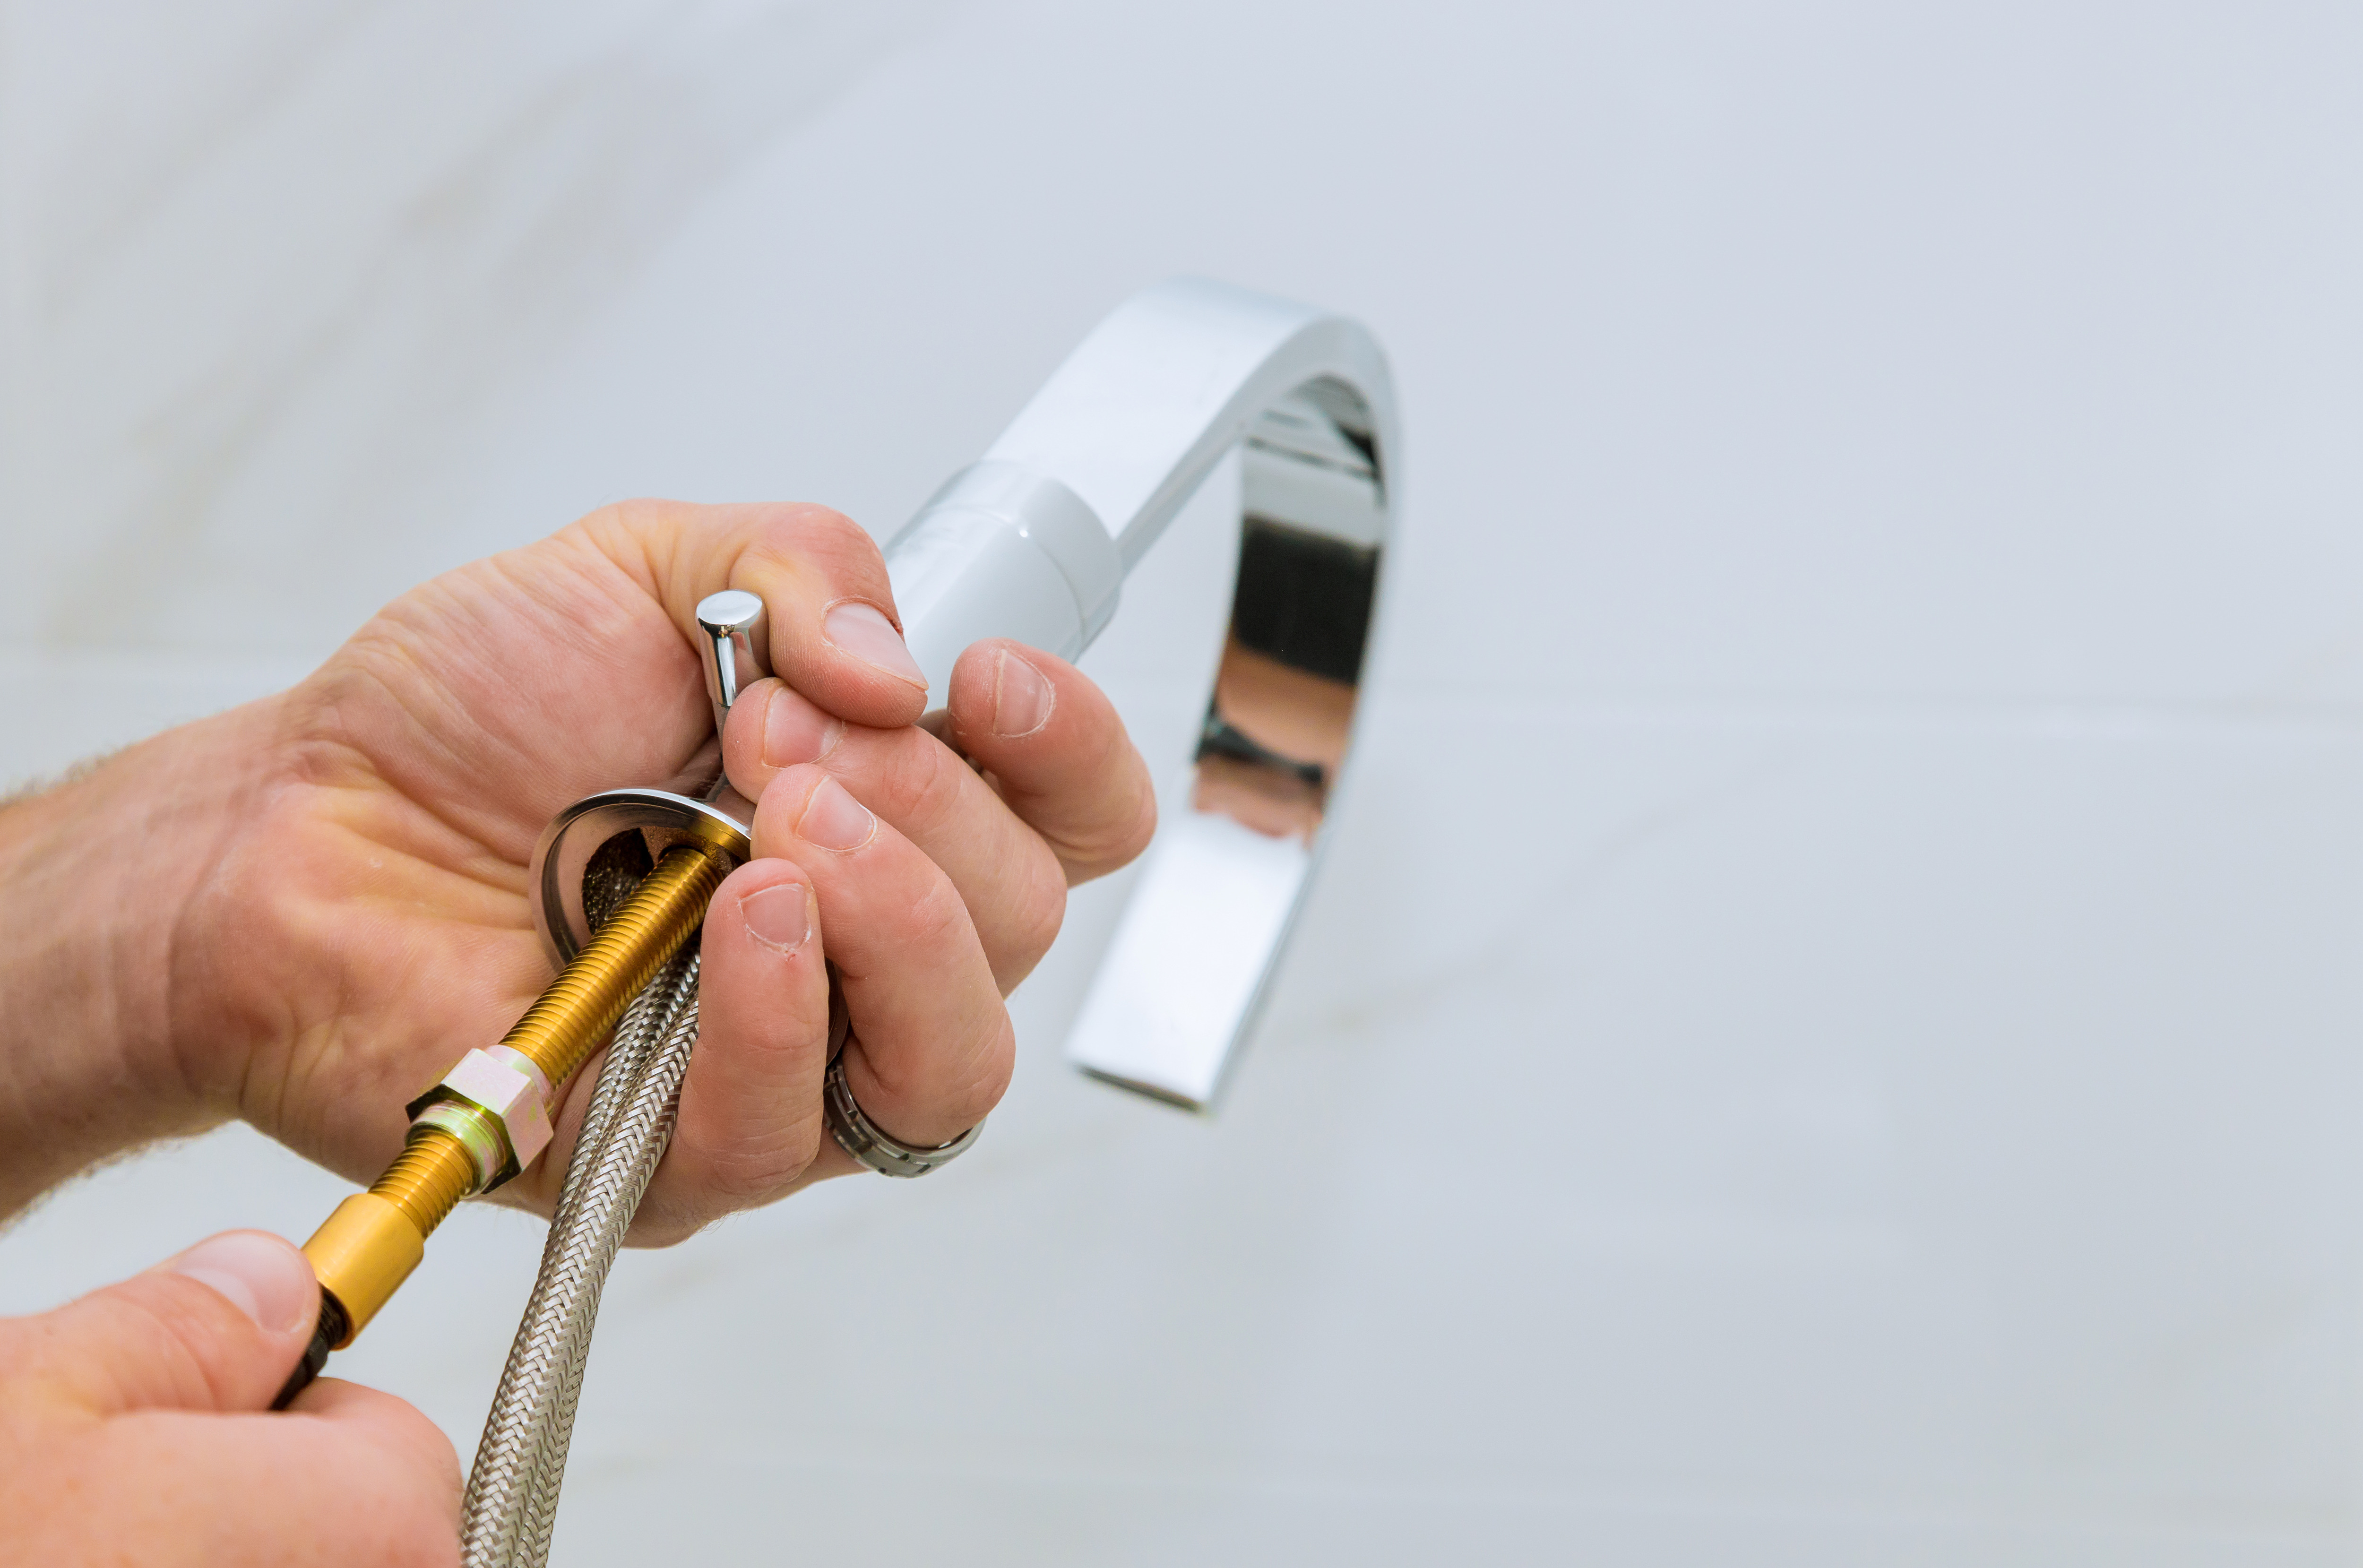
- The next step in installing the bathroom faucet is to insert the hoses into the mounting hole in the sink. You need to place a rubber and then a metal washer on the protruding pins and tighten the retaining nuts. During installation, it is important to position the faucet above the hole before introducing the connecting hoses into it. If the hole is too large, simply use a masking washer.
- The final step is to connect the hoses using nuts with the ends of the angle valves leading to hot and cold water. And that's it, the faucet installation is complete!
Choose a aerator tailored to your needs!
One of the undoubtedly important aspects of faucet installation is choosing the aerator. Currently, these accessories are available in many variants, intended for various types of spouts. In this case, you should not only consider the price but also the quality of execution. This way, you can ensure long-lasting and reliable use of these elements. This is because the cheapest aerator models are usually only suitable for one-time use, as they cannot be cleaned of accumulated limescale. For this reason, it’s best to choose proposals from reputable manufacturers.
When purchasing an aerator, the type of thread is of great importance. Currently, the most popular are models with external threads. This allows them to be attached to the inside of the faucet. An interesting alternative may be an external thread attached to the spout from the outside. Additionally, it's also worth considering the material of these accessories. You can currently choose from silicone, metal, or plastic options. Each option has its pros and cons, so it’s best to match the appropriate variant to individual needs.
Related products

Mexen Alfa high washbasin mixer tap, White/Gold - 745710-25
€87.70 -19.93%
€70.22Availability: In stock


