


If you are considering purchasing and installing vinyl panels yourself, this post provides the necessary tips.
What will you learn from this article?
- How to plan the layout of vinyl panels.
- How to prepare the floor for laying panels.
- How to lay vinyl panels.
Plan the laying of vinyl panels
Before you start laying vinyl panels yourself, you need to carefully plan how your new floor will look.
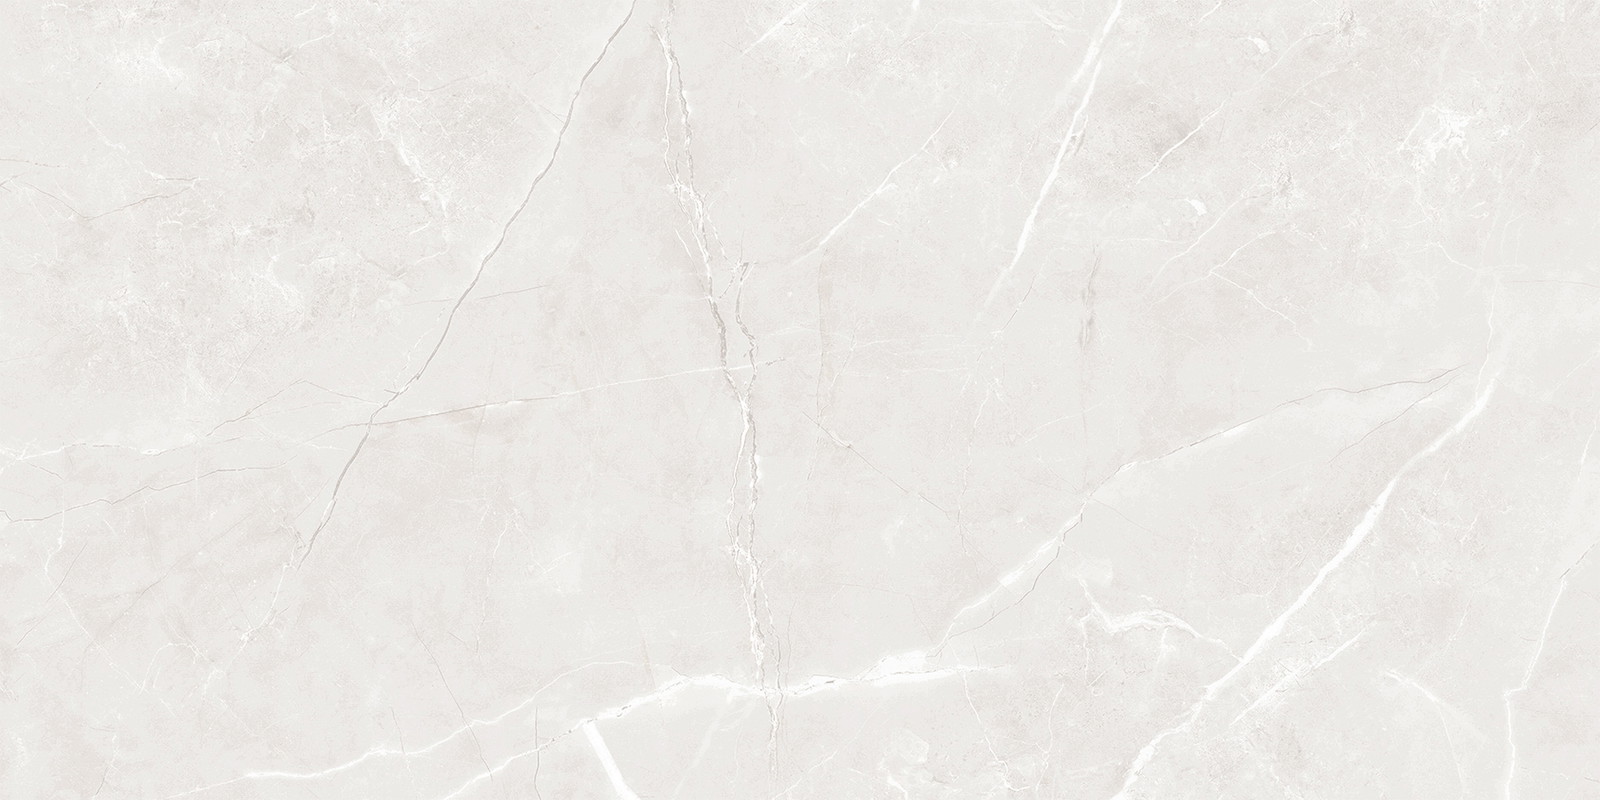
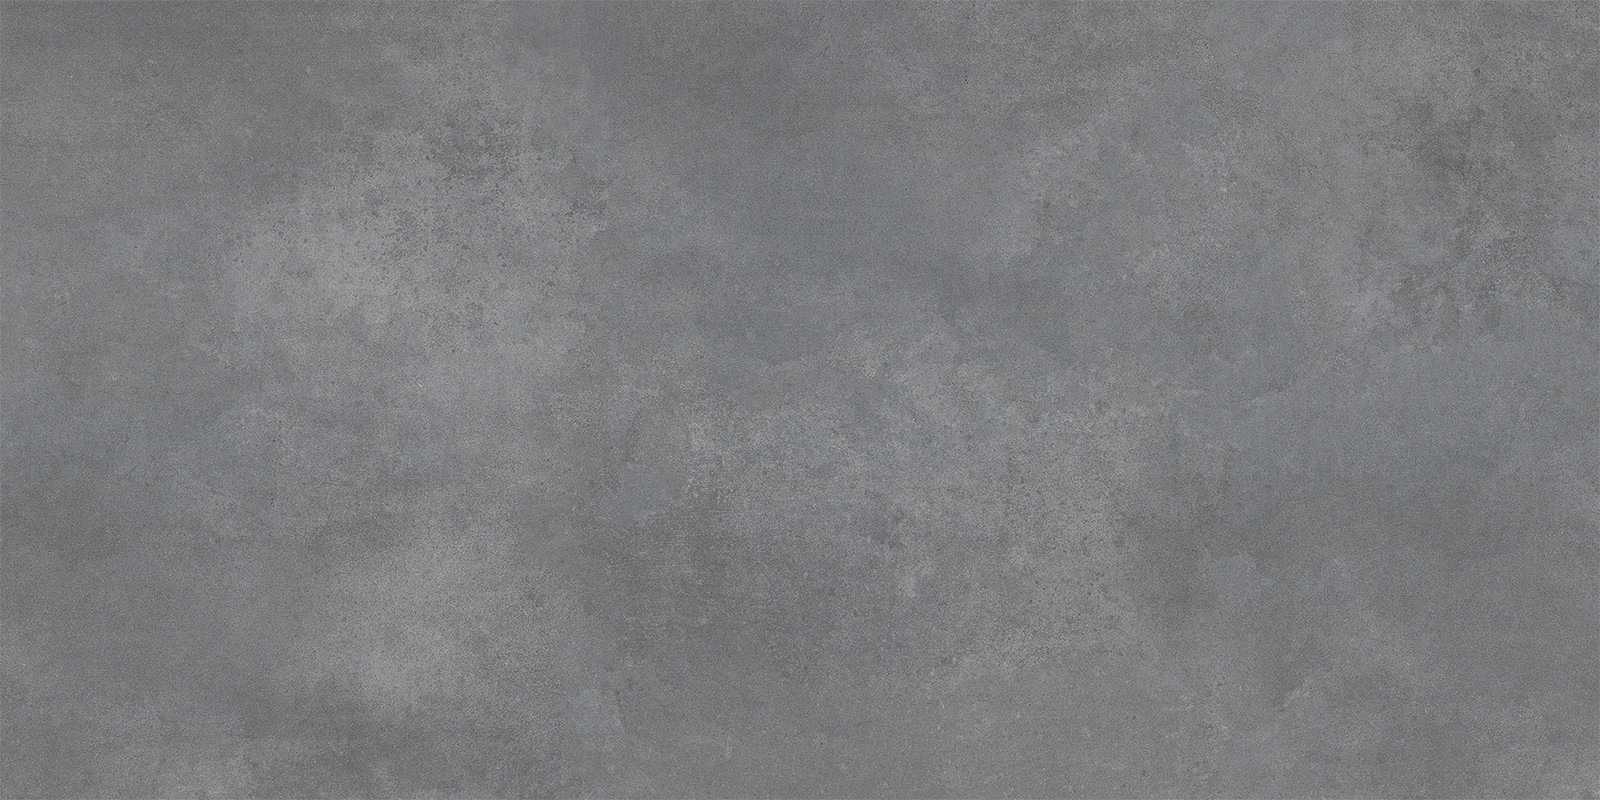
The first step is to accurately measure the floor area where you intend to lay the panels. Next, decide which type of vinyl panels will best suit the room. Vinyl panels come in various patterns, colours, and textures, so it's important to choose them to best fit the interior design and your stylistic preferences. You'll easily find panels suitable for finishing a living room, kitchen, or bathroom.
Accurate floor measurement will allow you to calculate how many packs of vinyl panels you need to buy. At this stage, you should plan which direction the panels will be laid; it is generally recommended to install them parallel to the longer wall of the room, perpendicular to the light source. When choosing a specific pattern, consider how it will look, as the right pattern and panel layout can affect the optical enlargement or reduction of the room. This is also the right time to decide whether to invest in:
- self-adhesive vinyl panels,
- floor panels glued in place,
- panels mounted in a floating floor system.
You can order vinyl panels at Mexen.pl with a length of 1240 mm and width of 182 mm. Knowing the board dimensions, you can easily calculate how many packs of the product you need. This helps avoid excess material shortages or surpluses.
Prepare vinyl panels before laying
Follow these steps before laying the floor:
- After purchasing panels (available in most DIY stores), remember to leave them in the room where they will be laid for at least 48 hours. This allows them to adjust to the environmental conditions and reduces the risk of cracking or deformation. This is particularly important if you plan to lay panels during colder months.
- After unpacking, check that all panels are exactly as they should be – in terms of both color and damage. If there are any problems, consider replacing the defective package.
- The next step will likely involve trimming some pieces. Use a tape measure and pencil to mark the points where you will make cuts. Vinyl panels are best trimmed with a special panel saw.
- Skirting boards also need to be trimmed to fit the dimensions and shape of the room where they will be used.
Prepare the floor for laying vinyl panels
Before starting the installation of vinyl panels, ensure the floor is properly prepared. The floor must be clean, dry, and smooth, which is especially important if self-adhesive or glued panels are used. For vinyl panels installed in a floating floor system, small gaps or dust on the floor surface will not cause major problems.
If there are irregularities on the floor exceeding 1 mm over a length greater than 20 cm, they should be leveled with cement putty. For a concrete floor, ensure it is properly leveled and primed. Vinyl panels allow effective use of underfloor heating, so before laying them, make sure the heating system is installed properly.
Before you start laying floor panels, apply an appropriate floor underlay. The choice of underlay significantly affects the comfort of using the floor. It influences the temperature and acoustics of the panel surface in a given room. It is best to choose an underlay designed specifically for vinyl floors.
Also note that vinyl panels used with underfloor heating can't be too thick, as they must allow heat to pass through freely. At Mexen.pl, we offer a wide selection of vinyl panels, including vinyl panels 6.5 mm thick, which can also be successfully used as a floor covering where you decide to use the modern room heating method of embedding the heating system directly in the floor.
Step-by-step installation of vinyl panels
The laying of vinyl panels usually starts from one of the corners of the room – most often from the left, following the direction of light in the room, perpendicular to the windows.
Follow these steps to lay panels professionally:
- Place the first panel along the wall, leaving a small gap (usually about 0.5 cm) between the panel and the wall to allow for expansion and contraction of the floor during use. The appropriate expansion gap is provided by spacer blocks placed between the panel and the wall; these are removed after completing the floor installation.
- Have you laid the first row of panels? Then lay the next rows of panels, connecting them using the locking system or glue. The connection depends on the model you choose.
- Lay vinyl panels across the entire floor area.
- When finished, ensure the floor is level and the panels fit closely together. If each element is properly installed, there will be no gaps between them.
- Finally, attach the skirting boards.
If any irregularities occur during the installation of vinyl panels, correct them immediately so that each element fits perfectly.
Note that when laying panels along walls, it may be necessary to cut them at the ends. To achieve this, measure and mark precisely where you want to make the necessary cuts.
What else should you know about the installation of vinyl panels?
The installation of vinyl panels may vary depending on the manufacturer and type. Self-adhesive panels are installed differently from those laid in a floating floor system. Therefore, before selecting a product and starting the installation, familiarize yourself with the manufacturer's instructions.
If you're wondering how to install click vinyl panels, it's really simple. First, connect the panels on the shorter sides. The entire panel length must be clipped into the previously laid row. Lift one end of the board you want to install at an appropriate angle and position its tongue opposite the groove of the previously laid pieces. Upon pressing the board, you'll hear a characteristic sound – a click indicating correct panel placement.
Vinyl panels are most often laid on a cement screed – the moisture content in the substrate cannot exceed 2.5%, and for installation with underfloor heating, it can be no more than 1.5%.
Vinyl panels can also be laid on a wooden floor. This is a very convenient way to renovate a damaged floor without removing old coverings. In this way, you can achieve a perfectly leveled floor that looks like natural wood, providing ease of installation.
Remember, carpet should not be used as an underlay for vinyl panels.
Choosing the method of laying vinyl panels
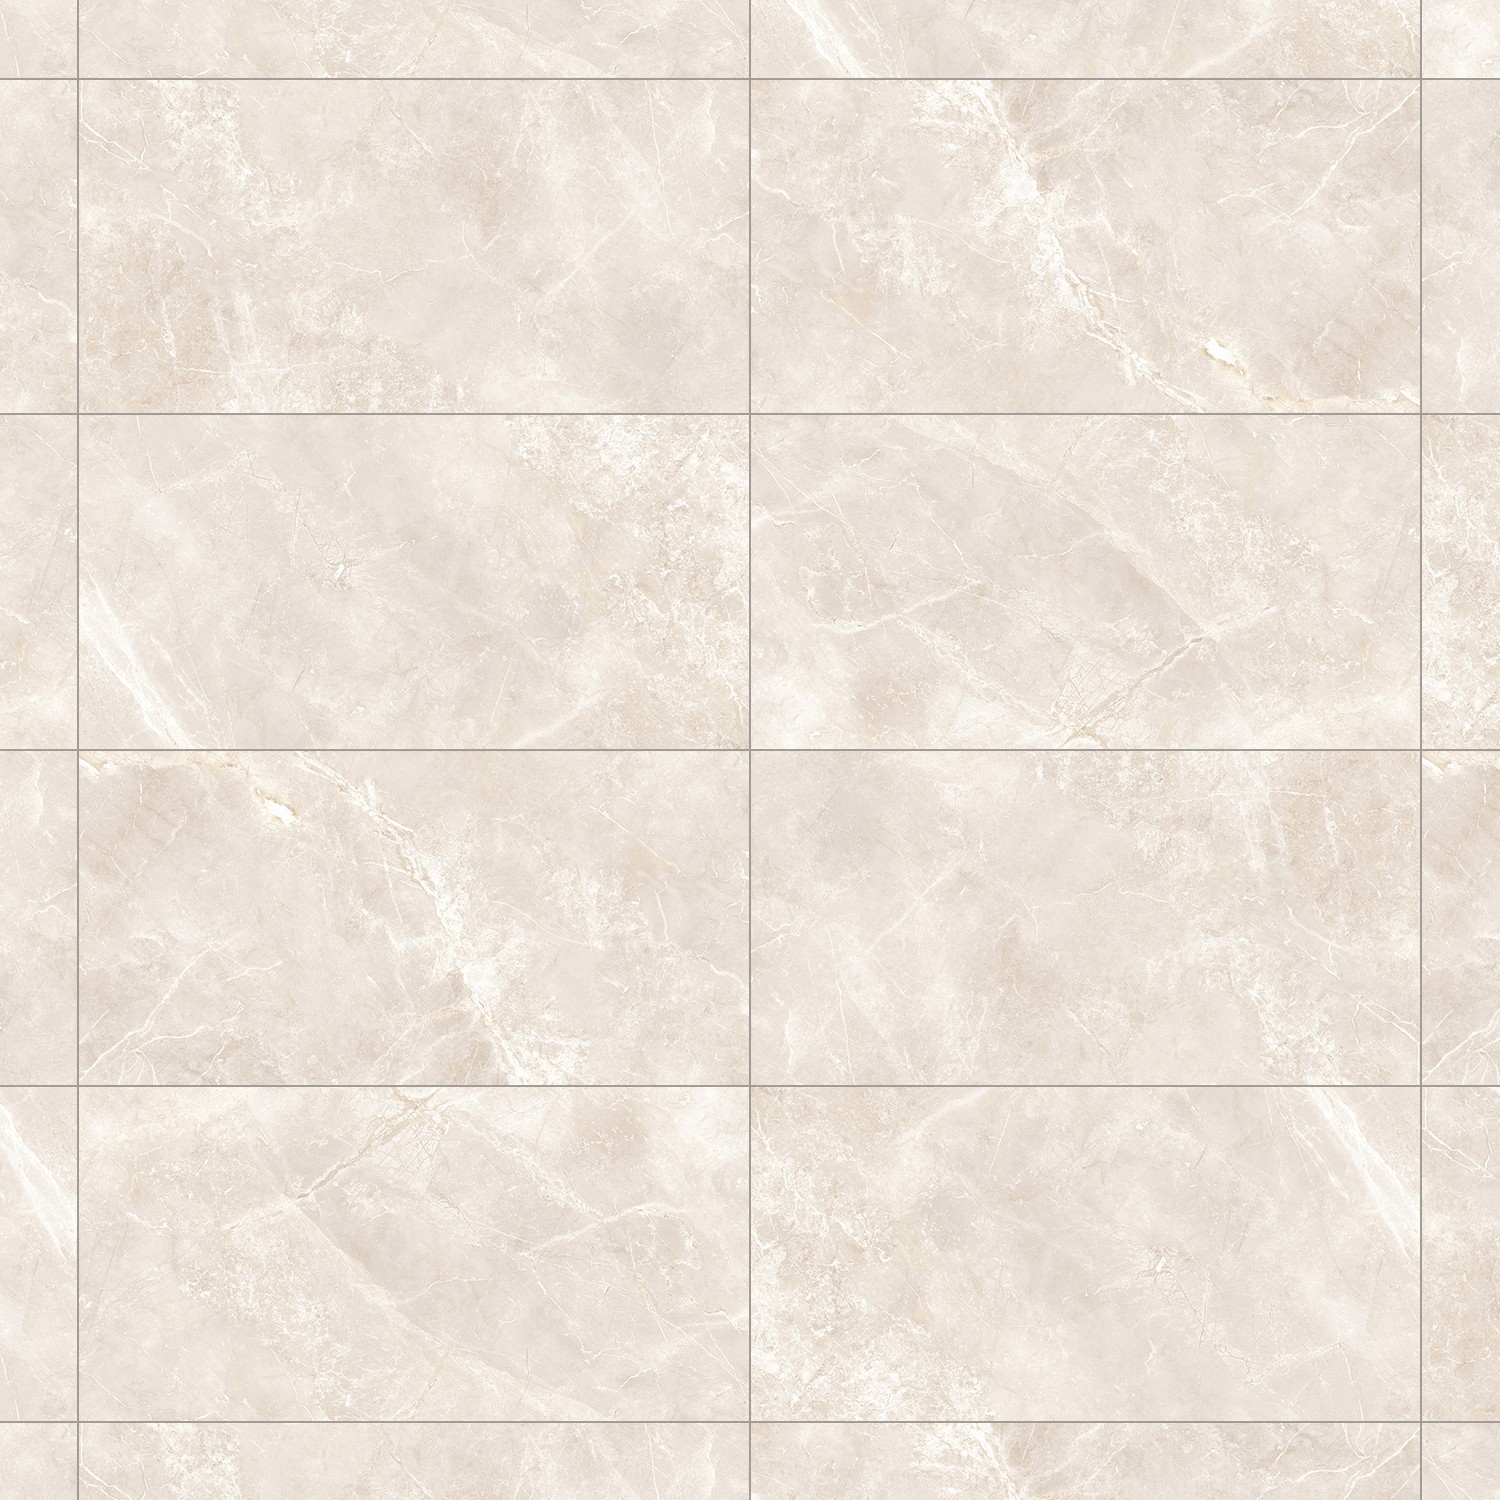
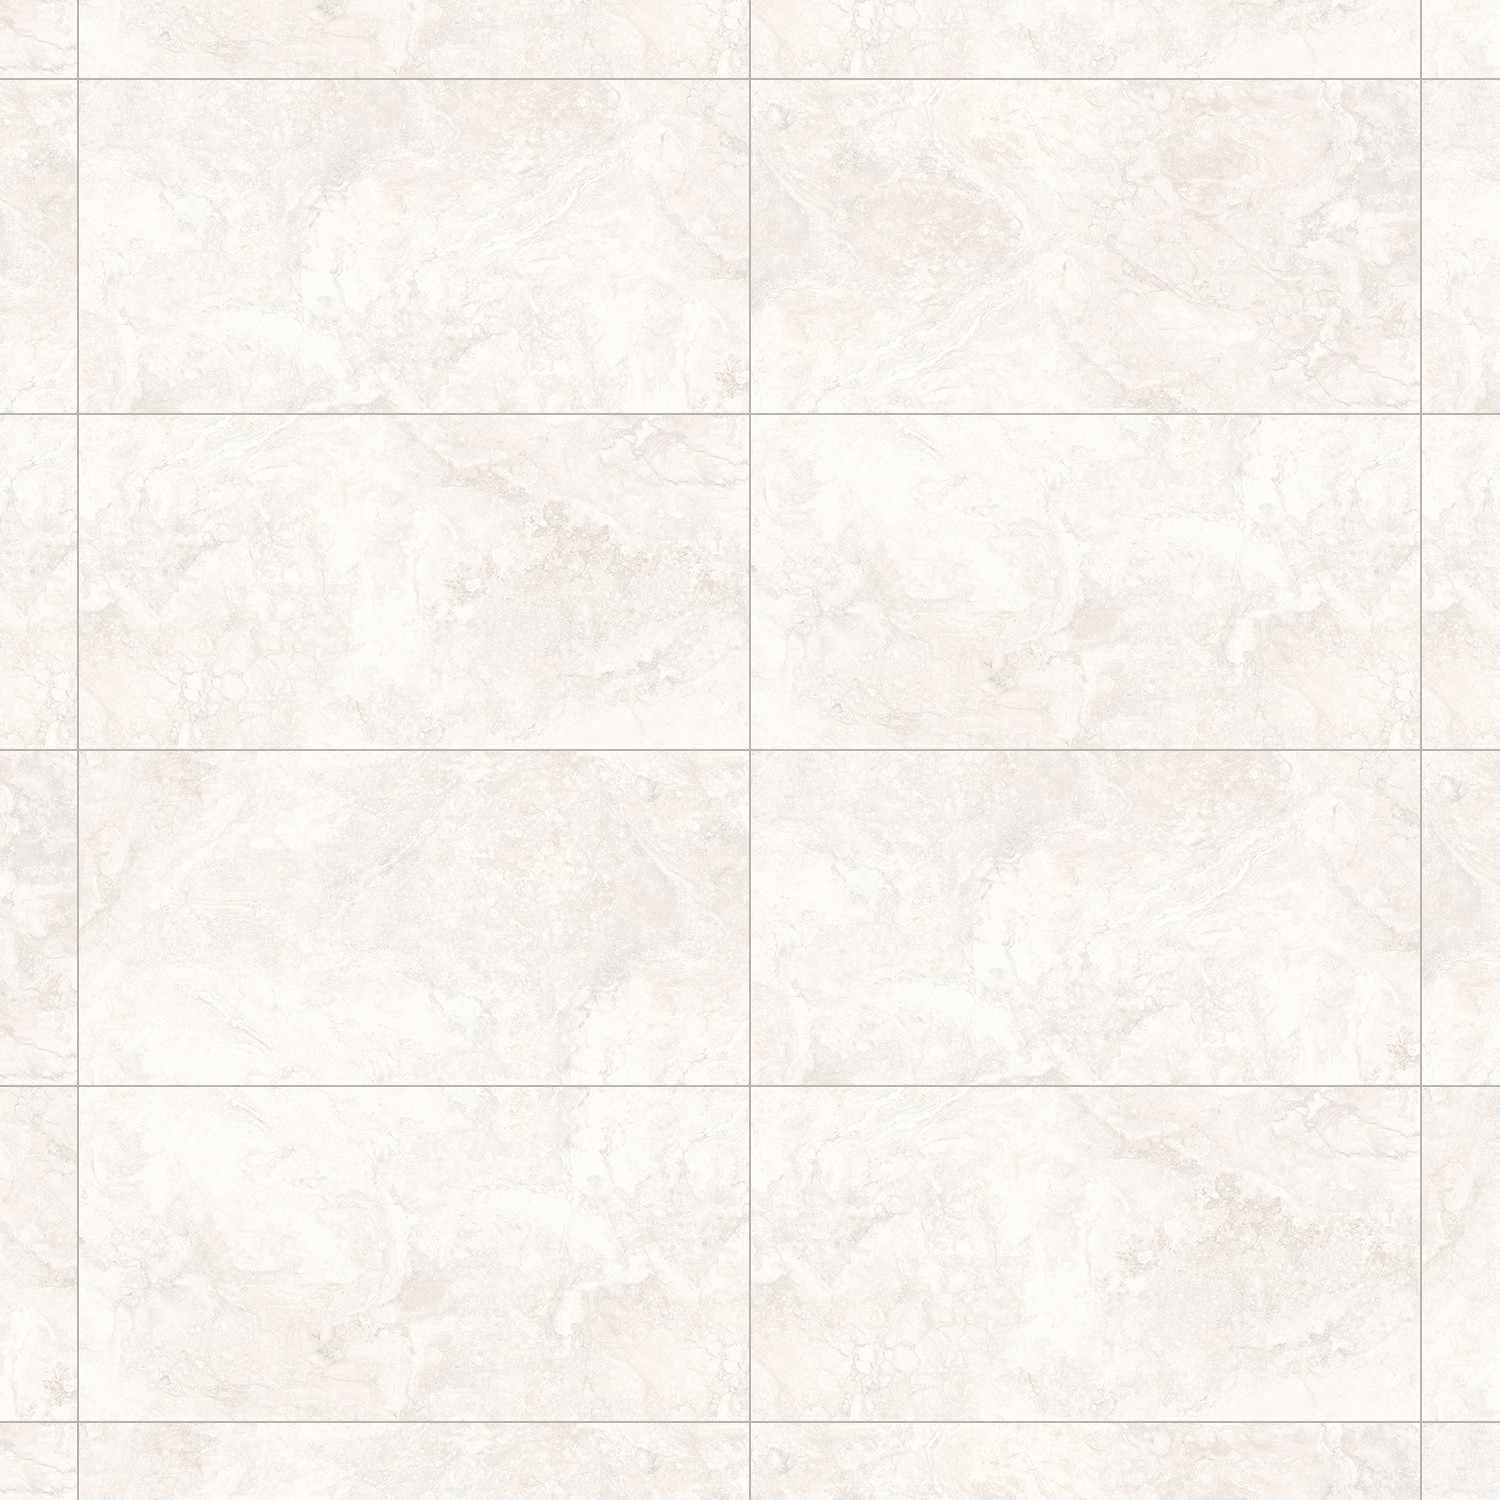
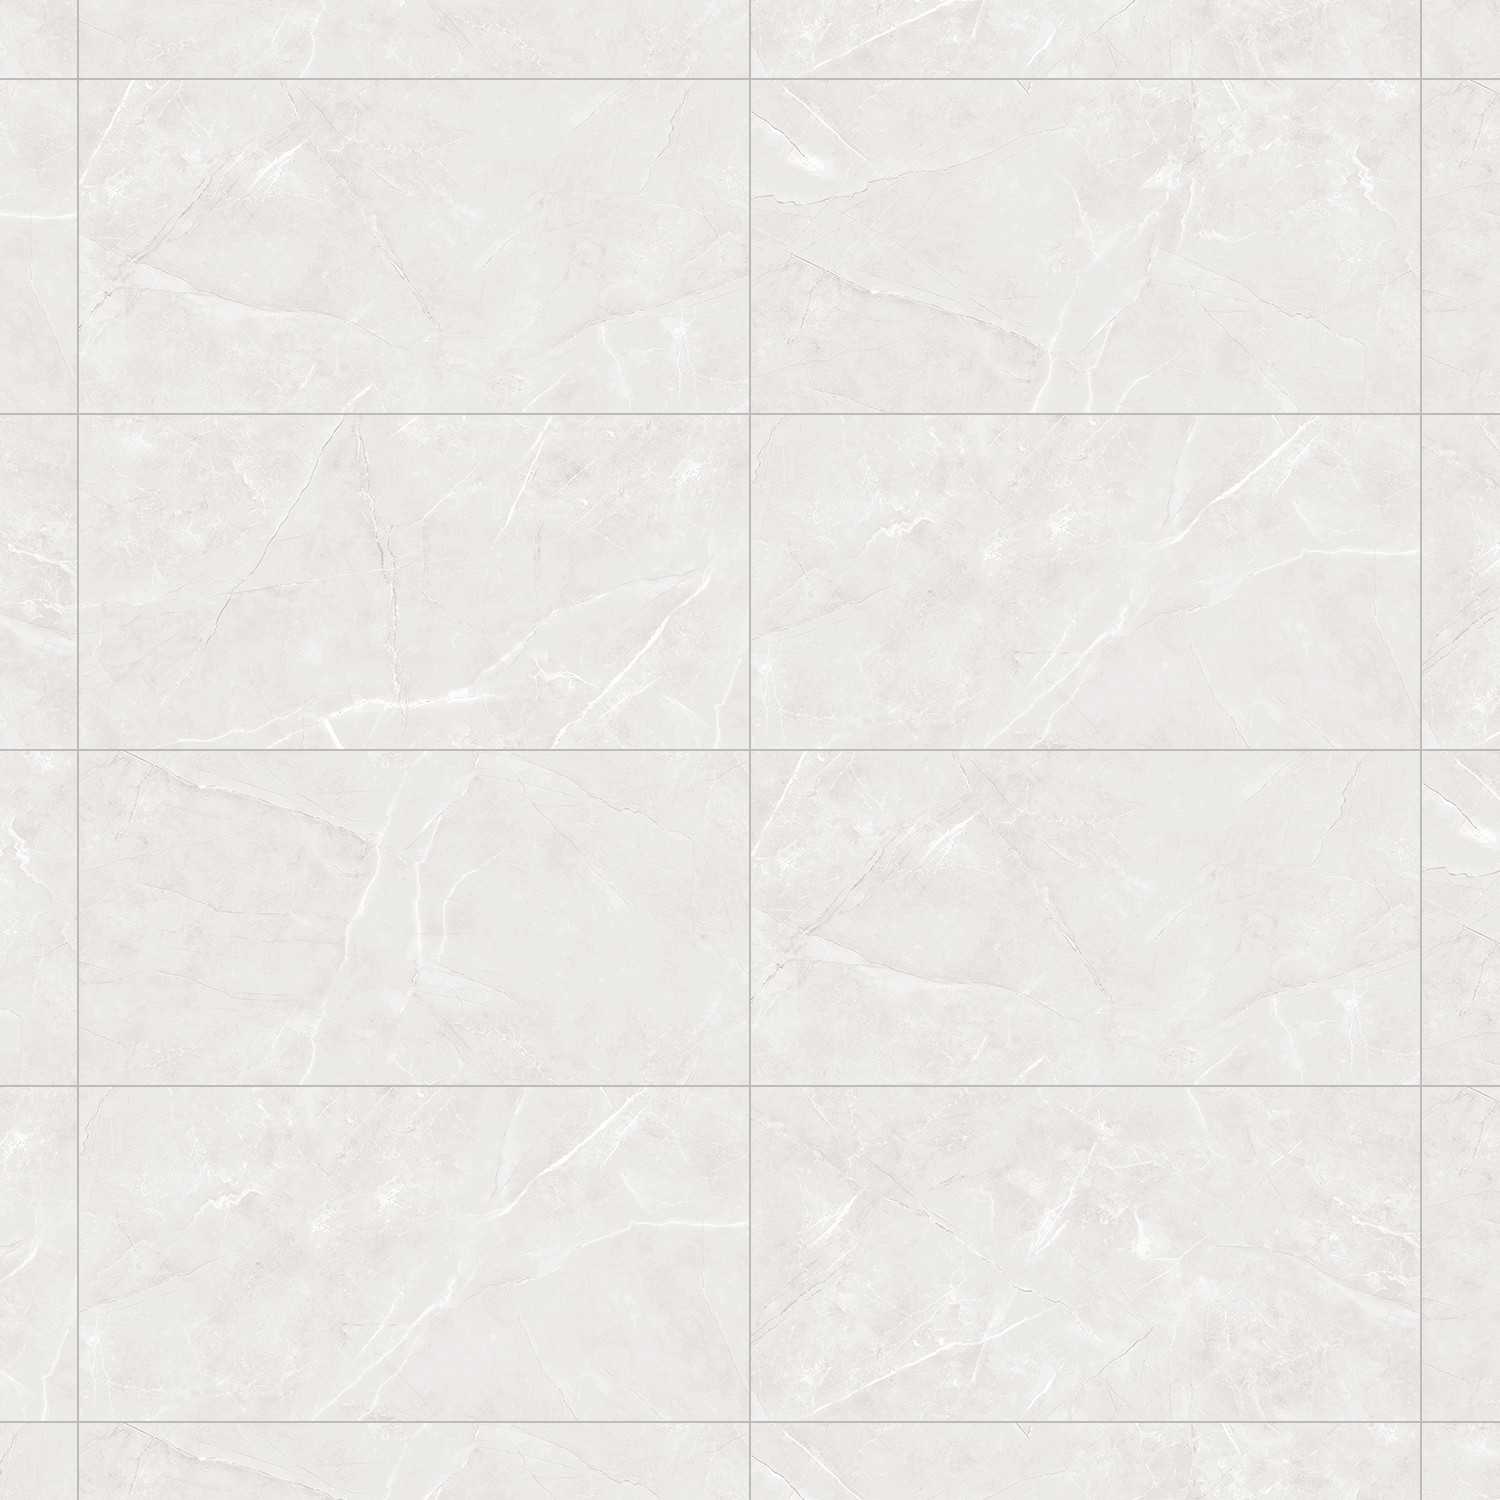
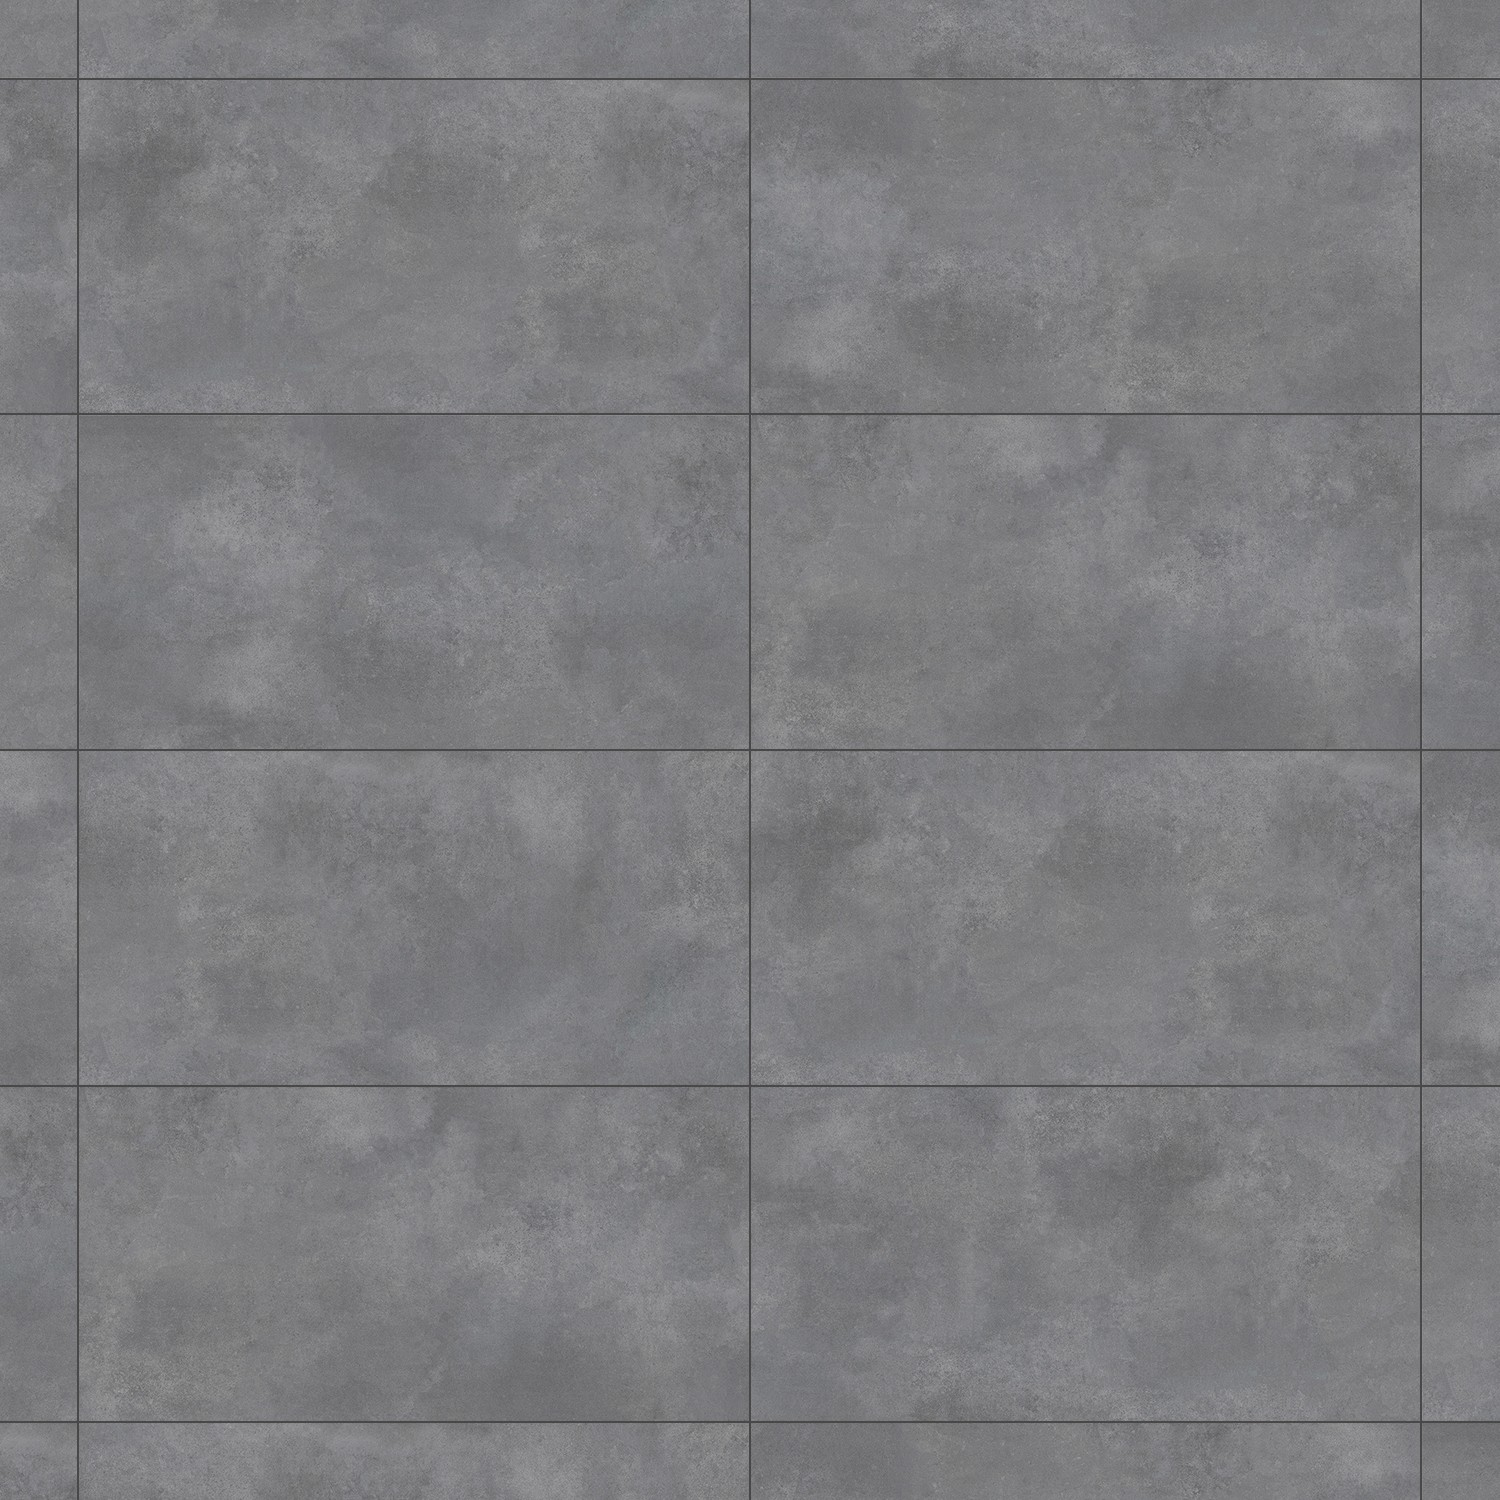
The way your new panels are laid depends largely on the room's dimensions and individual aesthetic preferences. Vinyl panels can be laid with regular offset to create a brick effect. It is best to use an offset by one panel row relative to the next:
- by half the board length,
- by 1/3 of the length.
If you want to achieve a more original effect, lay the panels at irregular intervals. This gives you a floor with a modern and unique look. It's also a good method for using panels left over after finishing floors throughout the house.
Vinyl panel installation – summary
Vinyl panel material is forgiving of small mistakes, but for larger installations, it's worth seeking professional help. If you decide to do it yourself, remember that the work should consist of the following stages:
- Accurate floor measurement to calculate the necessary amount of panels,
- Adapting the panel length to the room size,
- Floor preparation – the prepared surface must be clean, dry, and free of irregularities; this is essential when it will be a glued vinyl floor,
- Choosing the installation method – glued floor or floating system,
- Vinyl floor installation,
- Finishing the floor with skirting boards.
As you can see, self-installing a vinyl floor is a task that requires time and precision, but it's not that difficult. Installing a floating floor system doesn't require specialized knowledge and skills. Similarly, for example, the installation of a sink. You can read where best to place it in another post on our blog.
A properly laid vinyl floor will serve you for many years, replacing parquet or wooden boards. It is not only beautiful but also easy to keep clean.