


Installing a washbasin tap is one of the most crucial tasks when arranging a bathroom. Properly installed, it ensures high comfort, aesthetics, and the safety of the entire water system. Whether you choose a standing, countertop, or wall-mounted tap, it's important that the installation work goes smoothly. Read how to install a washbasin tap, what to focus on, and what tools you'll need.
What will you learn from this article?
Planning to install a washbasin tap yourself? Great! In this article, we will show you step by step how to do it so that the entire setup goes smoothly and the tap works flawlessly for many years. Additionally, you will read about:
- What models of taps are available on the modern market?
- How to accurately install a countertop, standing, and wall-mounted tap?
- How to avoid problems with a leaking tap or damage to the water installation?
- What tools will be needed to properly fix a washbasin tap?
Types of Washbasin Taps and Their Installation
Choosing the right washbasin tap affects bathroom use and the aesthetics of the interior itself. The models available on the market differ not only in design but also in installation method and functionality. When deciding on a specific type of tap, it's worth considering how it will harmonize with the washbasin and whether it meets the expectations in terms of practicality and comfort for other users. Here are the most common types:
- Standing tap – installed directly on the washbasin or countertop, currently one of the most popular models. It has water installation openings, making it easy to attach it to the sink. It's commonly chosen for its versatility and ease of installation.
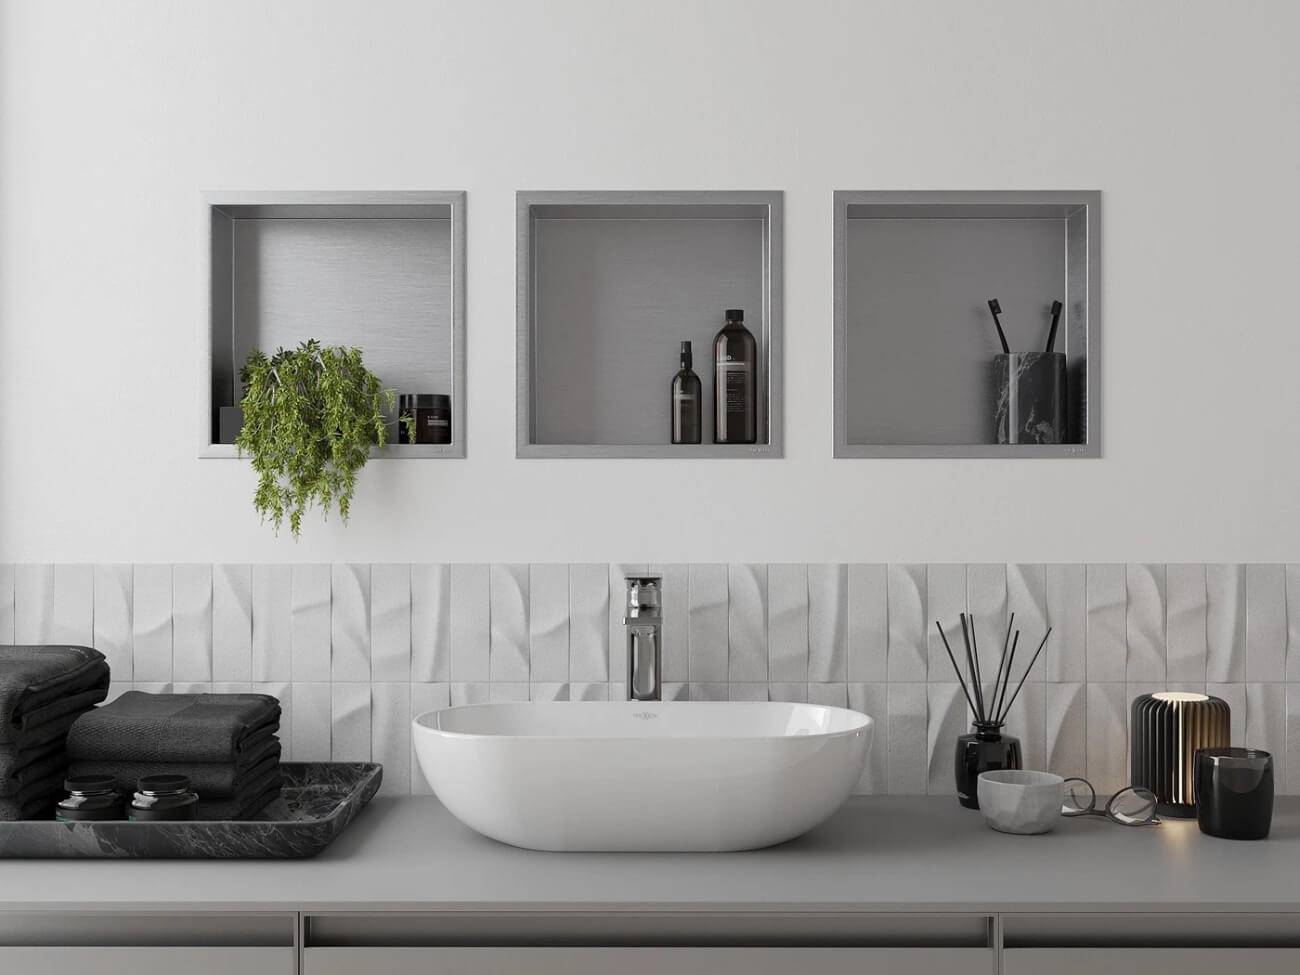
- Countertop tap – similar in appearance and functionality to the standing variant, but installed on the countertop next to the basin. This type of tap is gaining popularity due to its modern design and arrangement possibilities it offers.
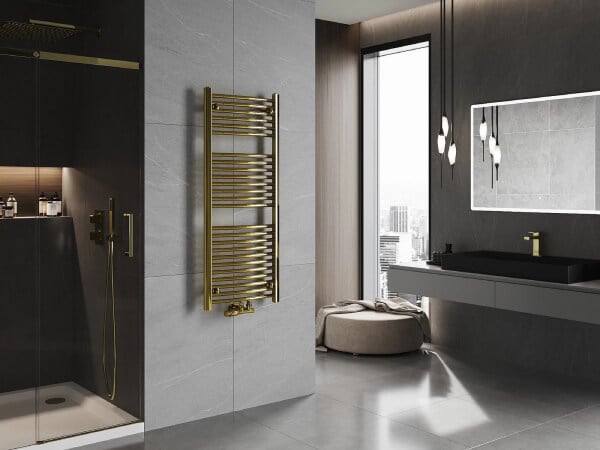
- Wall-mounted tap – this washbasin tap is mounted directly onto the wall. This requires precise planning as it must be placed at the right height and precisely fitted to the plumbing. It's often chosen for minimalist-style bathrooms where saving space is most important.
Installing a Washbasin Tap – Step by Step
Before you start the installation, make sure you have all the necessary tools and components within reach. For installing a washbasin tap, you will need, among others:
- Adjustable wrench or tube wrench – for tightening hoses and mounting screws.
- Pliers – for potentially dismantling the old tap.
- Gaskets – usually included with the selected tap model, but it's worth checking their condition before installation.
- Water supply hoses – usually factory-included with the tap.
- Nuts, washers, mounting screws, and mounting caps – also typically included. They attach the bottom part of the tap body to the washbasin or countertop.
- Silicone – for sealing where the tap meets the countertop or washbasin (not always necessary).
Before starting work, ensure that the water supply pipes are closed. Use the main valve or the cut-off valves located at the ends of the hoses under the washbasin. Otherwise, water may flood your entire bathroom.
How to Fix a Standing Washbasin Tap?
Standing models are the most frequently chosen due to their easy installation and versatility. To install such a tap, you need to:
1. Prepare the hole in the washbasin
The washbasin or countertop should have a factory-built hole for the tap of the appropriate diameter. If not, you need to cut it yourself using the right tool. Standing taps typically require a single hole with a diameter of 32 to 35 mm.
2. Install the gaskets
On the underside of the tap body, place a rubber or silicone gasket to secure the connection against leaks. Then place the tap in the washbasin hole, ensuring it is properly seated.
3. Secure the tap tightly – use the mounting screws!
From below the washbasin or countertop, attach the mounting washers, then tighten the nuts using an adjustable wrench. Ensure the tap is in the right position and stable, but do not over-tighten as this can damage the screw head.
4. Connect the supply hoses
Connect the hoses to the valves shutting off the hot and cold water supply. These pipes should be tightened to a perceptible stop. Otherwise, it may damage the gasket. The shut-off valves are usually located under the washbasin or in the bathroom cabinet.
5. Check for leaks!
After finishing the installation, open the shut-off valves and check if the water stream flows freely. Ensure there are no leaks at the connections.
Countertop Tap Installation Can Also Be Simple!
Countertop taps, which are mounted directly on the countertop next to the basin, are very popular due to the great aesthetics of the taps and modern design. Their installation is very similar to standing taps, with the difference that you need to plan the hole size on the countertop and the basin's height more precisely.
Bathroom Tap Installation – What to Know?
This tap model also requires a hole in the countertop, but it must be larger than in the case of a standing variant, as the countertop washbasin tap has a more massive construction. Then, similar to a traditional tap, you need to install the gaskets and mounting washers, then tighten the fixtures from underneath the countertop.
Connect the water supply hoses to the shut-off valves, ensuring they are properly tightened.

And How to Attach a Wall-Mounted Tap?
Wall-mounted taps are less popular than standing ones, but are still used in modern bathrooms. Their installation requires a more advanced approach as you need to accurately determine the height of the tap and the placement of the pipes supplying water.
First, prepare the water installation. Shut-off valves for wall-mounted taps must be appropriately located and installed in the wall. The pipes supplying water should be at a height of about 100-110 cm from the floor; however, the final position depends on the type of washbasin.
Mount the tap body on the wall, ensuring it is properly seated. Use protective caps and other mounting elements included in the purchase set for attachment. Then connect the pipes supplying hot and cold water. Check for any leaks.
Replacing a Washbasin Tap – What to Pay Attention To?
Replacing a tap in the washbasin is a process very similar to installing a washbasin tap. A crucial step before this work is to unscrew the old fixture, which may require a lot of force. Remember, if you want to replace a tap, shut off the water supply and check the condition of the plumbing and all pipes before starting the disassembly.
Installing a Washbasin Tap – It's Not Difficult!
Installing a washbasin tap is a task that, with the right tools and guidance, can be done independently. It is important to follow safety rules and thoroughly check the tightness of the created connections after installation. This way, you can avoid issues with unwanted leaks. Enjoy your washbasin tap for many years!