


Sealant silicone used between tiles and a shower base or bathtub loses its adhesion over time, and consequently, its waterproofing as well. When it comes time to replace it, the question arises: "how to remove old silicone?" Though it's a material highly resistant to moisture, over time it wears out in every bathroom and needs to be replaced with new bonding material. Often, we wonder: how and with what to remove the silicone, so as not to damage the surrounding surface and to be able to re-seal the area against moisture? In today’s article, we suggest the best methods for removing silicone!
What will you learn from this article?
You don’t have to worry that the entire process of removing silicone is difficult. By following the rules and using specialized preparations, you can complete the task without much trouble. From this article, you will learn:
- How to maintain silicone condition in the bathroom?
- What you need to watch out for when removing silicone around the shower base, bathtub, and sink?
- What helps best in removing silicone from tiles?
Regular inspection is essential
It’s worth starting with the fact that areas where sanitary silicone is used often have direct contact with water - warmth and moisture create an excellent environment for bacteria and mold growth, which is why we should regularly (for example, when cleaning the bathroom) inspect the sealed areas. Over time, silicone deteriorates and loses its properties - it stops being as airtight, cracks, and loses adhesion. Moreover, it simply becomes unsightly: the material turns yellow and dark mold spots appear that can't be removed with chemical agents. When we notice that the sanitary silicone in our bathroom starts to look bad - it's time to remove the old silicone and re-seal the areas, applying a new layer. We suggest how to remove silicone without damaging the surrounding surface and prepare for a new layer of this material.
How to remove silicone: basic methods
There are many different methods for removing silicone, but they differ in one fundamental factor: whether we need to remove old, dried silicone, or freshly applied, soft silicone. In both cases, the methods for its removal will differ slightly - soft silicone is definitely easier to remove. How to remove silicone with household methods?
How to wipe silicone - home method
If you want to remove silicone that has spilled onto a hard, smooth surface, you won’t struggle too much. Removing soft silicone, which is freshly applied, is just a few simple steps:
- soaking it with a large amount of dishwashing liquid
- waiting a few minutes
- removing the silicone with a sponge, cloth, or toilet paper
Done! We don’t have to put too much effort into removing silicone that hasn’t dried yet. It’s a bit worse when it comes to old adhesive: how to wipe silicone that has already hardened?
How to remove silicone - mechanical methods
Old silicone is more challenging to remove. First and foremost, we must remember not to damage the surface of the shower cabin, bathtub, or tiles. Often, a sharp tool such as a penknife or small knife is used to remove dried silicone. Gently and precisely remove old silicone from the surface, remembering that this way we won't get rid of all the silicone at once. We will later remove the silicone residues using appropriate chemical agents.
How to remove sanitary silicone - chemical agents
After preliminary removal of old silicone with a knife, proceed to remove its residues with appropriate chemical agents. We can use here:
- traditional solvent
- silicone removal preparation
- silicone dissolving agents
Of course, the first method is certainly faster - practically everyone has a solvent at home. Silicone removal preparation, as well as special chemical agents that help remove dried silicone from ceramic tiles and more, are available at any hardware store - when using them, make sure you are not allergic to any of their ingredients. The silicone remover softens it, weakening its adhesion to the surface - thus allowing easy removal of even silicone residues.
Special preparations work within a few minutes or so: after this time, it’s enough to collect everything with a spatula and then wash the cleaned surface with warm water - if necessary, the operation can be repeated. It’s worth noting that a silicone remover might cause dulling of plastic surfaces - it’s good to protect them with painter's tape or a piece of foil. After removing the old silicone, we thoroughly dry the area to apply a new layer.
How to remove old silicone from tiles step by step?
Follow the instructions below to quickly get rid of old silicone from the tiles:
- Check the condition of the silicone — verify if it’s cracked, discolored, and contaminated.
- Secure other surfaces — place painter’s tape on adjacent tiles to protect them from scratches and chemicals. Ensure the drain is closed. Silicone residues should not enter the pipes.
- Use a chosen agent to soften the silicone — if you have chosen a chemical agent, follow the manufacturer’s instructions.
- Proceed to mechanically remove the silicone — make incisions along the joint with a sharp knife. Then pry up the silicone layer. Gradually remove larger pieces.
- Clean the joints — wipe the areas where the silicone was located with a cloth soaked in detergent. Rinse the space with water and dry thoroughly with a paper towel.
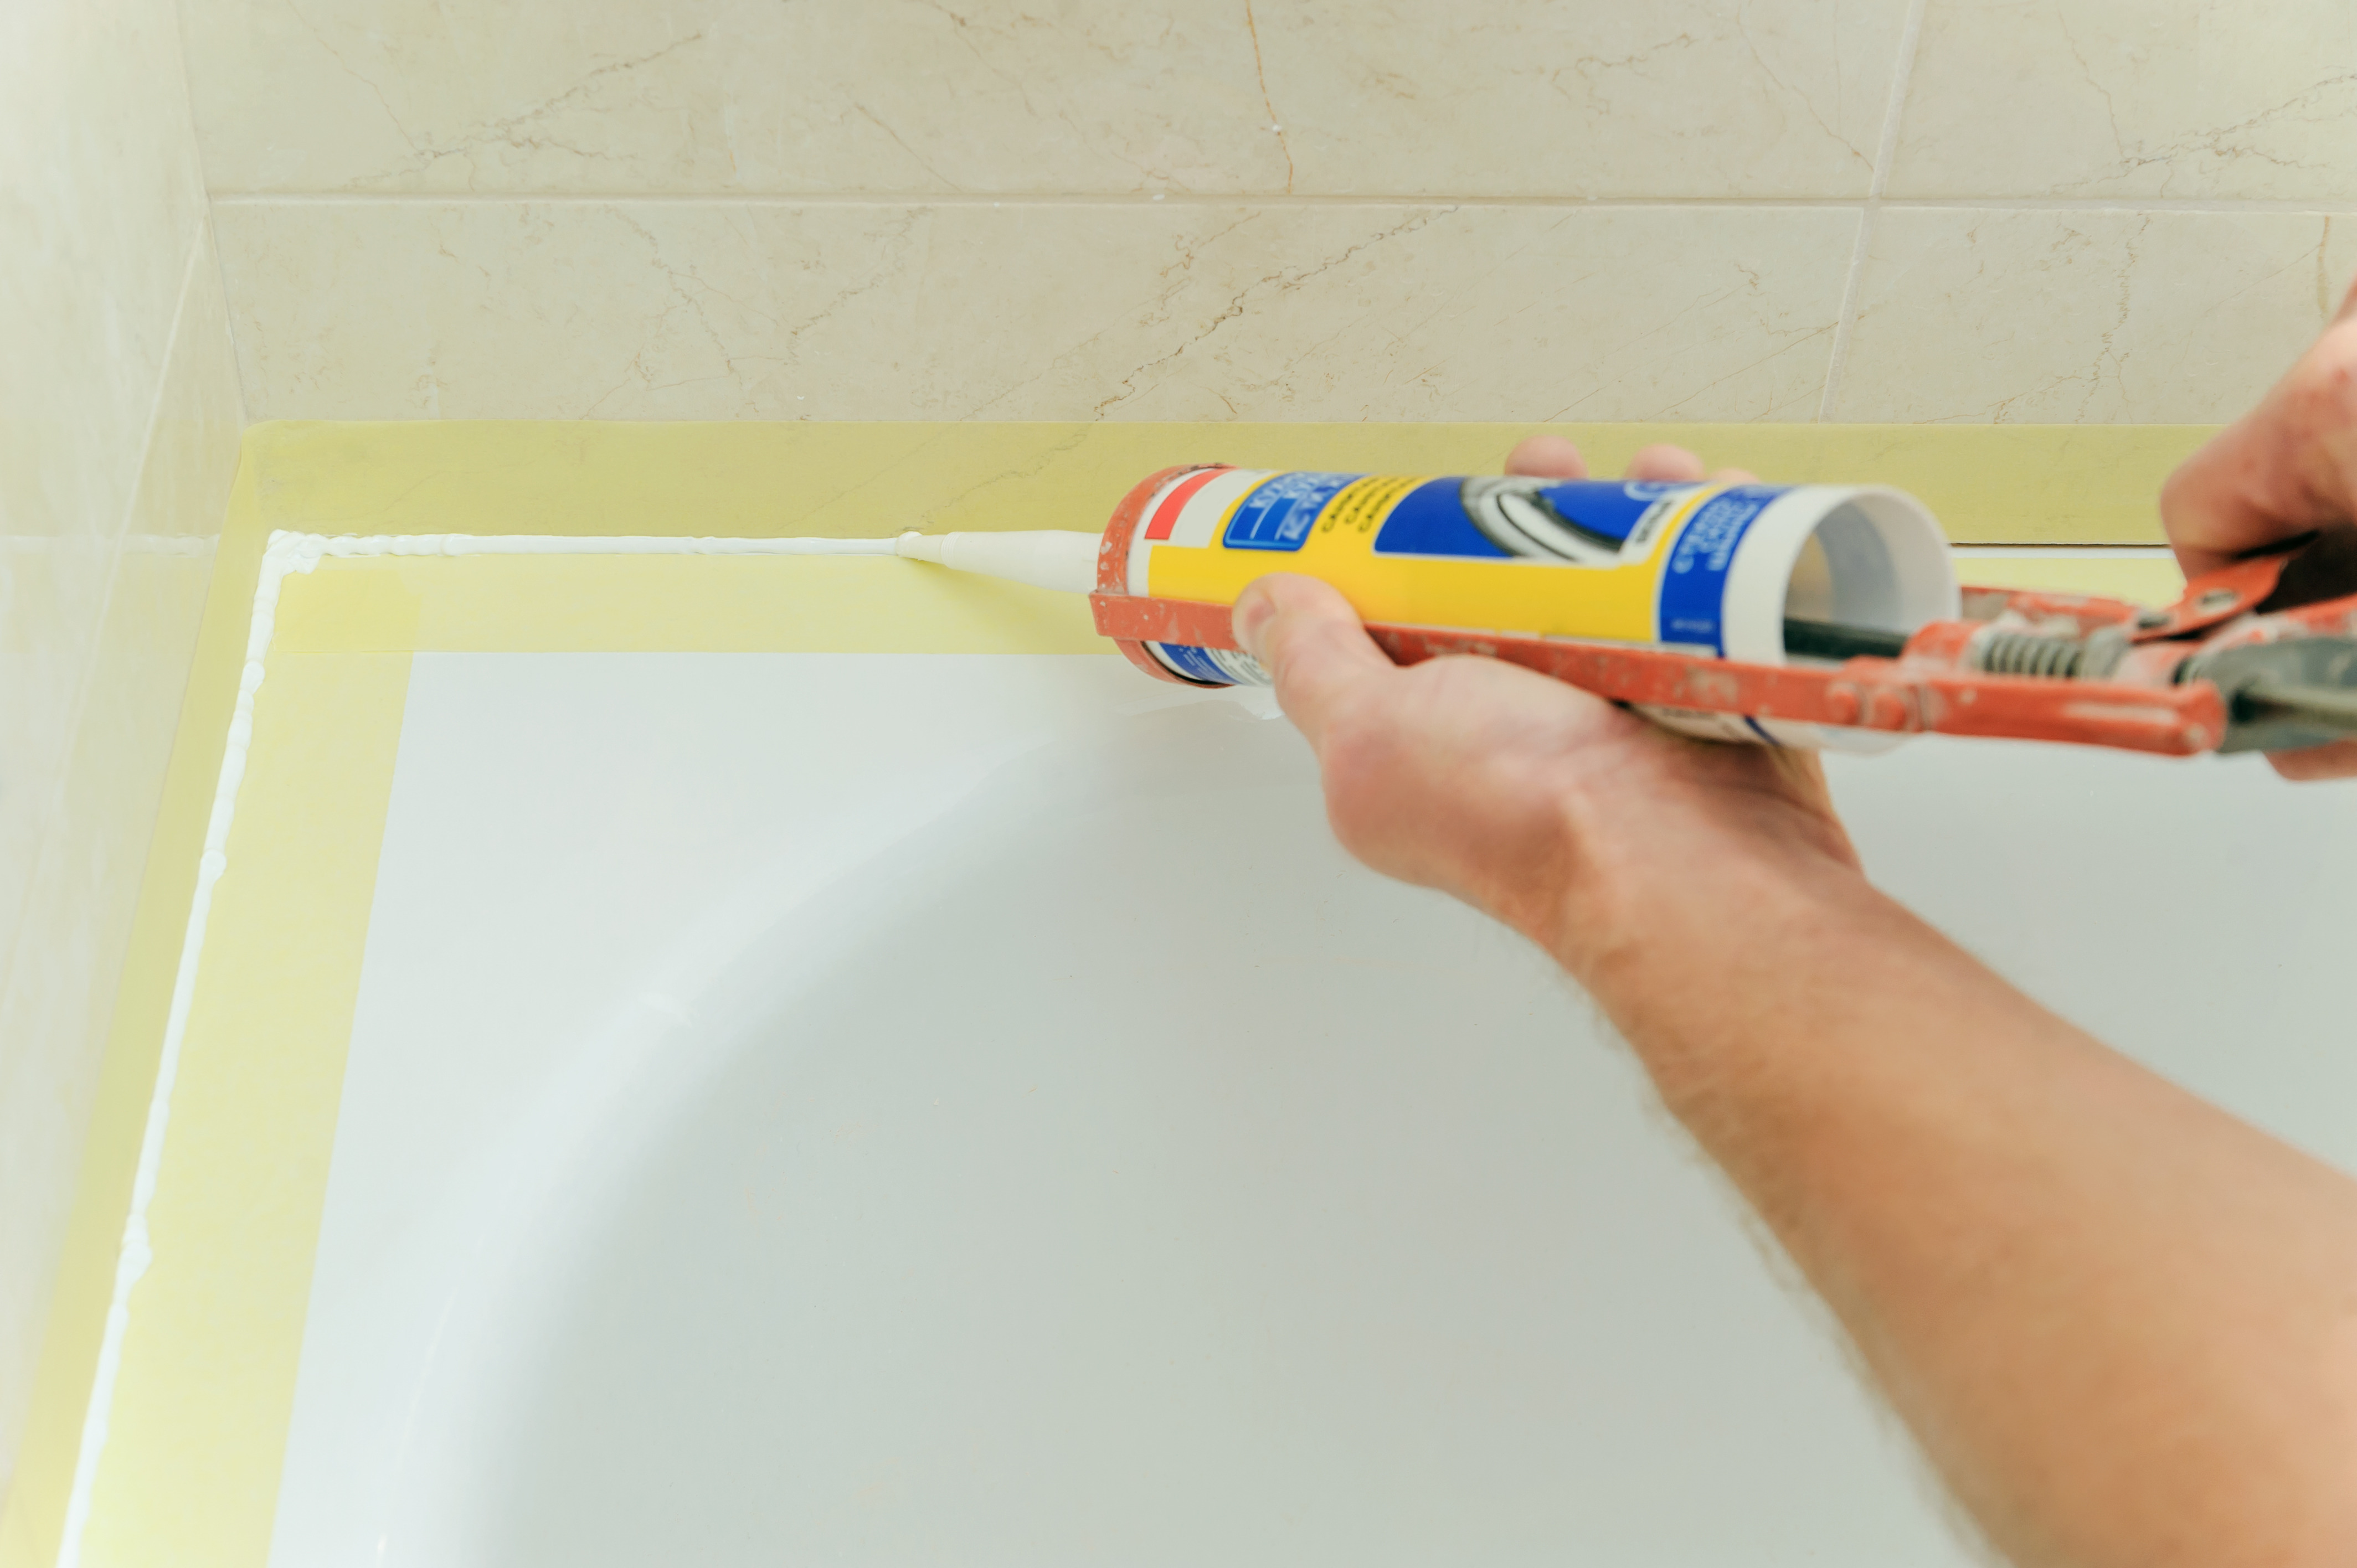
- You can start applying fresh silicone — once there are no longer any dirt or grease stains on the surface, begin applying the sealing product. Check, how long does silicone take to dry in the bathroom.
Silicone removal - summary
As you can see, there are several methods to remove silicone - both old and newly applied. You can use items that you surely have at home: a small knife, solvent, and dishwashing liquid. However, if you're worried about damaging cleaned surfaces, we definitely recommend choosing professional silicone removal preparations.
It’s worth remembering to replace silicone when you notice it crumbling or peeling off - this way, we'll avoid unsightly appearances and potential leaks in non-watertight areas. Even though removing silicone isn’t overly difficult, it can be time-consuming.
Related products


- Mega Discounts
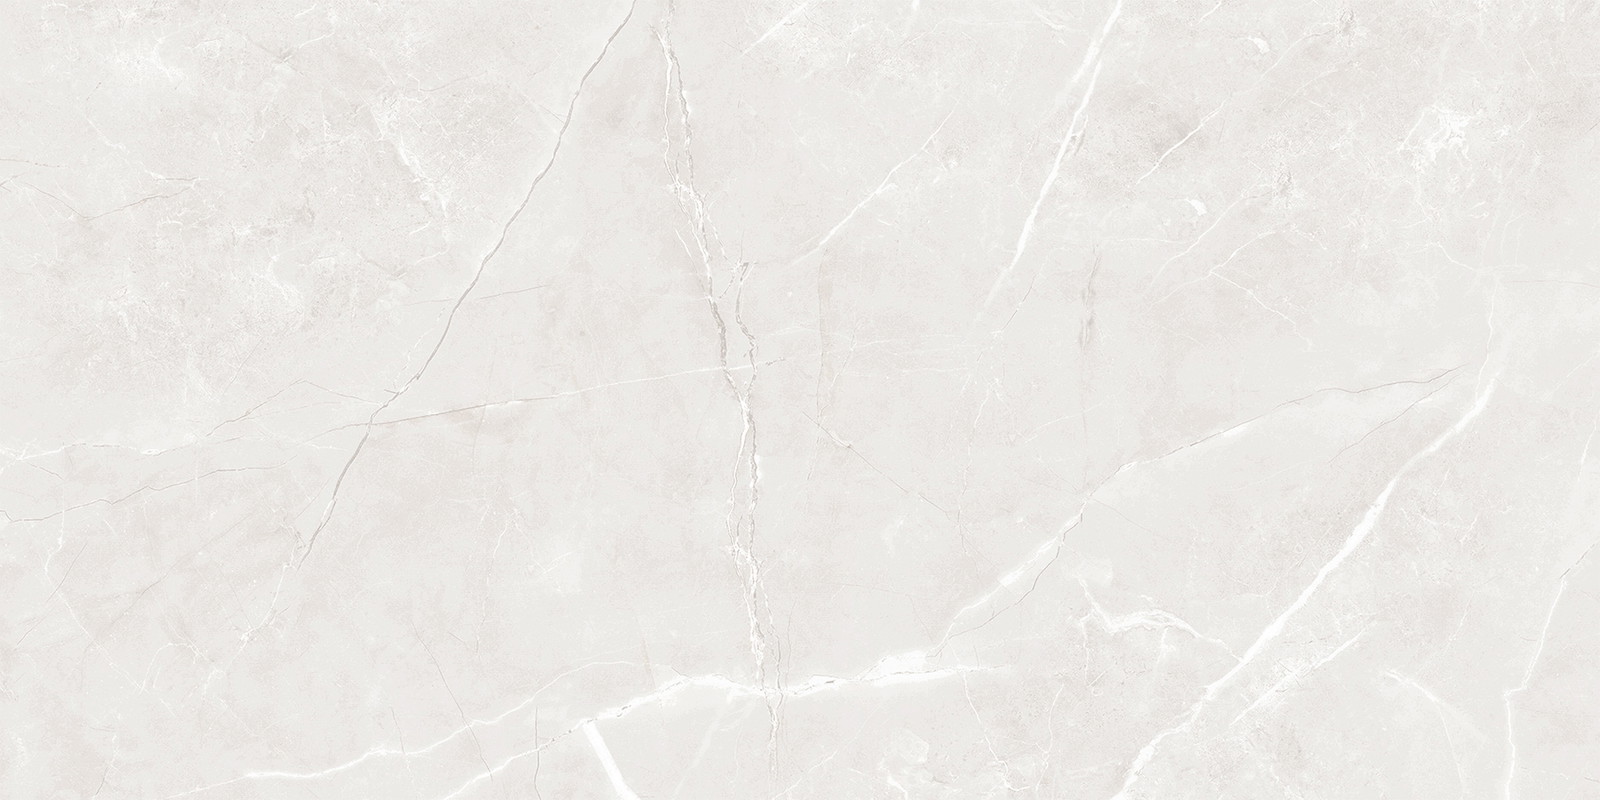
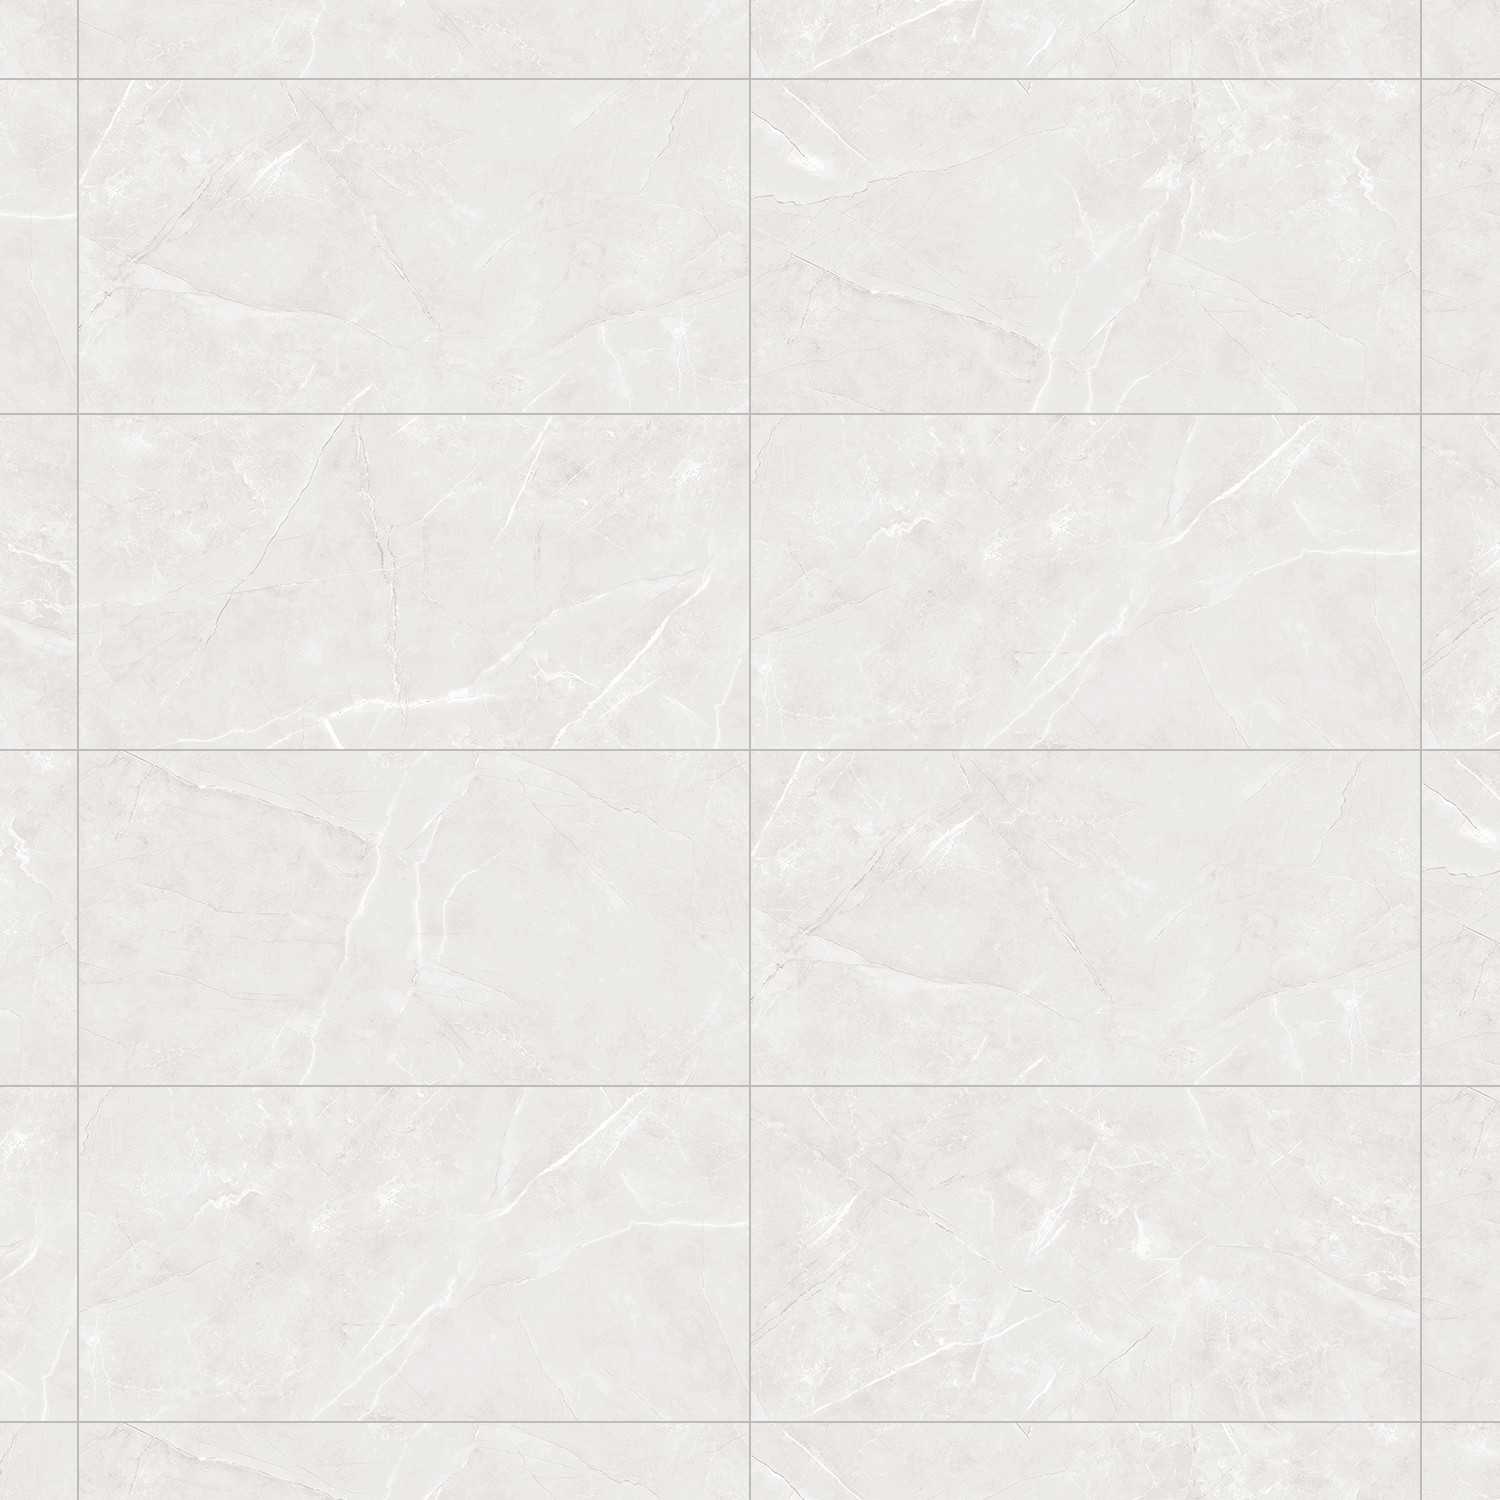
Mexen Brakel White Glazed Rectified Porcelain, Floor and Wall Tile 120 x 60 cm, Glossy - TL110-120-060-01
€28.60/m2 -19.97%
€22.89/m2List price: €28.60/m2
Lowest price: €22.89
Availability: 2026-09-27


- Mega Discounts
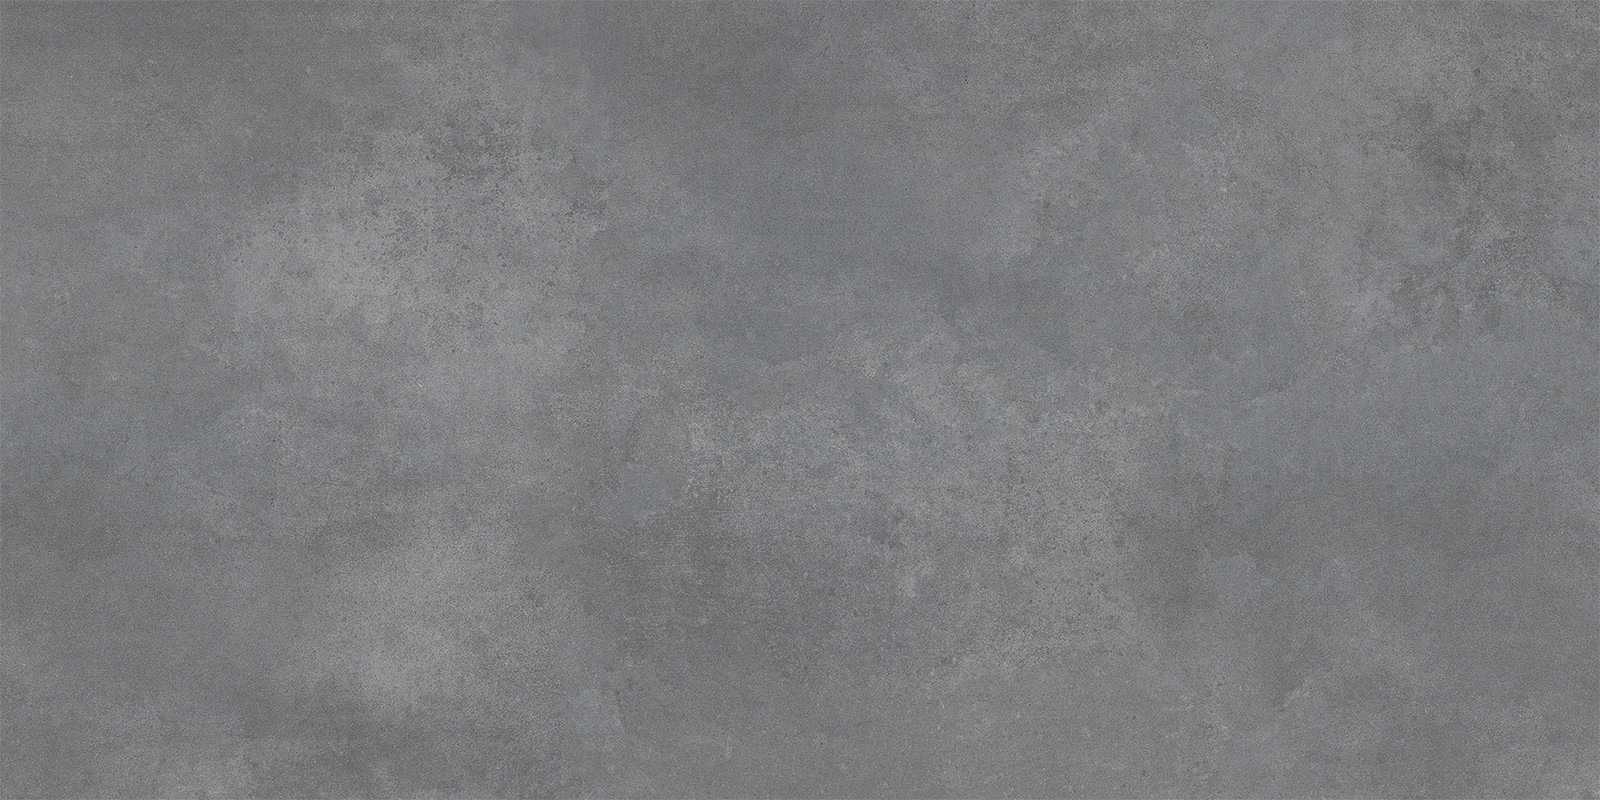
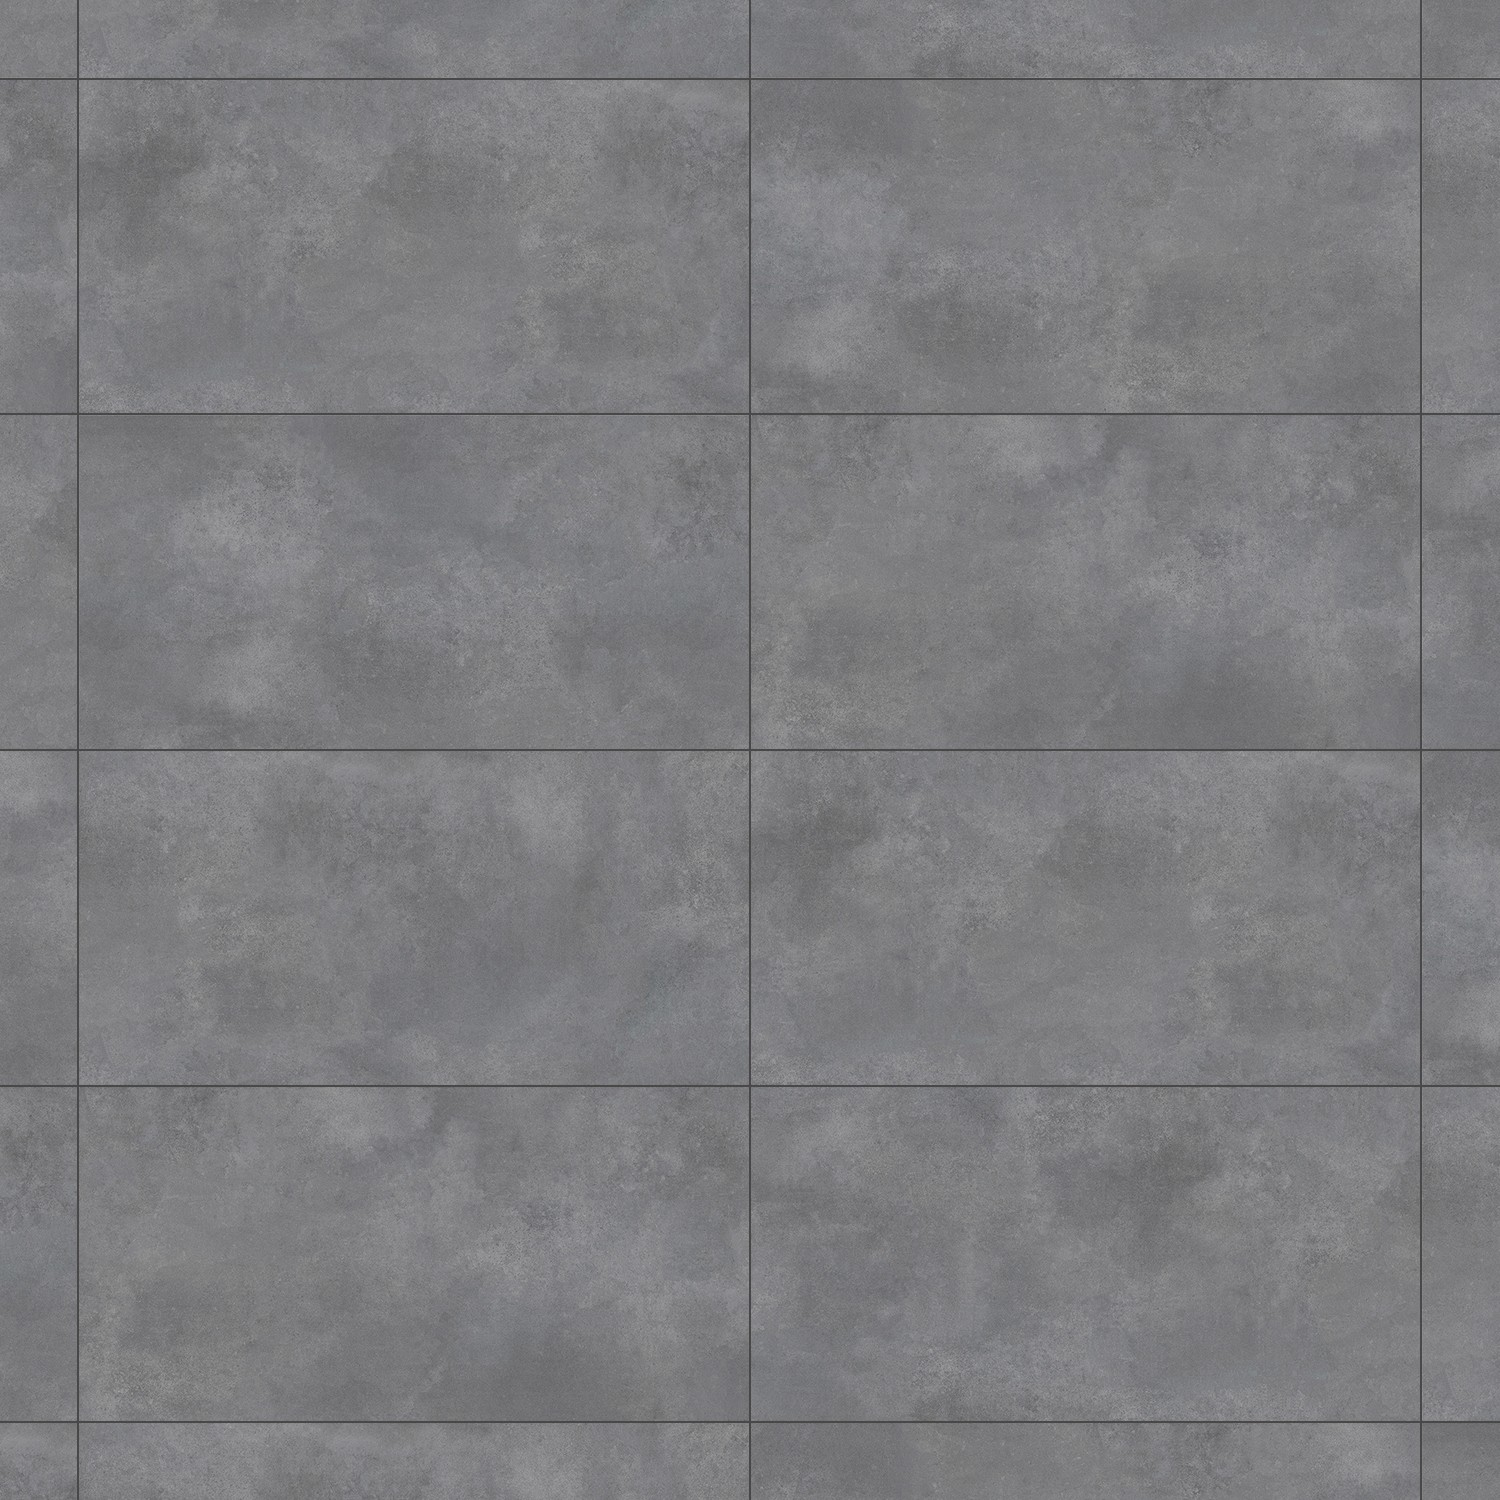
Mexen Deago Grey glazed rectified stoneware, floor and wall tile 120 x 60 cm, matt - TL326-120-060-02
€28.60/m2 -19.97%
€22.89/m2List price: €28.60/m2
Lowest price: €22.89
Availability: In stock


- Mega Discounts
Mexen Hugo rectangular shower tray SMC 100 x 80 cm, white - 42108010
€174.90 -19.96%
€139.99List price: €174.90
Lowest price: €139.99
Availability: In stock


- Mega Discounts
Mexen Monaco White glazed porcelain rect. G1, floor-wall tile 120 x 60 cm, matte - TL313-120-060-01
€28.60/m2 -19.97%
€22.89/m2List price: €28.60/m2
Lowest price: €22.89
Availability: In stock

- Mega Discounts
Mexen Vega rectangular bathtub 170 x 70 cm with casing, white - 55011707000X
€303.60 -20%
€242.89List price: €303.60
Lowest price: €242.89
Availability: In stock