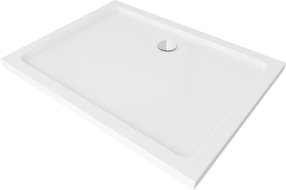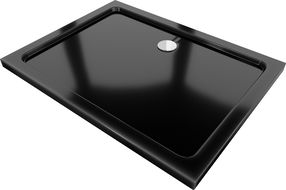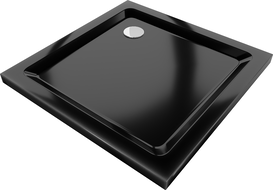
Until recently, everything was working perfectly. Nothing was clogged. Water was efficiently draining away. But then suddenly... disaster! The siphon is not working, and the used water is leaking out of the cabin, or worse, it is seeping out from under the tray. It has already flooded the bathroom, and a stain has appeared on the ceiling of the neighbour's flat below. You need to quickly find the cause of the fault and take action. Replacing the siphon might be necessary. How to do it? We advise.
If the water from the tray is not draining...
If water from the shower cabin is not draining properly and spilling onto the bathroom floor, there is no need to immediately disassemble the shower tray. It may turn out that replacing the siphon will not be necessary. Perhaps the drainage has only lost some of its efficiency, or in the worst case, the drain is completely clogged. We can easily deal with such an inconvenience. It is enough to just clear the drain, and it's ready. You can try doing it in several ways:
- by removing the sediment basket (if the siphon is equipped with one) and removing the debris,
- cleaning the water and waste pipes with a plumbing snake inserted from above,
- flushing the siphon with a strong stream of water, directed directly into the drain using a shower hose, after unscrewing the showerhead,
- cleaning the shower tray siphon using special detergents.
It's wet under the tray. What's happening?
The most common cause of water leaking from under the shower tray is incorrect siphon installation. This creates a leak between the siphon and the drain. When the siphon's casing does not fit closely to the tray, not all water reaches the flexible pipe through which it could drain into the sewer (part of it seeps outside). A rubber gasket should be located at the junction to prevent leaks. However, it is subject to fairly rapid wear. Prolonged contact with water, the action of chemicals, and temperature changes can lead to the gasket's destruction. Replacing the damaged gasket with a new one does not require special skills or tools, and effectively solves the problem.
Other causes of a leaky siphon
If the water drainage from the tray is to be effective, precise installation of the siphon is also necessary. All the components should be well-fitted and tightly screwed, and gaskets should adhere closely to the surfaces. It is also worth investing in a siphon made of high-quality material. Thin plastic is prone to mechanical damage and can easily be punctured during cleaning. When purchasing a siphon, carefully check the product's appearance, making sure there are no construction defects, such as unevenness or crooked threading. The silicone used for fitting the siphon and tray also plays an important role. For the bathroom, we choose sanitary silicone. It is resistant not only to high temperature or moisture but also to fungi and bacteria.
What to do when the tray requires a siphon replacement?
Depending on the type of drain previously installed, dismantling the entire cabin and tray is not always necessary. In some cases, this can be avoided. Simply move the masking panel, which hides the siphon and drainage elements. Unfortunately, in most bathrooms, we must consider the fact that to install a new siphon, the shower tray may need to be dismantled. Moreover, prolonged water retention under the tray can lead to wall mould. Therefore, the tray should be removed, water and any dirt should be collected from the floor, walls should be dried, and old silicone should be removed. Only then can you proceed with installing a new siphon and connecting it to the sewage system.
Instructions for replacing the shower tray siphon
As we mentioned earlier, installing a new siphon for the tray requires dismantling the old device. If you have managed that, you can proceed with installing the drain:
- place a gasket on the lower body of the siphon,
- position the body under the tray so it fits snugly against the drain hole,
- from above, insert the threaded flange with a gasket into the tray hole,
- screw both elements together tightly,
- connect the siphon to the sewage installation using a pipe with a diameter of 40 mm or 50 mm,
- install the cleanout, strainer, or click-clack plug into the siphon (depending on the purchased model type),
- mount the siphon cover,
- check the joints for leaks by running water through the siphon into the sewer system,
- reinstall the tray and shower cabin,
- ensure exact sealing.

