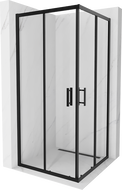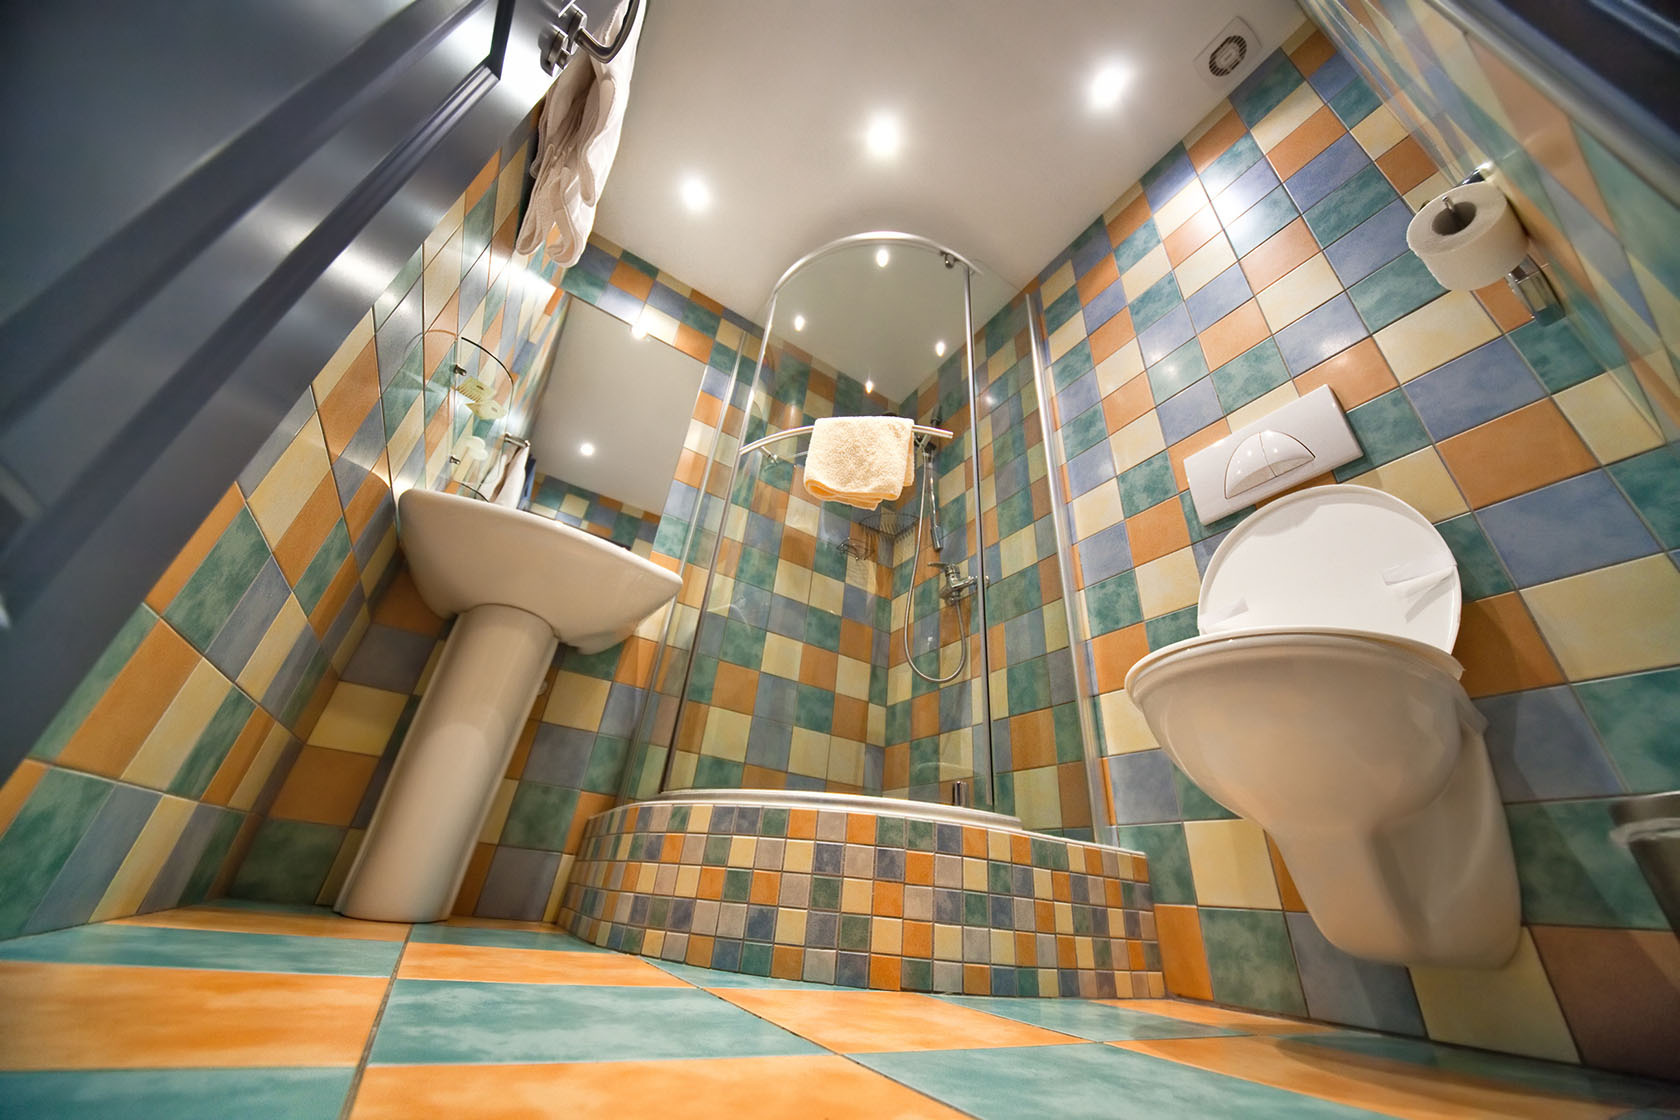
Every shower cabin, including one with dimensions of 90 by 90 centimetres, should be installed as indicated by the instructions. It's advisable to follow each step carefully to avoid mixing up any parts and be satisfied with the end result. A good idea is to also ask for help from a second person, which will make the work go much faster.
Initial work using the example of a semicircular corner cabin
Initially, horizontal profiles must be connected with vertical ones, as well as the lower frame with the vertical frames. Appropriate connectors should be placed in the two profiles and screwed in the correct places using a Phillips screwdriver or drill. Then the vertical profiles need to be inserted into the connectors of the lower horizontal profile and all components connected using screws. The upper horizontal frame should be attached to the two vertical frames, but not fully inserted. In this ready frame, walls made of plastic or glass should be inserted.
Before inserting the walls into the frame profiles, it is necessary to seal the points of contact with transparent sanitary silicone. Then, clamps must be locked and initially tightened to the walls on the lower frame. A seal should be precisely pressed into the side profiles and then its protruding part cut off. After assembling the walls and seals, transparent sanitary silicone should be applied to the connection point of the walls with the upper horizontal profile, and it should also be screwed to the two vertical profiles. The next step is to cover the clamps with plugs.
Advanced installation
After the initial works, we proceed to place the constructed framework on the installed shower tray. It must fit precisely to the walls and shower tray. This is checked using a spirit level applied to the frame. Next, a line should be drawn to precisely fix the side profiles. It's also necessary to designate points where mounting holes need to be drilled. To achieve this, the framework must be removed from the shower tray and side mounting profiles taken out. The next step is to press the outline against the wall and mark drilling points for wall plugs.
Next, holes need to be drilled in the appropriate places and wall plugs placed in them. The line for attaching the side profiles must be sealed with silicone. The mounting side profiles should be aligned to the wall, and when they are evenly positioned, they should be screwed into place. The entire cabin framework should be set again and slid into the side profiles before applying silicone on the lower edge of the lower horizontal profile. The properly adjusted frames are now meant to be screwed to the side profiles. The upper and lower edges of the walls should have a seal applied.
Final works
After completing many tasks, doors can be installed in the cabin. To do this, appropriate rollers must be attached in their designated holes. Rollers without a release button should first be installed, which have adjustment screws underneath, to be placed in the upper part of the door. Meanwhile, rollers with a release button need to be fixed in their lower part. When the doors are ready to be inserted into the cabin, they should be positioned from the inside. Caps should be placed where mounting elements are visible. On the edges that connect with each other, seals are applied.
Handles should also be attached to the doors by applying covers on their screws. Then, the handle is placed in the hole on the door, and washers and nuts are applied. The final step is to seal the lower profile with the shower tray using sanitary silicone. It's important to apply it evenly and remove any excess. It should dry for at least 12 hours. After this time, it's advisable to check the tightness of the shower cabin. If no leaks are visible, it is ready for use.

