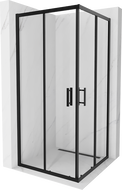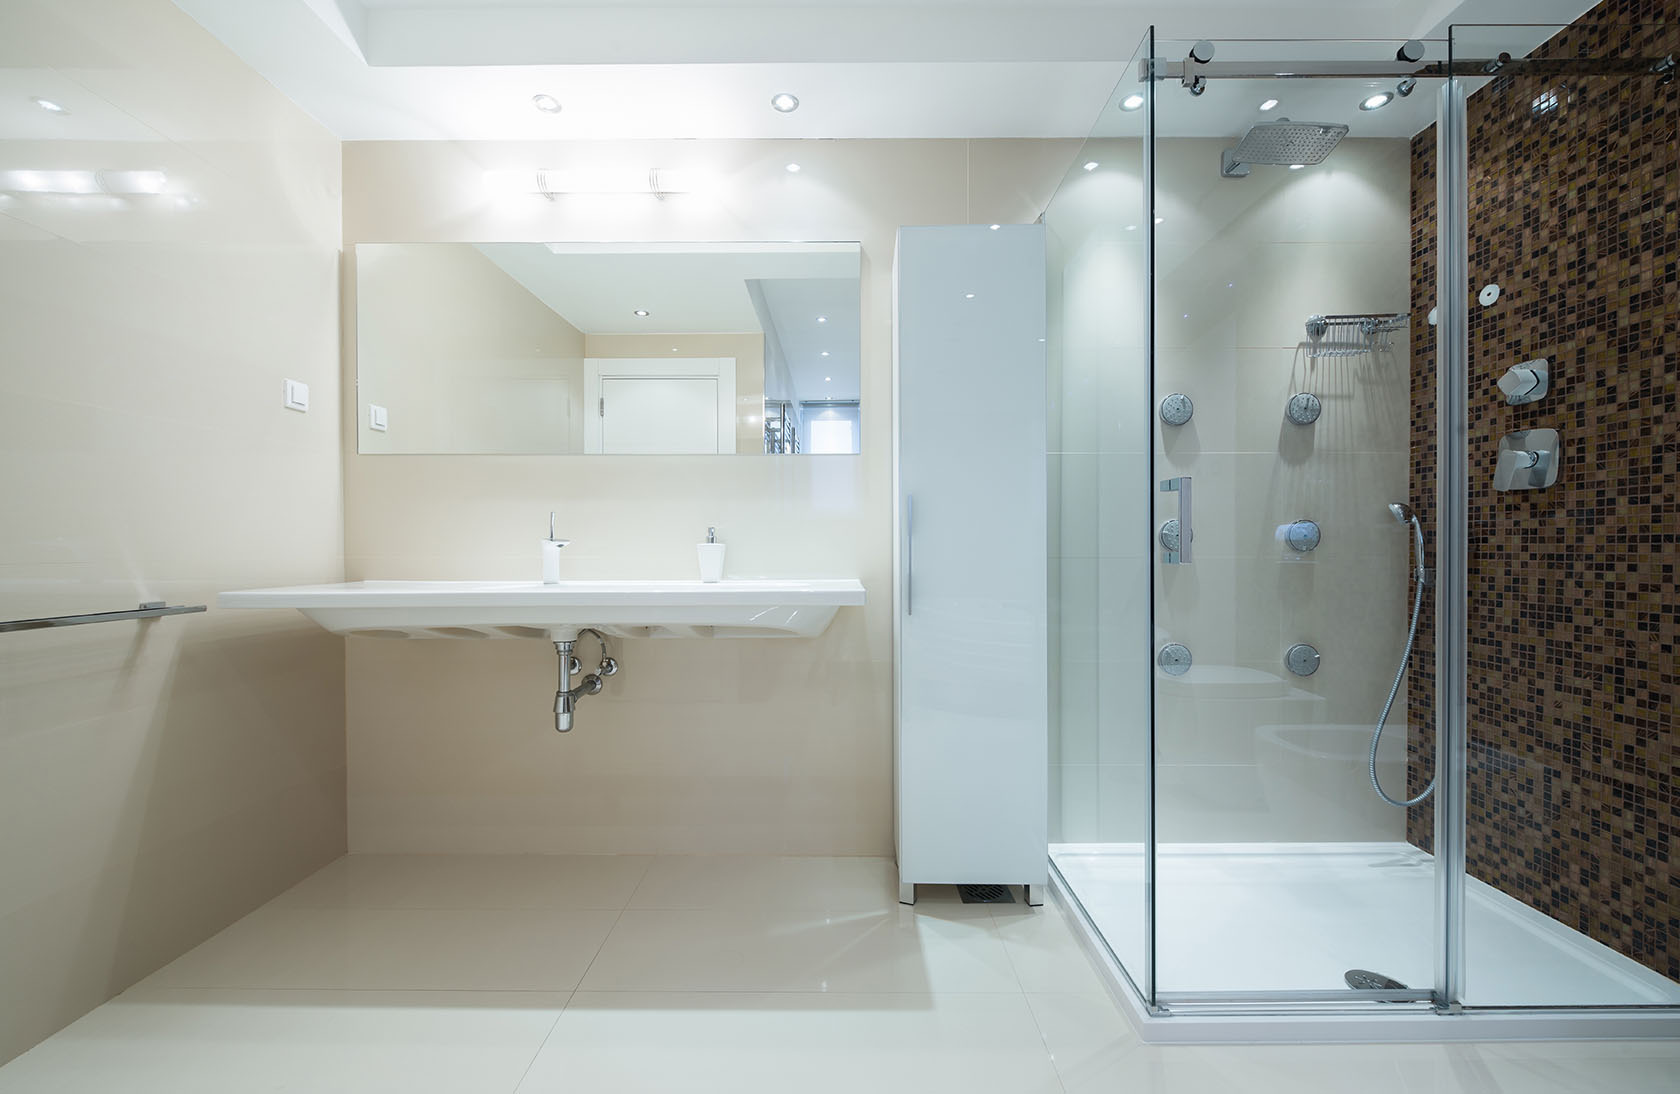
Are you setting up a bathroom in your new home? Or maybe you are planning a renovation and replacement of old fixtures? You have surely chosen a stylish and functional shower tray – but what's next? To properly install this bathroom fixture, it's easiest to follow the instructions included with the product. It's important to perform each task slowly and pay special attention to the presence of individual components and their placement in the correct position. One thing is certain – it's worth carefully following each step of the included instructions. This way, you can avoid costly repairs and modifications. What should you pay particular attention to?
Selecting the model of shower tray
When planning a bathroom renovation, it's worth carefully considering the selection of a matching shower tray from the very start – you should take into account not just the aesthetic features of the product, but most importantly, the height and location of the drain hole. Before heading to the shop, be sure to check the location and height at which the inlet to the sewage system is in the room – a drain located on the floor or just above it will allow for the installation of a low shower tray, whereas if the sewage inlet is a bit higher, a taller tray will be a better solution.
The second important selection criterion is the location of the drain in the shower tray. The best solution is to purchase a model where the shower tray drain is positioned a bit further from the sewage inlet, giving you more space for making the connection. It's also important to choose a compatible siphon – if this element is not included, it's worth investing in a top-cleaning siphon that is as low as possible, especially if you plan to install a shallow shower tray.
And the last important tip – ensure proper waterproofing in the bathroom, which in the event of a failure will prevent flooding of neighbours and adjacent rooms. To this end, the liquid membrane purchased earlier will be useful – these types of preparations are not too expensive and are very easy to apply yourself.
Different ways to install shower trays
Shower trays can be installed in the floor, on a frame and a styrofoam base, or even on the floor. This type of product, which should be embedded in the floor, requires a free space carved out of the floor, with a depth of about 10 to 12 cm. If we are dealing with initial floor concreting, we must leave an appropriate amount of space. However, low trays, which are installed on the floor, do not require additional components, while standard ones need to be mounted on appropriate frames. Their installation is very easy.
Meanwhile, deep trays are usually installed on styrofoam bases. This is a quite comfortable installation method that provides a durable support. The styrofoam base fully adheres to the floor. Besides, styrofoam very effectively muffles the sounds of falling water droplets and also ensures proper thermal insulation. Thanks to this, bathing is much more comfortable. If we are planning underfloor heating, we must consider the placement of the shower tray. Otherwise, the pipes may interfere with its installation.
Useful tools and materials
Before you start the installation work, remember to gather the necessary tools and materials, which will greatly ease and speed up the work and prevent interruptions associated with searching for needed tools. When buying a shower tray, you very often receive a complete set of installation accessories, designed for this specific model, including various types of clamps, rails, and feet – if these types of elements are missing from the chosen set, you will certainly find them in the manufacturer's offer. What else will you need during installation?
- The previously mentioned shower siphon.
- Flexible connection pipe – a product with a diameter of 50 mm should be compatible with the sewage system inlet.
- Gaskets necessary for proper sealing of the drain.
- Squeezer with sealant silicone – you can choose the silicone colour according to your preference, but white will be the most universal.
- Metal saw – it is not essential, but may be useful for shortening the connection pipe.
- Spirit level and pencil – essential tools at every stage of installation work.
- Cordless screwdriver, drill, wall plugs, or assembly adhesive – the choice of specific assembly method depends mainly on the model of the tray. Some trays are mounted using appropriate adhesive, others with the use of clamps on wall plugs.
- Socket wrench – useful when tightening the tray feet.
- Flexible sealing compound necessary for proper connection of the siphon with the connecting pipe.
Detailed information regarding tray installation
The first task to perform when installing a 100 x 100 cm tray and other models is to place it in the location where it will be situated and appropriately adjust it to the floor layout so that it lies evenly. Any changes can be made by tightening the levelling feet under this product. This task is done with a socket wrench. Using a spirit level, you should check that everything is evenly distributed. The tray should then be placed against the wall and the location of the drain noted on the floor.
The next step is to mark the lower and upper edge lines of the tray on the wall. Later, using the flexible sealing compound, the siphon should be connected with the flexible pipe and elbow, which also connects with the drain pipe embedded in the wall. Meanwhile, the siphon must be placed where the drain location was marked. It is then necessary to apply silicone to the wall according to the specified edges of the tray. These join with the tiles. Finally, the tray should be placed appropriately.
Final steps during shower tray installation
After correctly placing the shower tray in the bathroom, you should press the edges of this product to the wall. Then, the siphon needs to be mounted. To do this, it is necessary to unscrew the gasket from it and place this element underneath into the drain hole located in the tray. Then, the gasket must be applied and both components joined. Lastly, it is recommended to check the siphon's tightness. To do this, water should be poured into the tray, watching to see if water accumulates beneath its surface. You need to monitor the entire water drainage process because at this stage we are still able to make adjustments.
Installing a shower tray is not a difficult job if you put in the effort and follow the rules stated in the instructions attached to the chosen model. It's also sensible to exercise extreme caution to avoid harming yourself or others. Asking a second person for help will definitely speed up the work and ensure you will be more satisfied with the result. Implementing ideas and solutions to different problems is much easier if more people work on them.


