


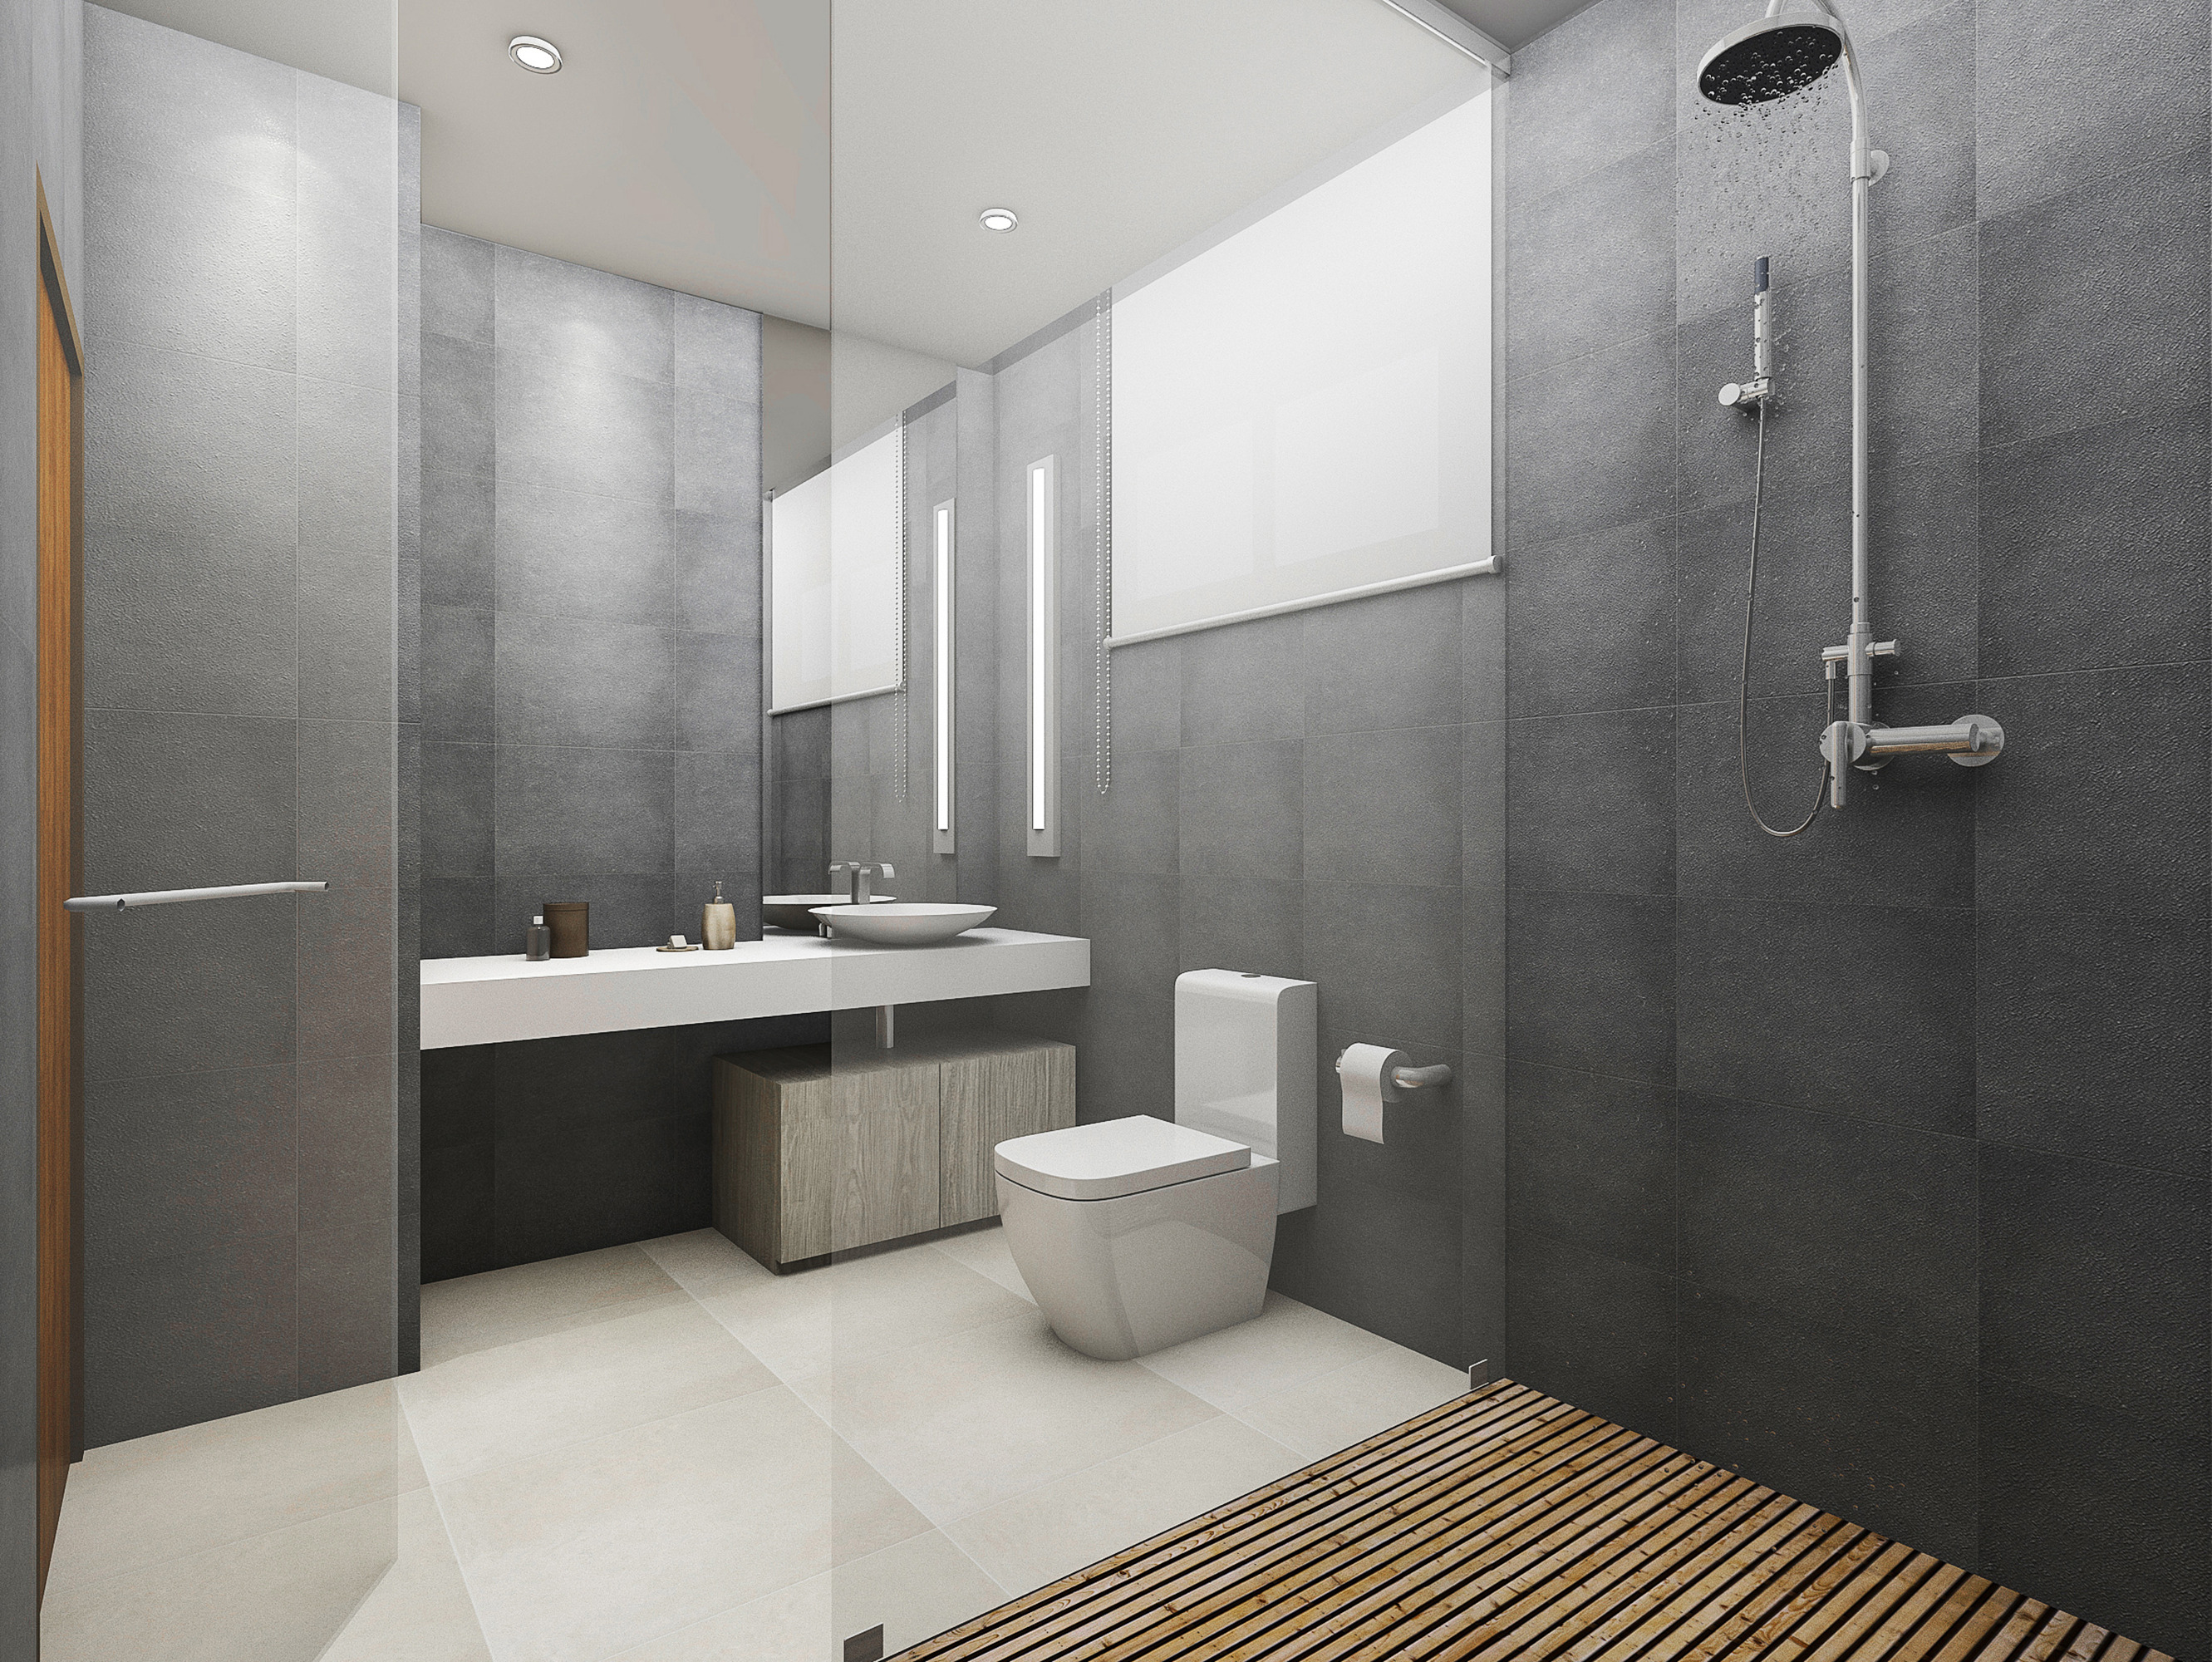
Wall-hung WC bowls are currently the most popular solution in Irish homes. Thanks to their modern design and smaller space requirements, they have effectively dethroned freestanding WCs. But it's not just these features that have made them so popular. The concealed frame hidden in the wall allows for better soundproofing of the flush sounds, easy floor cleaning and no more unsightly pipes in the bathroom. Read our article to learn how to properly install a concealed WC frame.
Which frame should you choose?
When choosing a concealed WC frame, make sure it is suitable for the wall you have in the designated toilet area. Concealed frames are divided into two main types. For masonry walls, you can choose a frame dedicated to heavy construction. It is slightly thinner because the load is mainly supported by the masonry walls. During installation, it is bricked up on the sides and bottom. However, remember that you can also choose a frame for light construction, as it has universal application.
Much more often, it is necessary to use a frame for light construction. It is used when the concealed set is installed on plasterboard walls. It's a bit more expensive solution but results in a very stable final construction. It is screwed to the floor, so its weight is mainly supported by the floor. Before proceeding with the installation of the concealed WC frame, it's worth learning how to do it properly.
Before you start installing the concealed WC frame
An important step before installing the concealed WC frame is properly planning the work along with the correct measurements. Frames typically occupy about 40 cm in width and 120 cm in height. Their thickness is about 20 cm. This also includes the size of the ceramic bowl. Typically, it's about 40 cm in width and about 60 cm in length. Perform the frame installation after analyzing whether using the WC will be convenient once the installation is completed.
The short time required to perform the installation is mainly determined by the sanitary connections and sewage pipes. Special attention should be paid to correctly execute this stage of the work. The place where you'll mount the frame is determined by the position of the drainage pipe for the WC. In blocks, there is often a complex installation composed of a network of pipes, which may complicate the installation of the concealed frame. Connecting the WC to the duct can be commissioned to a professional. Usually, the installation is not very troublesome. However, it is necessary to connect the WC to the duct using plastic pipes. Metal-clad hoses are not suitable for this.
Remember that when the drainage is located on the side of the frame, the WC's distance from the wall can change. Installing the entire concealed frame may limit the bathroom space. A corrugated pipe for the WC can be helpful. It helps correctly direct the drainage and saves the necessary space.
Proper wall mounting
Only after ensuring that the pipes and drainage have been correctly mounted do we attach the frame and flush tank to the wall and floor. An essential element is a hose supplying the right amount of water, usually, the flush tank has a capacity of about 6 litres. Ensure that the WC bowl ends up about 40 cm above the floor of the room. This is particularly important if your bathroom floor tiles have not yet been laid. Carefully measure the distance from the floor, as this will affect the comfort of using the WC.
Before mounting the WC bowl, the concealed frame should be properly enclosed. Use a water-resistant plasterboard. You can recognize it by its characteristic light green color. Remember also to purchase the appropriate amount of metal profiles, liquid foil, sheet metal screws, and quick mounting plugs. Ensure to choose a concealed frame compatible with the selected WC bowl. In the building materials store, customer advisors will certainly provide you with expert knowledge and help you select all the necessary accessories.
Installing the concealed WC frame – step-by-step
The first step during the installation of the concealed WC frame should be to construct the appropriate frame. Analyze how much space you need for the concealed WC frame. In small bathrooms or separate toilets, the enclosed frame is often extended to the entire width of the recess or room. This prevents the creation of small, hard-to-clean and manage spaces, and the bathroom looks aesthetic and modern. Attach the profiles to the wall using mounting plugs.
Remember to properly cut the plasterboards. Holes for the flush button, drainage, and water supply pipe from the flush tank need to be drilled in the boards. A hole saw designed for cutting holes is best used for this purpose. Concealed frames usually come with templates that make it easy to create these holes. Also, ensure proper preparation of fasteners at the place of the toilet bowl installation. Then, screw the boards to the concealed WC frame and the constructed frame. Use the appropriate types of screws for this. Many people opt to use two layers of 12.5 mm thick plasterboards, which significantly increases the strength of the finished structure and reduces the risk of ceramic cladding cracking.
Strips of insulating tape placed under the profiles, and the wall will minimize the vibrations of the partition wall. This will increase the comfort of using the WC and provide better acoustic insulation. It is also worth using sealing tape at the plate joints, and paint the whole structure with liquid foil.
You can finish the structure in any way you choose. Given the conditions in the bathroom, we most often decide on ceramic tiles. In many bathrooms, the concealed frame enclosure is covered with a different type of tile than the rest of the room. This looks very appealing and allows for a separate WC area, which enhances privacy. The decision to partition off the toilet area with a partition also supports this aspect. Prime the surface of the boards before tiling.
After finishing the wall and grouting the tiles, you can attach the toilet bowl. Slide it onto the factory-prepared holes for the pins, tighten and level it, after first checking the seal. Once the installation is complete, place the WC seat and the flush button in the correct location. The final step is to properly seal the toilet with silicone at the tile joint.
Related products

Mexen concealed toilet set with Fenix Slim frame, Cube toilet bowl and soft-close seat, white gloss - 61030924000
€407.20 -19.99%
€325.79List price: €407.20
Lowest price: €325.79
Availability: In stock

Mexen Concealed WC Set Fenix Slim Frame with Lena WC Bowl, Black Matte - 6103322XX85
€417.80 -19.99%
€334.29List price: €417.80
Lowest price: €334.29
Availability: In stock

Mexen Rico WC Concealed Set Fenix XS-F Frame with WC Bowl and Soft Close Seat, Matte White - 68030724001
€510.70 -19.99%
€408.59List price: €510.70
Lowest price: €408.59
Availability: In stock

Mexen WC Concealed Set Fenix Slim Frame with Rico WC Bowl and Soft-Close Seat, Light Grey Matt - 61030724061
€539.30 -19.99%
€431.49List price: €539.30
Lowest price: €431.49
Availability: In stock