


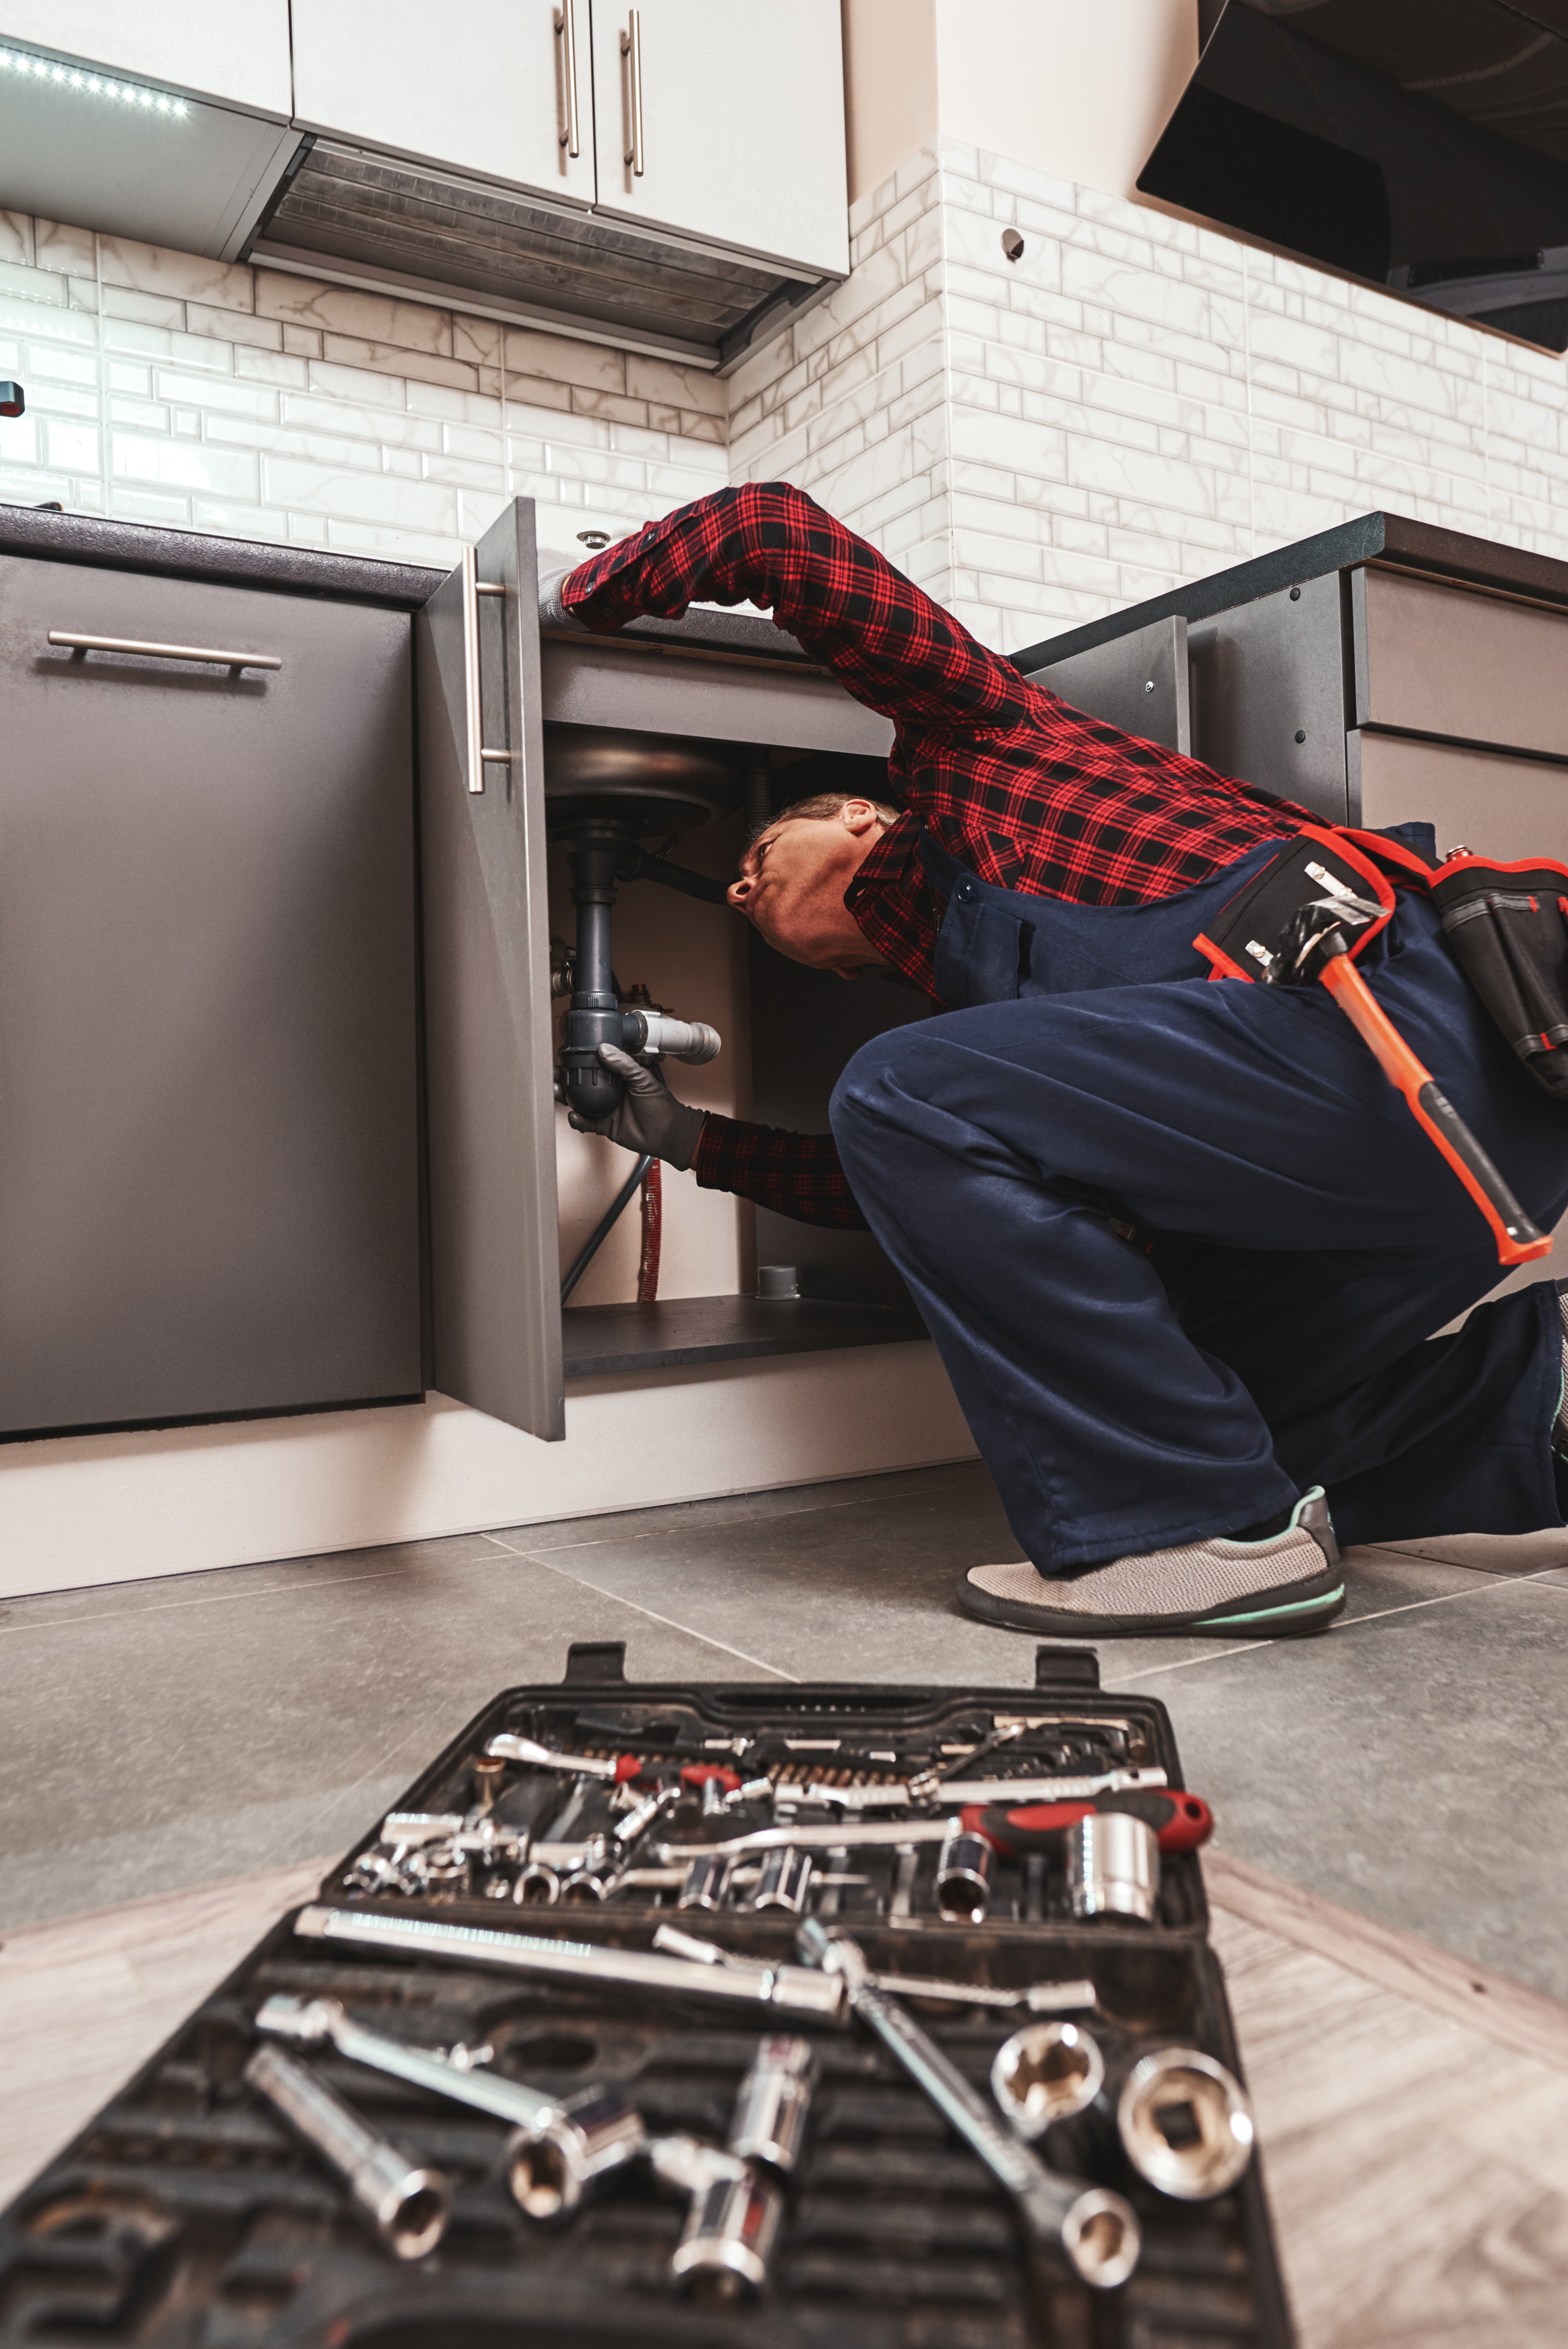
If you look under the sink, you'll see the trap - a curved pipe through which dirty water flows into the sewage system. The main secret of the trap lies in its bend. Water does not completely leave the pipe, remaining in this curved section. Thanks to the water seal, unpleasant smells from the pipes cannot enter the room - the bathroom, kitchen, or toilet. As you can see, such a trap is a handy solution, right? But how do you install it?
What types of traps are suitable for a sink (and not only)?
In general, all traps can be divided into the following types:
- mechanical - has a plastic or rubber plug that allows the drain channel to be blocked. Here, all operations are performed manually - without the use of any levers and automation. The device is very simple, therefore has a long service life.
- semi-automatic - a complex construction with a shut-off valve that is controlled by cable or lever mechanisms. Such a regulation is usually placed in the overflow hole above the water level.
- automatic - in this case, the trap is part of the same system with a filling device. An integrated microprocessor manages everything. The system includes an easily controlled click-clack valve.
To connect to the bathroom sewage system, as with any other plumbing fixture, the trap must be assembled. It is a simple procedure that takes very little time.
Trap - which type to choose and why
The trap is used wherever water drainage is required. However, its role is not limited to the proper functioning of the sewage system. Aesthetic issues also come into play here. A beautiful, elegant trap can complement a modern bathroom. Under the sink, a bottle or pipe trap is most often fitted - these are the most popular types of traps.
When choosing the right trap, we must consider the type of the sink itself. Sometimes it is worth selecting products from one manufacturer - typically, a given model has a dedicated trap type of the same brand. There are traps available on the market that have two dirty water outlet points. Such a model can also connect a washing machine if the sewage system does not include an additional outlet.
Installing the trap - order
Firstly, familiarize yourself with the assembly diagram attached to the purchased trap. It is very important to follow the guidelines in the installation instructions. Before actual installation, you must arrange the parts in the order in which they will be connected. You will also check if the set is complete. Sometimes it happens that even in unopened packaging, some parts are missing. Before the actual installation, you can assemble the trap "dry" (without mounting it in the sink).
Secondly, prepare the necessary tools. You may need a wrench or a saw for cutting pipes (if we have to shorten them). In that case, also prepare a measuring tape and sandpaper to smooth the cut edges of the pipes. If you are dealing with a classic, under-counter, or countertop sink, the trap is mounted between the sink's drain hole and the fitting. Its tank is screwed from the bottom, while also connecting it to the waste pipe.
Thirdly, at this stage, attention should be given to fastening all seals. It is extremely important that this is done accurately and correctly. When performing trap assembly, all used elements must be dry and clean. Sand or other dirt that falls on the rubber seal can cause later leaks. Remember not to dispose of the packaging of the purchased trap until the installation is complete and the installed items' operation has been verified.
Leakage control of the trap
After installing the trap, we can conduct a verification check of all connections. For this, fill the sink with water to ensure that the drain neck is properly secured and if all the seals are working properly. If there is no water leakage, it means that there were no mistakes during installation. According to experts, the cause of leaks is often a tilted nut connection or insufficient tightening.
A few helpful tips for installing the trap:
- Before installing and setting up the drainage device, check the diameter and position of the waste pipe.
- When installing the trap, its outlet height should be higher than the inlet height in the sewer pipe. This creates a certain pipe slope that aids water flow.
- When buying a trap, look at the quality of the material it is made from. If it is plastic, wall thickness and processing technology are crucial.
- To avoid leaks, seals in the trap should be replaced on average every six months.
- To prevent scale buildup on the trap walls, it is advisable to flush it with hot water and citric acid every few months.
A properly installed trap is a guarantee of comfort and peace. Haste during self-installation is not advisable. If, after reading detailed instructions, you still have trouble with self-installation, you can watch helpful videos, which are plentiful on the internet. If unclear points still arise for you, it is better to turn to professional plumbers for help.
Related products

Mexen round basin half-siphon, chrome - 79950-00
€30.30 -19.84%
€24.29List price: €30.30
Lowest price: €24.29
Availability: In stock

Mexen semi-basin waste trap square, antique black - 79960-79
€41.10 -19.98%
€32.89List price: €41.10
Lowest price: €32.89
Availability: In stock

Mexen semi-sink square bathroom siphon, graphite - 79960-66
€41.10 -19.98%
€32.89List price: €41.10
Lowest price: €32.89
Availability: In stock

Mexen square washbasin semi-siphon, gold - 79960-50
€44.70 -19.93%
€35.79List price: €44.70
Lowest price: €35.79
Availability: In stock