


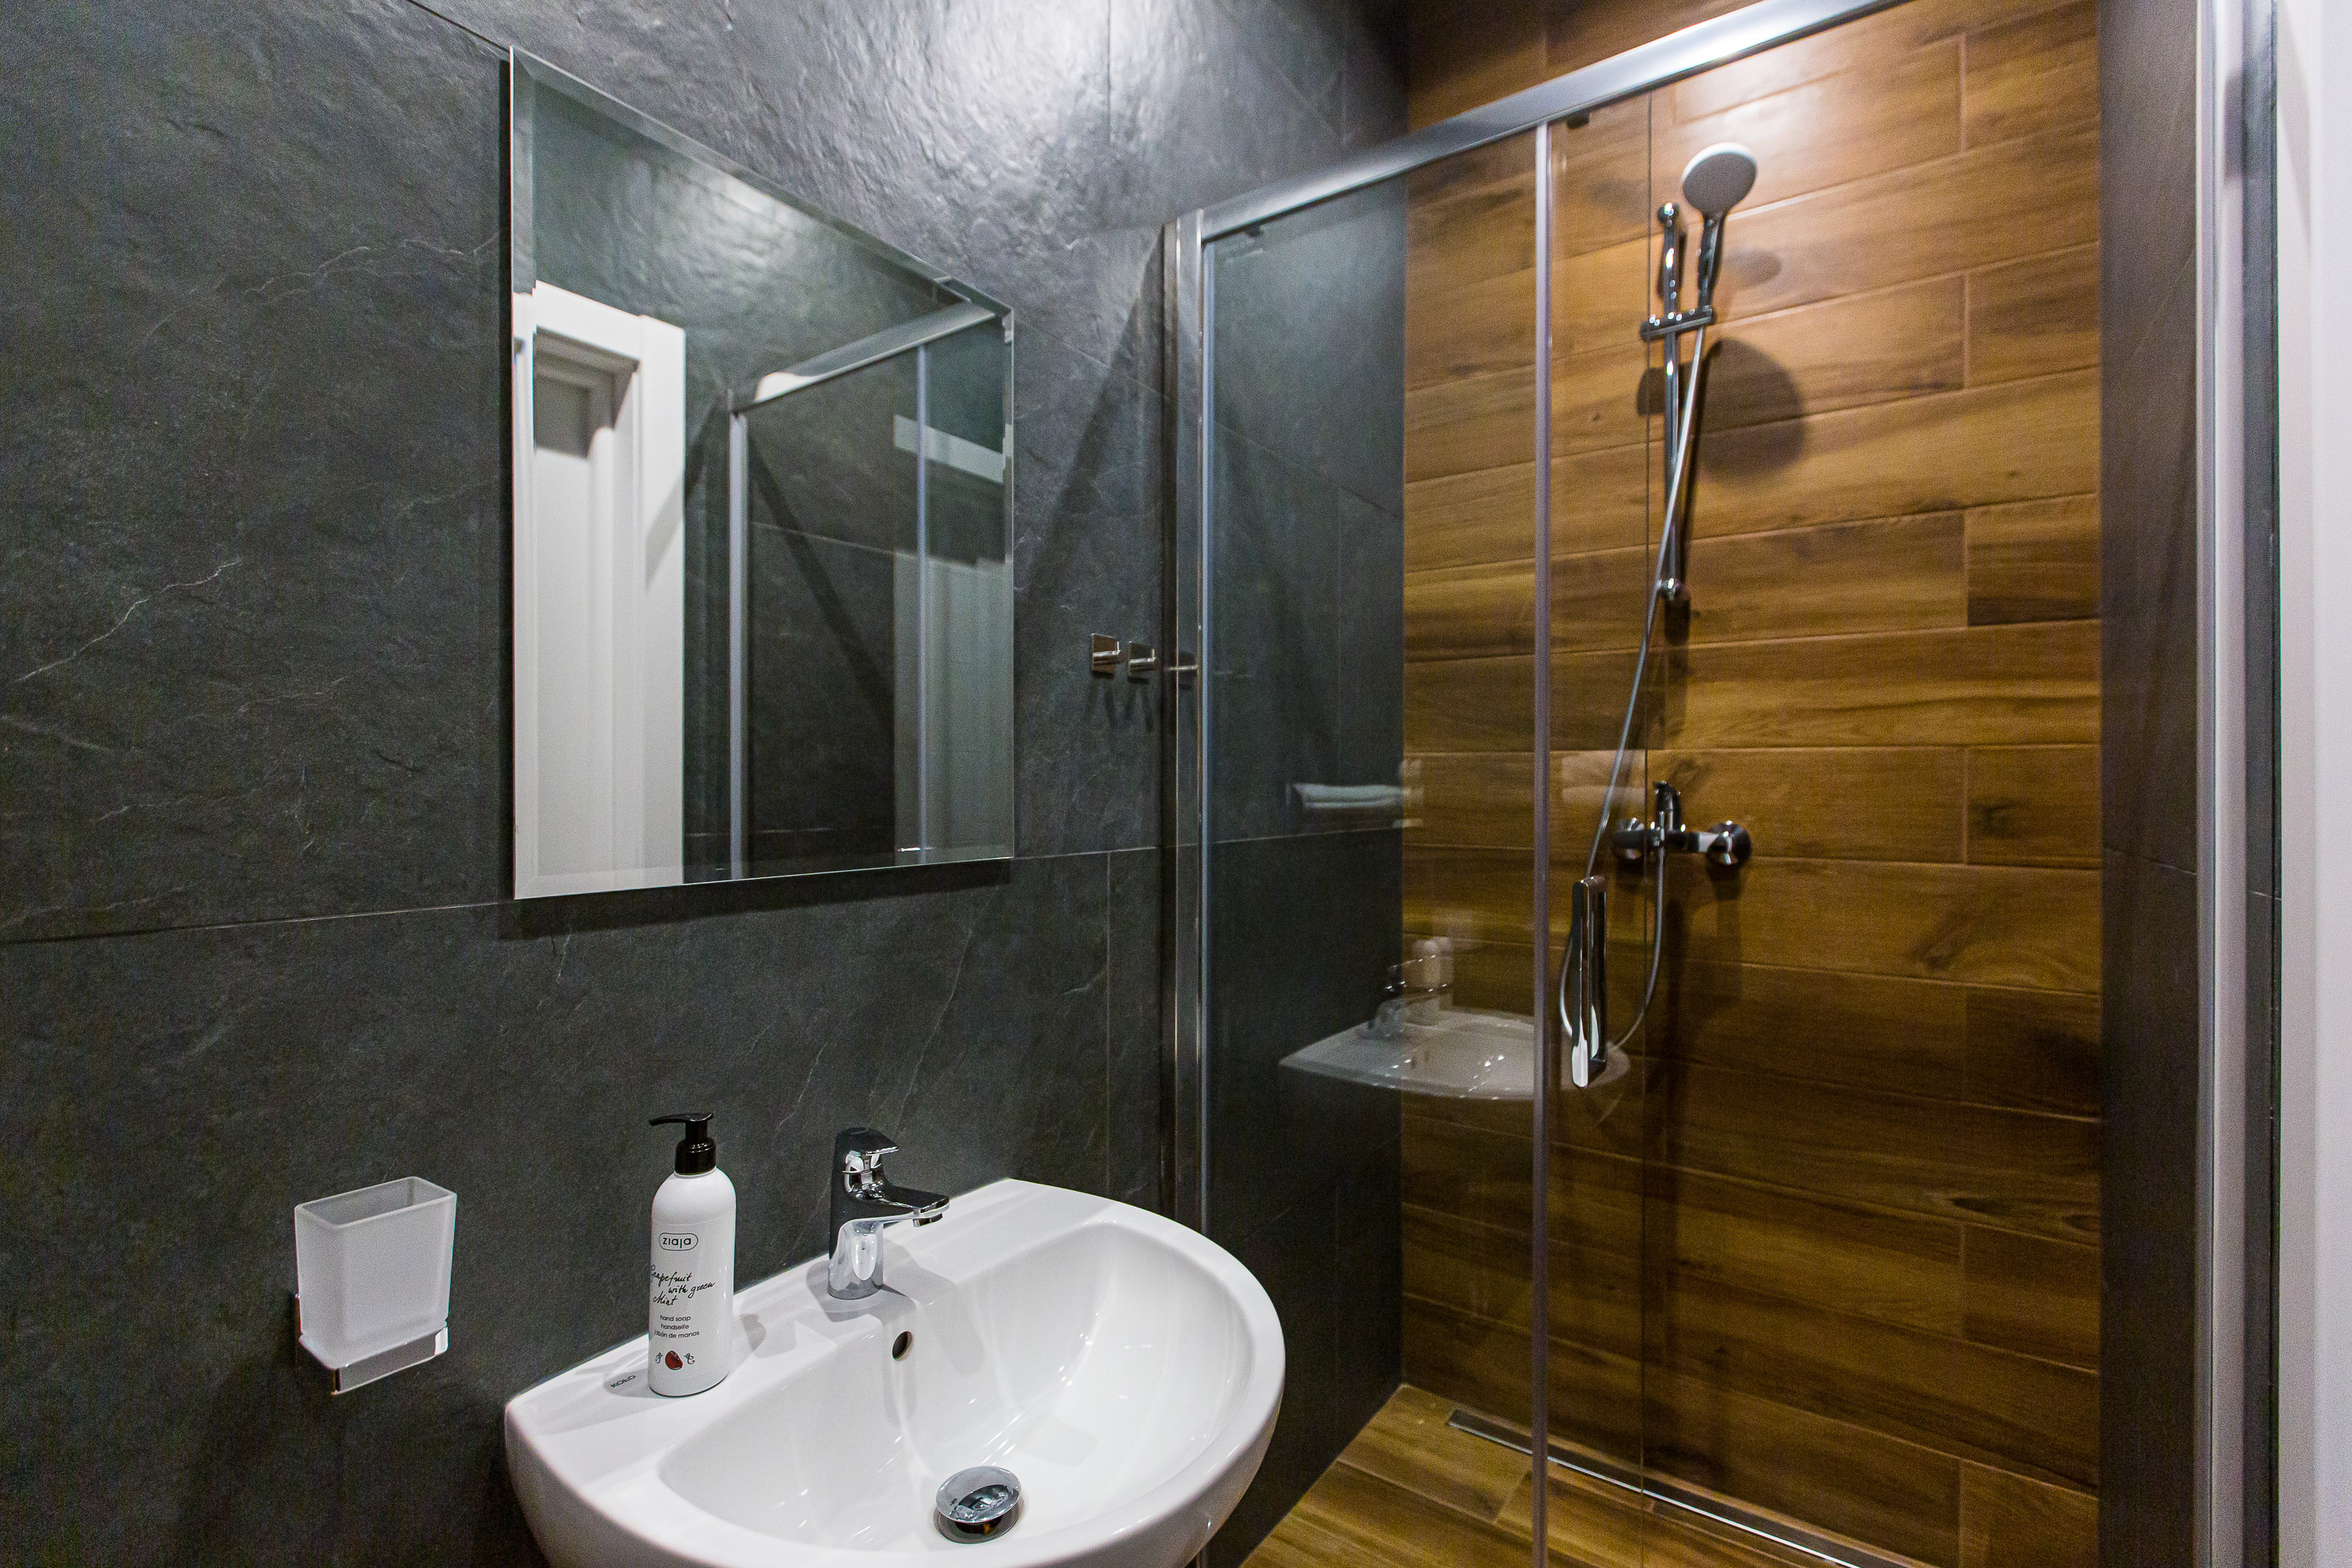
You step out of the cabin and... disaster! You step into a cold puddle and slip uncontrollably. You balance for a moment to regain your footing. Finally, after painfully slamming your elbow into the handle, you achieve a stable position. Like Sherlock Holmes, you proceed to investigate the cause of the water in the bathroom. You already know! The culprit of the unfortunate incident is a leaking shower cabin. You need to quickly locate the leak and seal the shower. How to do it? More about this in the following part of the article.
The unfortunate effects of a leaking shower cabin
Leaks in the shower cabin are a significant problem. Water escaping with soap, shampoo, or other cosmetics makes the bathroom floor slippery, which poses a safety risk to users. Unsightly stains appear on the floor, which over time can turn into hard-to-remove stone deposits. Escaping water increases humidity in the bathroom, and the accompanying high temperature creates a specific microclimate conducive to the development of fungi and mold. These, in turn, not only cause an unpleasant smell but are primarily harmful to health. Water from a leaking cabin can seep into the walls and floor, and, in the case of long-term accumulation under tiles, even flood lower floors. Therefore, it is important to quickly determine where the leak is coming from and seal the shower cabin. Proper sealing and protection of the cabin from leaks will help us avoid unpleasant consequences.
When the shower cabin is leaking, track down the cause of the failure!
One of the most common causes of water leakage from the shower cabin are worn or damaged seals. You will find them along each longer edge of the doors, and at the bottom where the lower part of the door meets the shower tray. At first glance, they are invisible and seemingly insignificant, yet they can cause leaks in the shower doors. Therefore, it is very important to check their condition and clean them regularly to prevent mold buildup. Seals, due to constant contact with water and detergents, are some of the fastest-wearing parts of any cabin. If we realize that one of them is damaged, we should replace it immediately. It is important to check their condition, and consequently, regularly clean and replace them.
How to seal the shower cabin without professional help?
Replacing shower seals is incredibly simple and does not require a professional. Just get the necessary items, and you can start working. Shower cabin seals vary in size, appearance, and use. When choosing the right model, consider the following aspects:
- thickness of the cabin wall to which we are matching the seals,
- width of the gap between door leaves,
- place of seal installation,
- shape of the cabin in which it will be installed.
Replacing the seal on the shower cabin door
Start by removing the worn or damaged seal and cleaning the entire glass surface thoroughly to remove any impurities. The glass should be spotlessly clean. Insert the new seal into the prepared spot and press it down well. Applying dishwashing liquid to the glass will ease installation. If the seal is a bit too large, you can apply a small amount of clear silicone. If you purchase a seal longer than the cabin height, simply trim it appropriately. If we intend to install seals where the door leaves meet, it is worth choosing magnetic models. The built-in magnet ensures that the seals fit closely, guaranteeing a one hundred percent seal. Remember, the seal cannot be moved after installation, so we must mount it correctly right away.
Silicone - the wet work specialist, continuing to seal the shower cabin
Despite replacing the seals, the problem has not been solved, and the leaking shower cabin continues to trouble us. What else must we do to seal the shower cabin? We need to check if all gaps are properly sealed with silicone. It may turn out that the mess is caused by a water leak from under the shower tray, due to worn old silicone or improper grout sealing. In that case, it's worth reaching for sanitary silicone, which is not only resistant to high humidity and temperature fluctuations but also has fungicidal properties. Precisely remove the old seal with a special knife and silicone remover, and then apply new silicone using a special gun.
Regularly maintain the shower tray's seal
Shower cabins equipped with a tray are more prone to leaking. If we live in a multi-storey house, a sealed shower tray is particularly important as it prevents flooding of neighbors living below us. Therefore, it is necessary to thoroughly seal not only the cabin itself but also the floor around it. The most critical places that require sealing with silicone:
- connection between the shower tray and each of its neighboring walls,
- gaps between the cabin and the tray,
- joints between the edge of the tray and the tiles inside the shower,
- places where the shower profiles are mounted to the wall.
For sealing shower cabins and trays, we choose products resistant to detergents and large temperature differences as well as UV radiation, namely sanitary silicones, specifically intended for rooms with high humidity. These types of sealants provide one hundred percent sealing assurance and protect against unpleasant surprises.
Related products


Mexen Apia 100 cm Sliding Shower Door, Stripes, Chrome - 845-100-000-01-20
€192.80 -19.97%
€154.29List price: €192.80
Lowest price: €154.29
Availability: In stock


Mexen Apia sliding shower door 115 cm, transparent, chrome - 845-115-000-01-00
€203.60 -20%
€162.89List price: €203.60
Lowest price: €162.89
Availability: In stock


Mexen Apia sliding shower doors 135 cm, transparent, chrome - 845-135-000-01-00
€232.20 -19.99%
€185.79List price: €232.20
Lowest price: €185.79
Availability: In stock


Mexen Lima 110 cm folding shower door, transparent, black - 856-110-000-70-00
€296.40 -19.98%
€237.19List price: €296.40
Lowest price: €237.19
Availability: In stock