


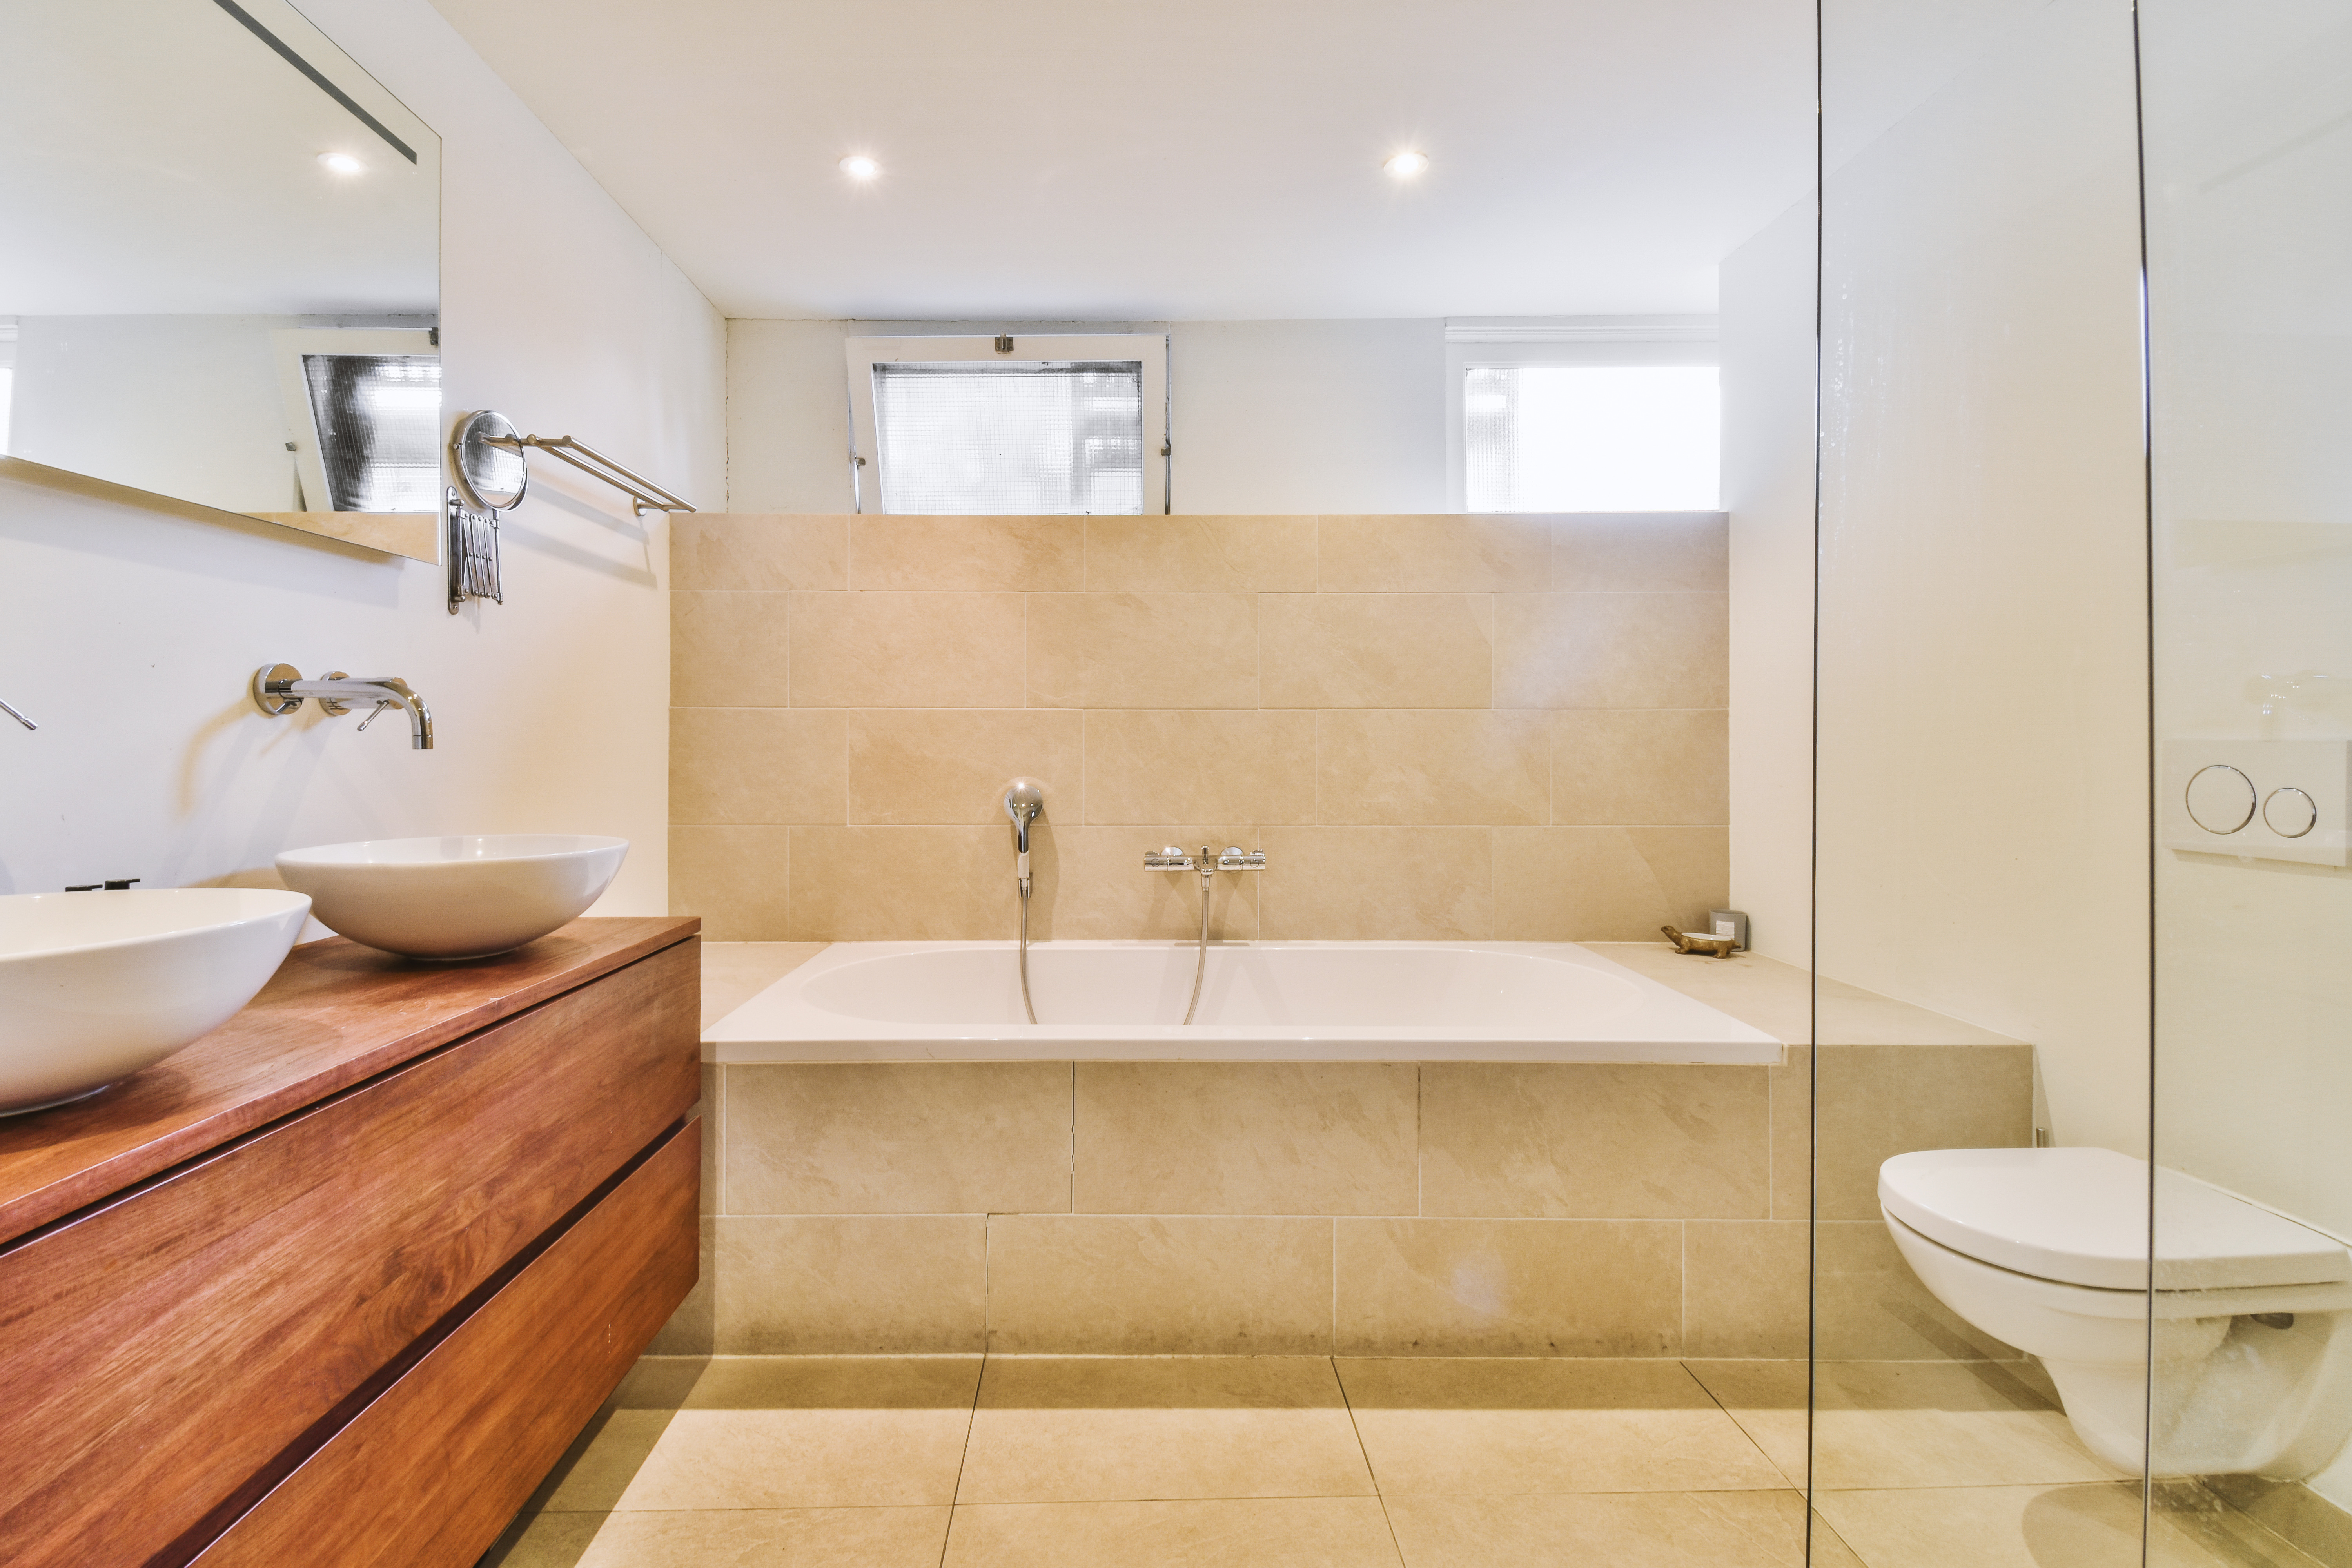
The bath panel is a construction used to cover the space under the bath, providing easy access to plumbing installations if servicing is needed.
It is a finishing element that performs several important functions in the bathroom. Firstly, it improves the aesthetic appearance of the room by concealing pipes and installation connections. Secondly, it protects these elements from damage and dirt. Bath panels can be made from various materials such as ceramic tiles, acrylic, PVC, wood (often properly impregnated), and their choice depends on user aesthetic preferences and the overall style of the bathroom.
How to make a bath panel? A few words about it below.
What Type of Cover to Choose? Ready-Made Panels for the Cover
The bath cover can be fixed or removable. A fixed cover is permanently attached and does not provide easy access to the space under the bath without disassembly. On the other hand, ready-made covers tailored to a specific bath model are very often equipped with inspection doors or a panel. This offers quick and convenient access to installations, which is particularly useful during maintenance or repair works.
The choice of the appropriate type of bath cover depends on individual needs and the specifics of the sanitary installation in the bathroom.
What to Cover the Bath With? What Materials Should the Cover Be Made Of?
A rectangular, corner, or square bath cover can be made from various materials depending on individual preferences, bathroom style, and budget. Each material has its unique features and properties that affect appearance, durability, and functionality.
Below, I present the most popular materials used for bath covers along with their characteristics.
Ceramic Tiling Bath Cover
- Durability - very durable and resistant to moisture and scratches.
- Aesthetic - available in a wide range of patterns, colors, and textures, allowing easy adaptation to the bathroom style.
- Maintenance - easy to clean, although the grout between the tiles may require regular maintenance to prevent mold and dirt.
Acrylic Bath Panels
- Lightweight - a lightweight material, easy to install.
- Installation - generally available in the form of ready-made panels, facilitating quick and simple installation.
- Maintenance - easy to clean; resistant to most dirt and mold.
- Limitations - less resistant to scratches and dents than some other materials.
Waterproof MDF Panels
- Finish - can be painted any color, allowing full personalization.
- Durability - good waterproof properties, especially when properly secured and maintained.
- Aesthetic - provides a smooth, uniform surface that can be both modern and elegant.
- Maintenance - requires regular cleaning and periodic maintenance to keep them in good condition.
Wooden Bath Cover
- Aesthetic - provides warmth and naturalness, adding character to the bathroom.
- Process - can be lacquered, stained, or oiled, depending on the preferred finish.
- Durability - when properly impregnated and maintained, it is durable and does not absorb moisture.
- Maintenance - requires regular maintenance, including reapplying protective layers to prevent damage and mold growth.
Natural Stone and Composite Panels
- Durability - very durable and resistant to scratches and moisture.
- Aesthetic - offers a unique, luxurious aesthetic with natural patterns.
- Maintenance - natural stone requires regular maintenance and sealing to prevent staining and water absorption.
How to Make a Bath Cover from Ceramic Tiles?
A bath cover from ceramic tiles is a popular choice in many homes. Mainly due to its durability, ease of cleaning, and a wide range of available patterns and colors. Below you will find a detailed guide on how to independently make such a cover step by step.
1. Planning
- Tile Selection - choose the type and color of tiles that best complement your bathroom decor. Remember to buy tiles with a small surplus in case of damage or future repairs.
- Design - carefully measure the space around the bath and plan the tile layout. Consider where tile cuts will be, to best use the material and minimize waste.
2. Substrate Preparation
- Framework Construction - build a frame from wooden slats or metal profiles, which will be the basis of the cover. The construction must be stable and adapted to the shape of the bath.
- Gypsum Board Installation - cover the frame with plasterboard, which is suitable for use in humid environments. These boards provide an ideal substrate for ceramic tiles.
3. Waterproofing
Secure the surface against moisture by applying a waterproof membrane or special insulating paint. Proper protection is crucial to avoid leaks and damage caused by moisture.
4. Tiling
Start tiling from the bottom part of the cover, adhering the tiles to the substrate using tile adhesive. Use spacer crosses to maintain equal spacing between tiles.
- Tile Cutting - if tile cutting is necessary, use a tile cutter or angle grinder with an appropriate blade. Remember to observe safety measures.
- Grouting - after the adhesive dries, remove the spacer crosses and apply grout using a rubber float. Remove excess grout from the tile surface before it completely dries.
5. Finishing and Sealing
- Sealing - after the grout sets, seal the bath's edges and adjacent walls with sanitary silicone. This will provide additional protection against moisture and water ingress outside the bath area.
- Cleaning - finally, clean the cover from remnants of grout and silicone using a damp sponge or cloth.
6. Accessory Installation
If you plan to install additional accessories like handles or shelves, ensure that the cover is dry and hardened before drilling or mounting.
How to Make a Bath Cover from Acrylic?
Covering a bath with acrylic is a modern and aesthetic solution that allows for a quick refresh of the bathroom's appearance. Acrylic is a lightweight material, easy to work with and available in various colors, offering broad design possibilities. Here's how to independently build an acrylic bath cover.
1. Preparation and Planning
- Material Choice - purchase acrylic sheets with appropriate thickness (usually 3-5 mm is enough) and color matching your bathroom decor. Ensure you have enough material to cover the planned area of the cover.
- Measurement and Design - carefully measure the space around the bath to determine the dimensions of the required acrylic panels. Make a simple sketch of the cover, including all dimensions and places for possible installation holes.
2. Building the Framework
- Framework Construction - build the cover's framework from wooden slats or metal profiles, which will be the base for the acrylic panels. The framework should be stable and adapted to the shape of the bath and walls.
- Framework Installation - use screws and dowels to attach the framework to the floor and walls. Ensure the structure is horizontal and properly reinforced.
3. Preparing the Acrylic Panels
- Acrylic Cutting - based on the previously made measurements, mark the cutting lines on the acrylic sheets. Use a hacksaw or special saw for plastics to precisely cut the panels to the required sizes. Remember to protect your eyes and hands while working.
- Drilling Holes - if you plan to install access or pipe passages, use a drill for plastics to make holes at the appropriate places on the acrylic panels.
4. Panel Installation
- Fixing Panels to the Framework - to attach the acrylic panels to the framework, use special acrylic adhesive or sanitary silicone, providing stability and waterproofing to the structure. Apply the adhesive pointwise or linearly along the panel edges, then press them to the framework until the adhesive sets.
- Sealing - after installing all the panels, use clear sanitary silicone to seal the seams between the panels and between the panels and the bath to prevent water ingress.
5. Finishing
- Cleaning - remove any glue and silicone residues from acrylic surfaces using a soft cloth and mild cleaning agent. Ensure the entire structure is clean and dry.
- Check - verify the stability of the cover and whether all panels are properly fixed and sealed.
How to Build a Bath Cover Step by Step with MDF Panels?
The bath cover with waterproof MDF panels is another way to aesthetically finish the bathroom. Below you will find instructions on how to create such a cover.
1. Planning
- Material Selection - decide on waterproof MDF panels specially adapted for use in wet conditions. Choose the panel thickness according to the project.
- Design - carefully measure the space around the bath and develop a cover design, including dimensions and possible places for access holes.
2. Preparing the Workspace
- Area Cleaning - ensure the space around the bath is clean and free of obstacles.
- Tools and Materials - prepare essential tools, such as a saw, drill, screwdriver, wood adhesive, sanitary silicone, and bolts and dowels.
3. Building the Framework
- Framework Construction - build a framework from wooden slats or metal profiles, which will serve as support for the MDF panels. The dimensions and shape of the framework should match the planned cover dimensions.
- Framework Installation - using screws and dowels, attach the framework to the floor and/or wall. Ensure the structure is stable.
4. Preparing the MDF Panels
- Panel Cutting - cut MDF panels to the required sizes using a wood saw.
- Panel Processing - if you plan access or pipe holes, use a drill to make the appropriate cutouts.
5. Panel Installation
- Fixing Panels to the Framework - attach MDF panels to the framework using wood adhesive or screws. Ensure the panels are properly leveled and tightly fit together.
- Sealing Joints - use sanitary silicone to seal all joints between the panels and between the panels and the bath. This will prevent water ingress.
6. Finishing
- Painting or Lacquering - waterproof MDF panels can be painted or lacquered for additional protection. Choose paint or lacquer suitable for humid environments.
- Accessory Installation - after completing and drying the paint or lacquer, you can install additional accessories like handles or shelves.
7. Quality Check
After completing the installation, thoroughly inspect the entire structure for stability and tightness. Ensure the cover is properly installed.
How to Make a Bath Cover from Natural Stone and Composite Panels?
Covering a bath with natural stone or composite panels is a way to add luxury to the bathroom. Stone and composites are characterized by exceptional durability and resistance to moisture, making them ideal for bathroom use.
1. Planning
- Material Choice - decide whether you prefer natural stone like marble, granite, or composite panels. Each material offers different patterns and colors.
- Design - measure the space around the bath and plan how the cover should look. Consider adding shelves, which can be a functional addition to the cover.
2. Preparing the Workspace
- Area Cleaning - ensure the area around the bath is clean and free from obstacles.
- Tools and Materials - prepare necessary tools such as a saw for cutting stone/composite, drill, spirit level, stone adhesive, and sanitary silicone.
3. Building the Framework
- Framework Construction - to provide stable support for stone or composite panels, build a framework from metal or wooden slats. The construction should be adapted to the shape of the bath.
- Framework Installation - use screws and dowels to attach the framework to the floor and/or walls. Check the level and stability of the structure.
4. Preparing Stone/Composite Panels
- Material Cutting - carefully cut the stone or composite panels. Remember that working with natural stone requires specialized equipment and may require professional support.
- Drilling Holes - if necessary, use a suitable drill for stone/composite to make installation or pipe holes.
5. Panel Installation
- Fixing Panels - use special stone or composite adhesive to attach the panels to the framework. Apply the adhesive according to the manufacturer's instructions, then position the panels, gently pressing them.
- Sealing - after installing all the panels, use sanitary silicone to seal any gaps between panels and between panels and the bath.
6. Finishing
- Final Treatment - depending on the chosen material, you may need to impregnate natural stone to enhance its resistance to stains and moisture.
- Cleaning - remove any glue and silicone residues, and then clean the surface of the cover using appropriate cleaning agents.
7. Quality Check
Conduct a final inspection of the cover, checking stability, tightness, and appearance. Ensure all elements are securely fixed and sealed.
Bath Cover - How to Make a Bath Cover Yourself? Summary
Regardless of whether you have a corner or rectangular bath, a cover is an elegant and practical solution that not only allows for an aesthetic bathroom finish but also for effective use of available space. When undertaking this task, it's worth following several key rules to ensure both functionality and durability of the work.
The foundation is the choice of appropriate materials that will be moisture-resistant and easy to maintain. The most commonly chosen solutions are hydrophobic sanitary acrylic sheets that can be easily processed and are well-suited for high humidity conditions. Special attention should also be paid to the precision of the insulation, particularly at the joints between the bath, floor, and walls, to prevent leaks and structural damage.
Installation of the cover should ideally start with precise space measurement and project preparation that considers both aesthetics and functionality. A practical solution is also to foresee easy access to plumbing installations, in case of future maintenance or repairs.
In summary, although making a bath cover requires precision and accuracy, it is an investment that significantly increases the aesthetic and utility value of any bathroom. Careful planning, the choice of appropriate materials, and meticulous execution are crucial to achieving a satisfactory final effect that will serve users for many years.