


Shower panels and walk-in cabins are especially appreciated by designers and customers following current design trends. They are neutral enough to fit into various conventions and blend perfectly with the chosen style. Cabins without a shower tray do not create architectural barriers that impede use. They are easy to keep clean, which ensures they always look extremely attractive. Due to their uncomplicated construction, installation is generally straightforward. Let's discuss the benefits of these constructions and how to install them.
What is a walk-in cabin?
A walk-in glass panel is simply a standard shower panel separating the shower space from the rest of the bathroom. It lacks a shower tray and entrance doors, which means it also lacks no rails, rollers, or hinges, ensuring faultless operation. Shower cabins are made of safe, tempered glass with a special coating resistant to streaks and lime deposits. Typically, the shower panel of the cabin is attached directly to a wall and suitably shaped floor, equipped with a drain to channel away shower water.
A Universal Cabin?
The glass, lightweight partition, open to the bathroom, enhances the sense of lightness and visually enlarges the interior space. The walk-in cabin is an ideal proposal for small interiors where there is no room for freely opening shower doors. It is also perfectly suitable for large spaces. Installing a shower panel parallel to one of the walls allows easy access to the shower cabin from both sides. This solution is extremely convenient and simultaneously unique.
How to proceed during the installation of a walk-in cabin?
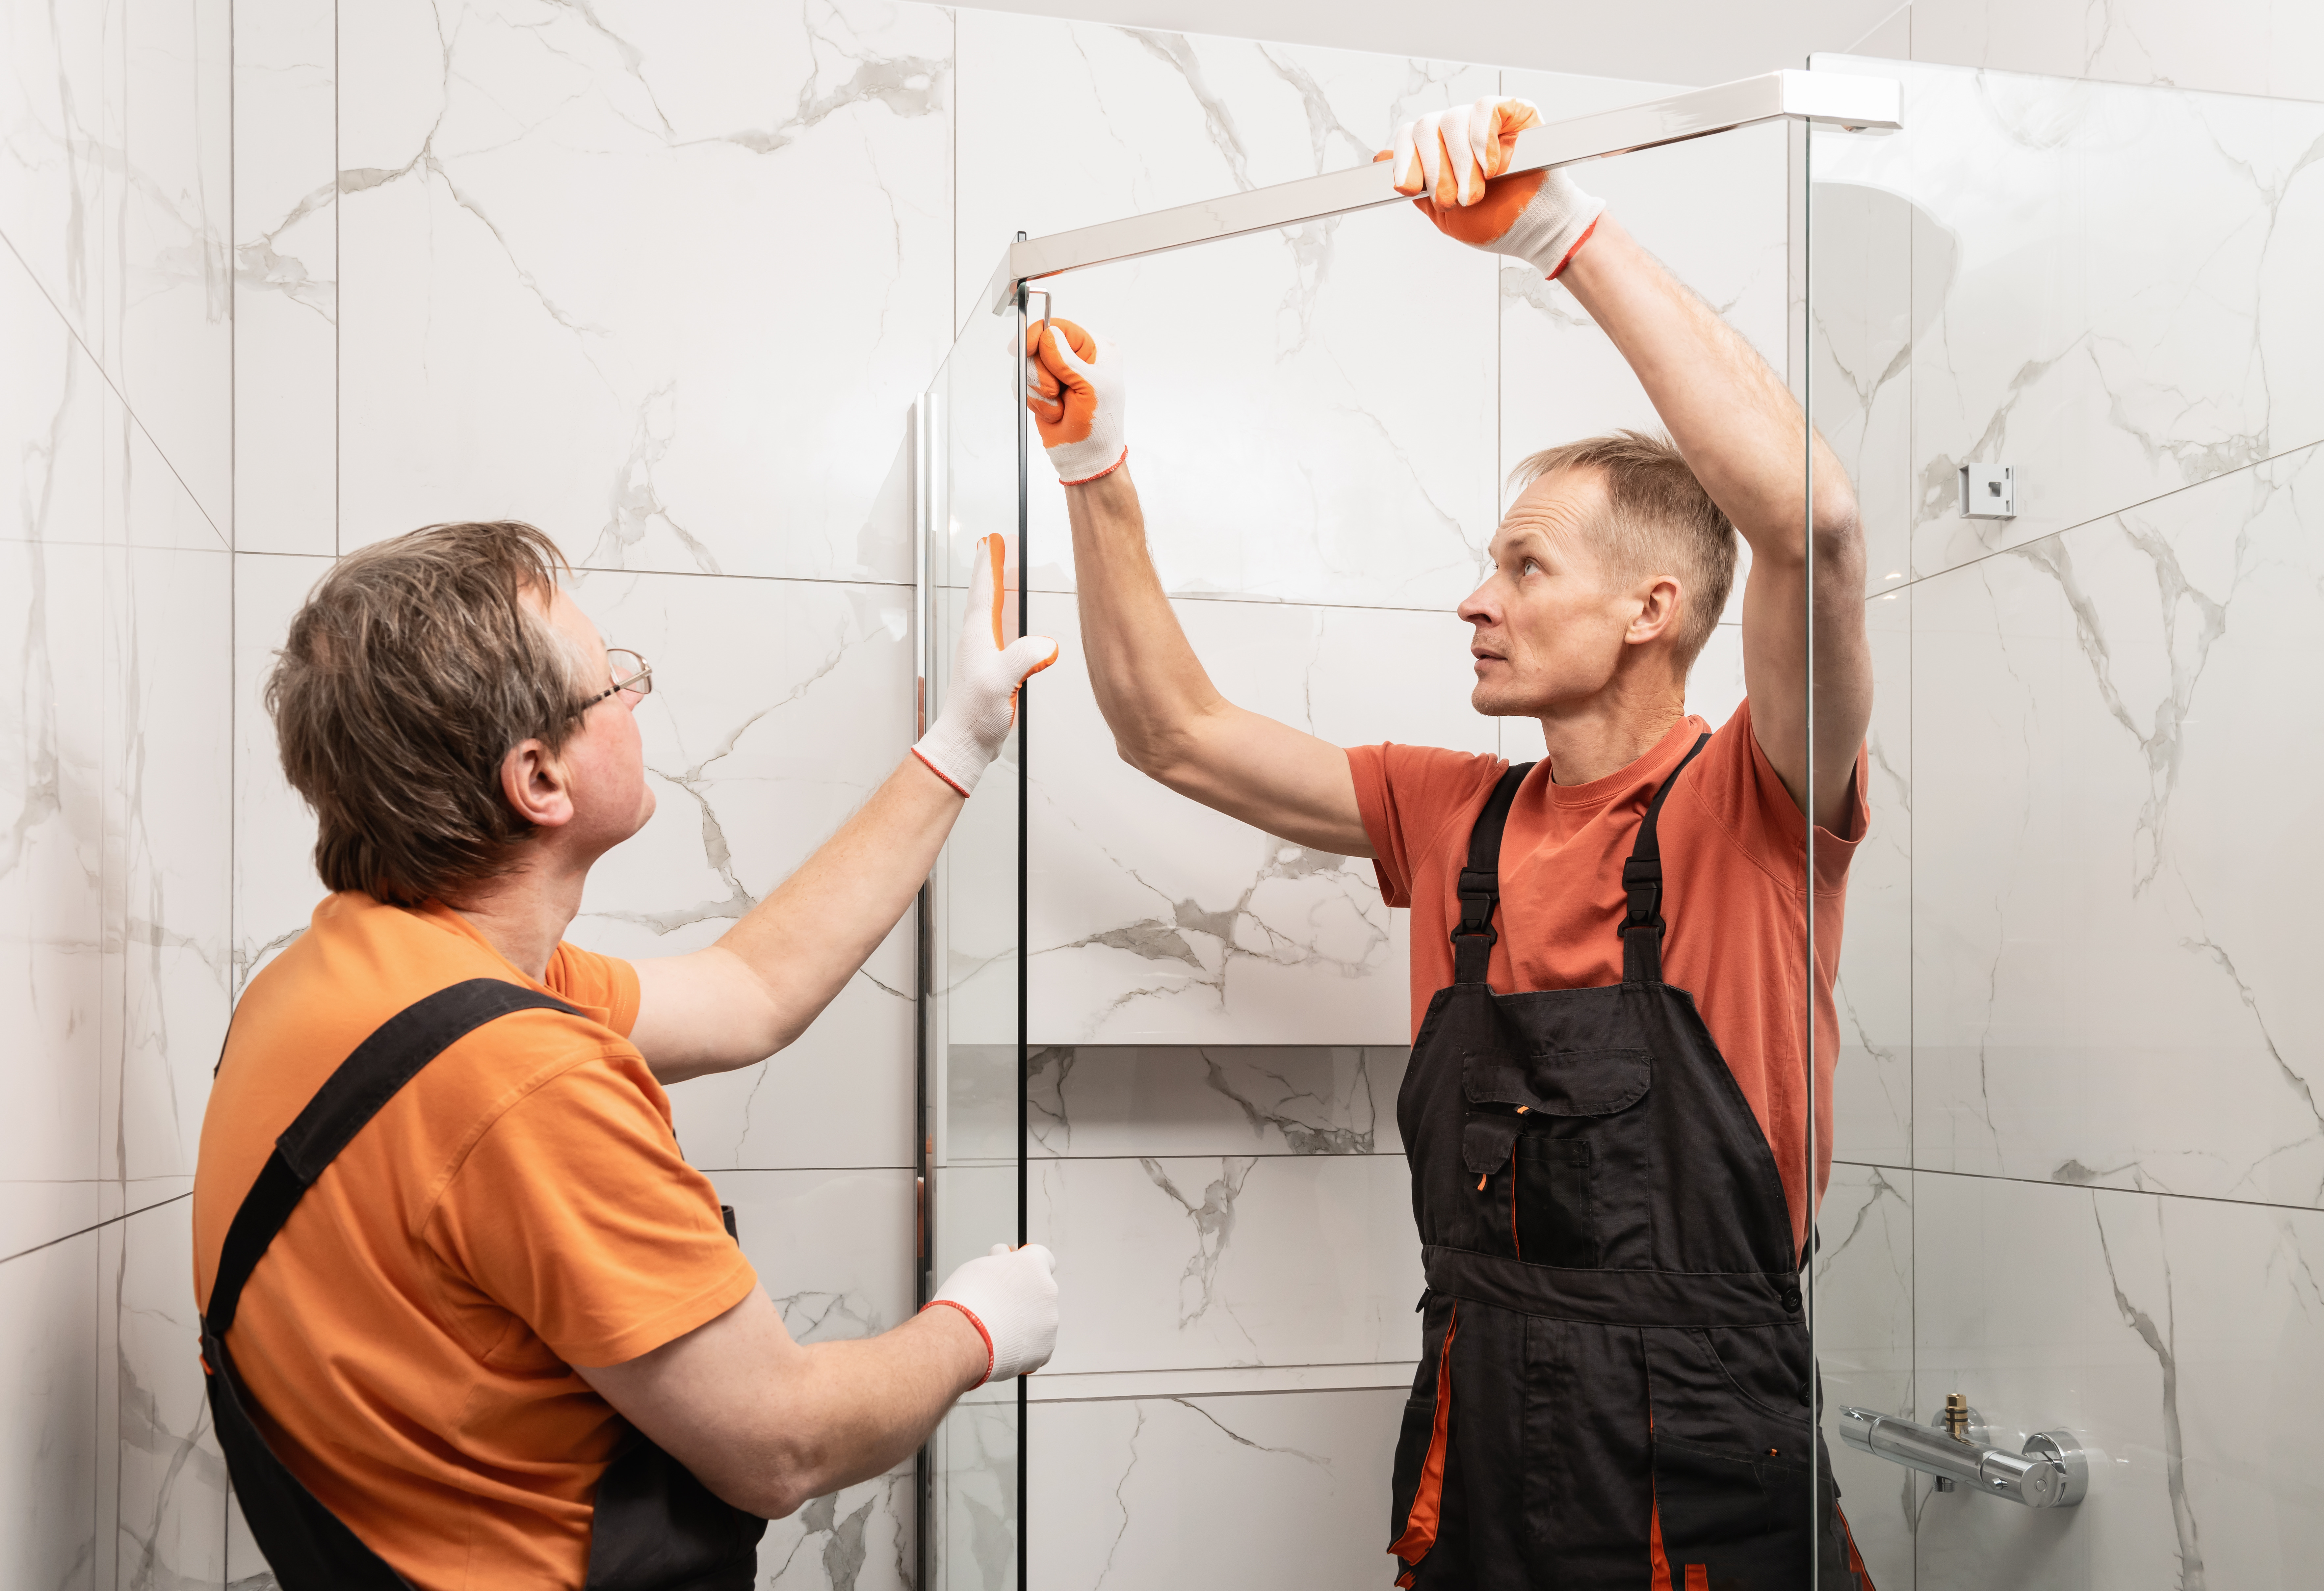
The installation of a walk-in shower cabin does not require special skills. It is enough to familiarize yourself with the manufacturer's instructions as there are different types of panels, and the installation method depends on the specific model of cabin or panel. Here are some tips on how to install a shower cabin:
- Before starting the installation of the walk-in glass, plan the layout of the bathroom to choose an appropriate location;
- Start with adequately preparing the bathroom floor. Thoroughly impregnate the base before laying tiles. Remember to maintain the correct water incline towards the drain;
- Choose a drain model with optimal capacity so the water does not flood the bathroom during showers.
- Install the drain in the floor under the shower;
- Check whether the purchased walk-in shower cabin is complete and free from damage or missing parts;
- Mark the points where the shower panel will be screwed;
- Screw the profile/profiles to the wall; slot the glass into the strip and insert the sealant;
- If installing two glass sheets, connect them with an angled profile and seal them thoroughly with silicone;
- Attach the support that will keep the shower panel stable;
- Seal the contact points of the glass with the wall and floor with silicone and check their tightness.
Advantages of walk-in shower cabins
Users’ opinions about walk-in cabins without a shower tray are very favorable. The vast majority of respondents believe that glass walls have burst into bathrooms because they are extremely attractive and have many benefits. Here are the most frequently cited arguments:
- the installation of a walk-in cabin is less complicated than a traditional one,
- shower panels are very easy to keep clean
- the transparent glass of the cabin does not block incoming external light, allowing many grooming activities under natural lighting in bathrooms with windows,
- the lack of hard-to-reach places and nooks prevents the development of mold and fungi in the bathroom,
- a bathroom with a walk-in panel is free of barriers and can be used by people in wheelchairs,
- an open shower ensures that warm air evenly heats the entire room, and exiting the shower does not cause temperature shock,
- the structure, devoid of moving parts, hinges, and rollers, and the tempered glass ensure the safe use of the cabin,
- satin, lacquered, or decorative glass panels make for an original decorative element.
Related products


Mexen Kioto Walk-in Shower Wall 100 x 200 cm, Black Pattern 8 mm, Gold - 800-100-101-50-78
€278.60 -20%
€222.89List price: €278.60
Lowest price: €222.89
Availability: In stock


Mexen Kioto Walk-in Shower Wall 100 x 200 cm, Graphite 8 mm, Chrome - 800-100-101-01-40
€264.30 -19.98%
€211.49List price: €264.30
Lowest price: €211.49
Availability: In stock


Mexen Kioto Walk-in Shower Wall 100 x 200 cm, Transparent 8 mm, Gold - 800-100-101-50-00
€257.20 -19.99%
€205.79List price: €257.20
Lowest price: €205.79
Availability: In stock


Mexen Kioto Walk-in shower wall 100 x 200 cm, transparent/frosted 8 mm, black - 800-100-101-70-35
€264.30 -19.98%
€211.49List price: €264.30
Lowest price: €211.49
Availability: In stock