


A properly installed shower enclosure can be easily recognized by the fact that all components fit together - there are no visible chips or scratches, and no remnants of the materials used for installation. Most importantly, the appropriate installation of the enclosure is evidenced by its watertightness. This applies to both the shower walls and the tray. If this feature is missing, unfortunately, it can lead to unpleasant consequences such as a wet floor, mold formation, and material decay.
Sealing the Shower Enclosure and Tray. What is needed to Seal a Shower Enclosure?
A shower enclosure that is not properly sealed, instead of being a source of comfort and pleasure, becomes a cause for sadness, irritation, and worry. There are several reasons why the installation of the enclosure might not be properly isolated - the most common ones include:
- incorrect placement of the enclosure on the bathroom floor,
- damaged silicone,
- deficiencies in other sealing materials.
Such shortcomings can have unpleasant consequences. During every shower, the enclosure may leak water. Over time, as this continues, numerous streaks and mold may appear. Additionally, it will be necessary to regularly wipe the floor or check the plumbing for clogs. All of this requires time and money, making it worthwhile to properly seal the enclosure.
Of course, no one wants to deal with these problems. However, users often install the enclosure in a hurry or do it themselves. They have no experience or knowledge, and instead of entrusting this task to a professional, they rely on their own luck - unnecessarily. Fortunately, even despite the initial lack of watertightness, some things can be fixed - you can seal the shower enclosure yourself.
So how do you seal a shower enclosure? It's worth starting by assessing the tasks you need to prepare for. You should carefully examine the enclosure and identify any leakages. Then consider what products will be necessary to carry out the mentioned work. First and foremost, sealing products should have the best waterproof properties and complete resistance to bacteria, fungi, and moisture. Furthermore, they should not react with the chemicals used to clean the enclosure.
The Shower Enclosure and Silicone
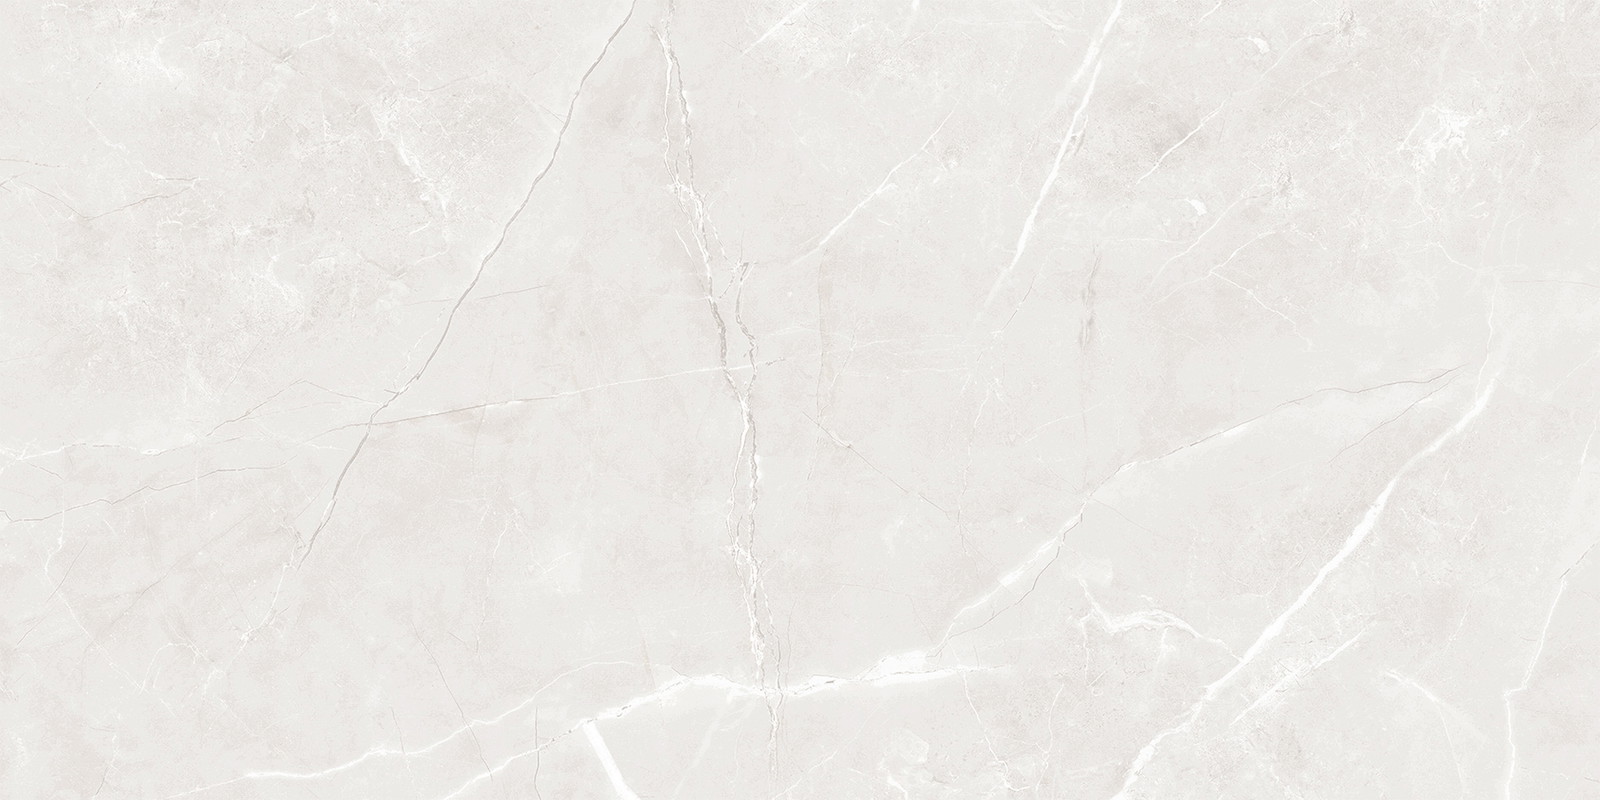
For years, the most commonly used product for sealing shower enclosures with trays is silicone. This is not surprising - it is highly effective. Moreover, it is relatively easy to apply. Before purchasing, it must be noted that it should be intended for the bathroom, thus characterized by high resistance to moisture, water, and mold. There are many such products on the market, available in various types: stone, universal, glazing, sanitary, and high-temperature silicones. Of course, for bathrooms, sanitary silicone is most effective. It is resistant to moisture but also to high temperatures, such as those that may come from the showerhead's water. This is a solid and durable solution that will be effective for many years.
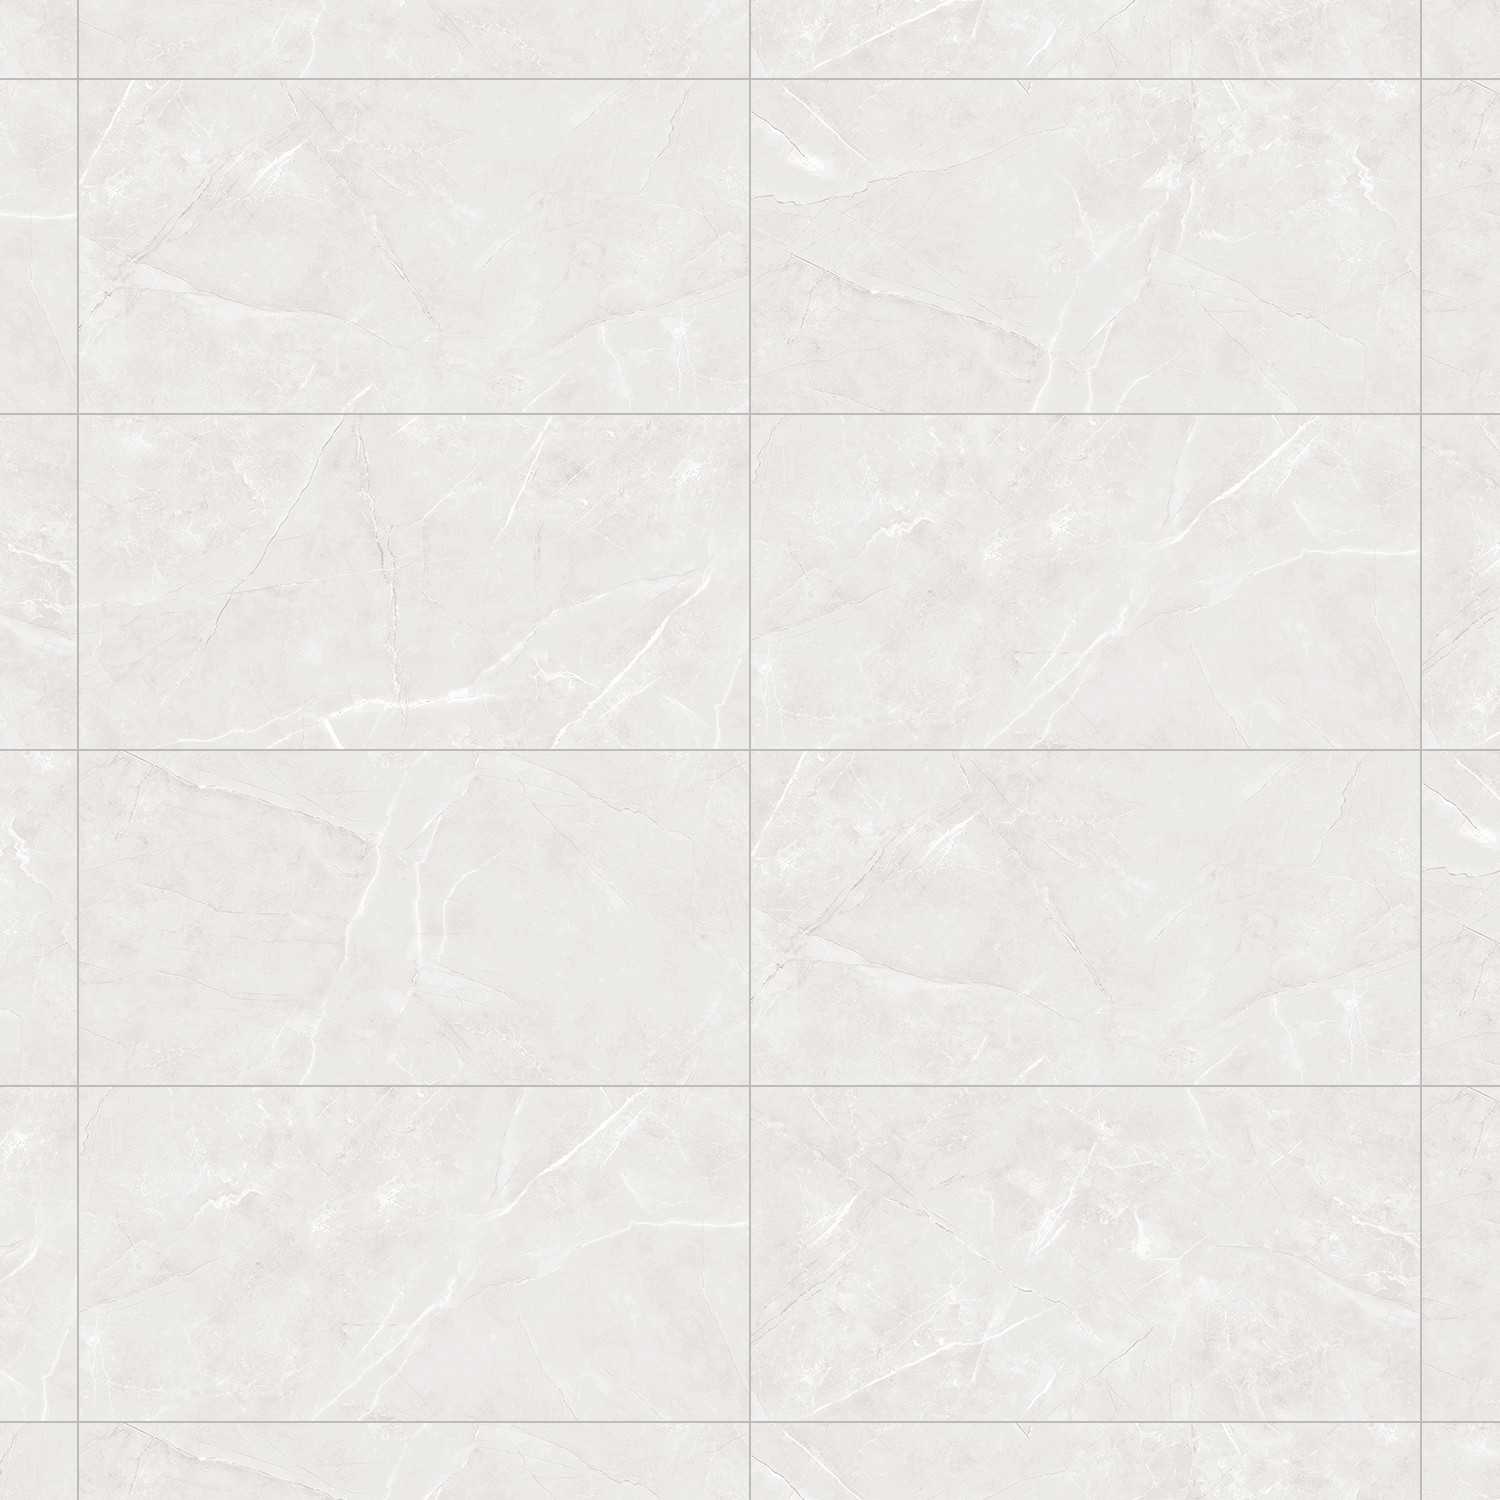
Sometimes, however, sealing the shower enclosure after the fact won't help. It is most important to ensure the appropriate tightness already during installation. Above all, it is worth paying attention to the correct insulation of the shower walls. Liquid foil is suitable for this role. Remember that it should be applied directly to the wall, not the bathroom tiles. The insulating foil should also be placed on the surface where the tray will be mounted. This procedure is particularly important because even in cases of minor leaks, the wall will not absorb the water and will not become a breeding ground for numerous fungi and bacteria. Liquid insulating foil is therefore a long-term solution that will help maintain cleanliness and hygiene on the shower surfaces for many years. Another and last point of insulation are corners and insulating strips. They appear at points where the shower walls meet the bathroom walls. They should be installed by pressing them into the layer of silicone.
Replacing the Shower Enclosure Sealant
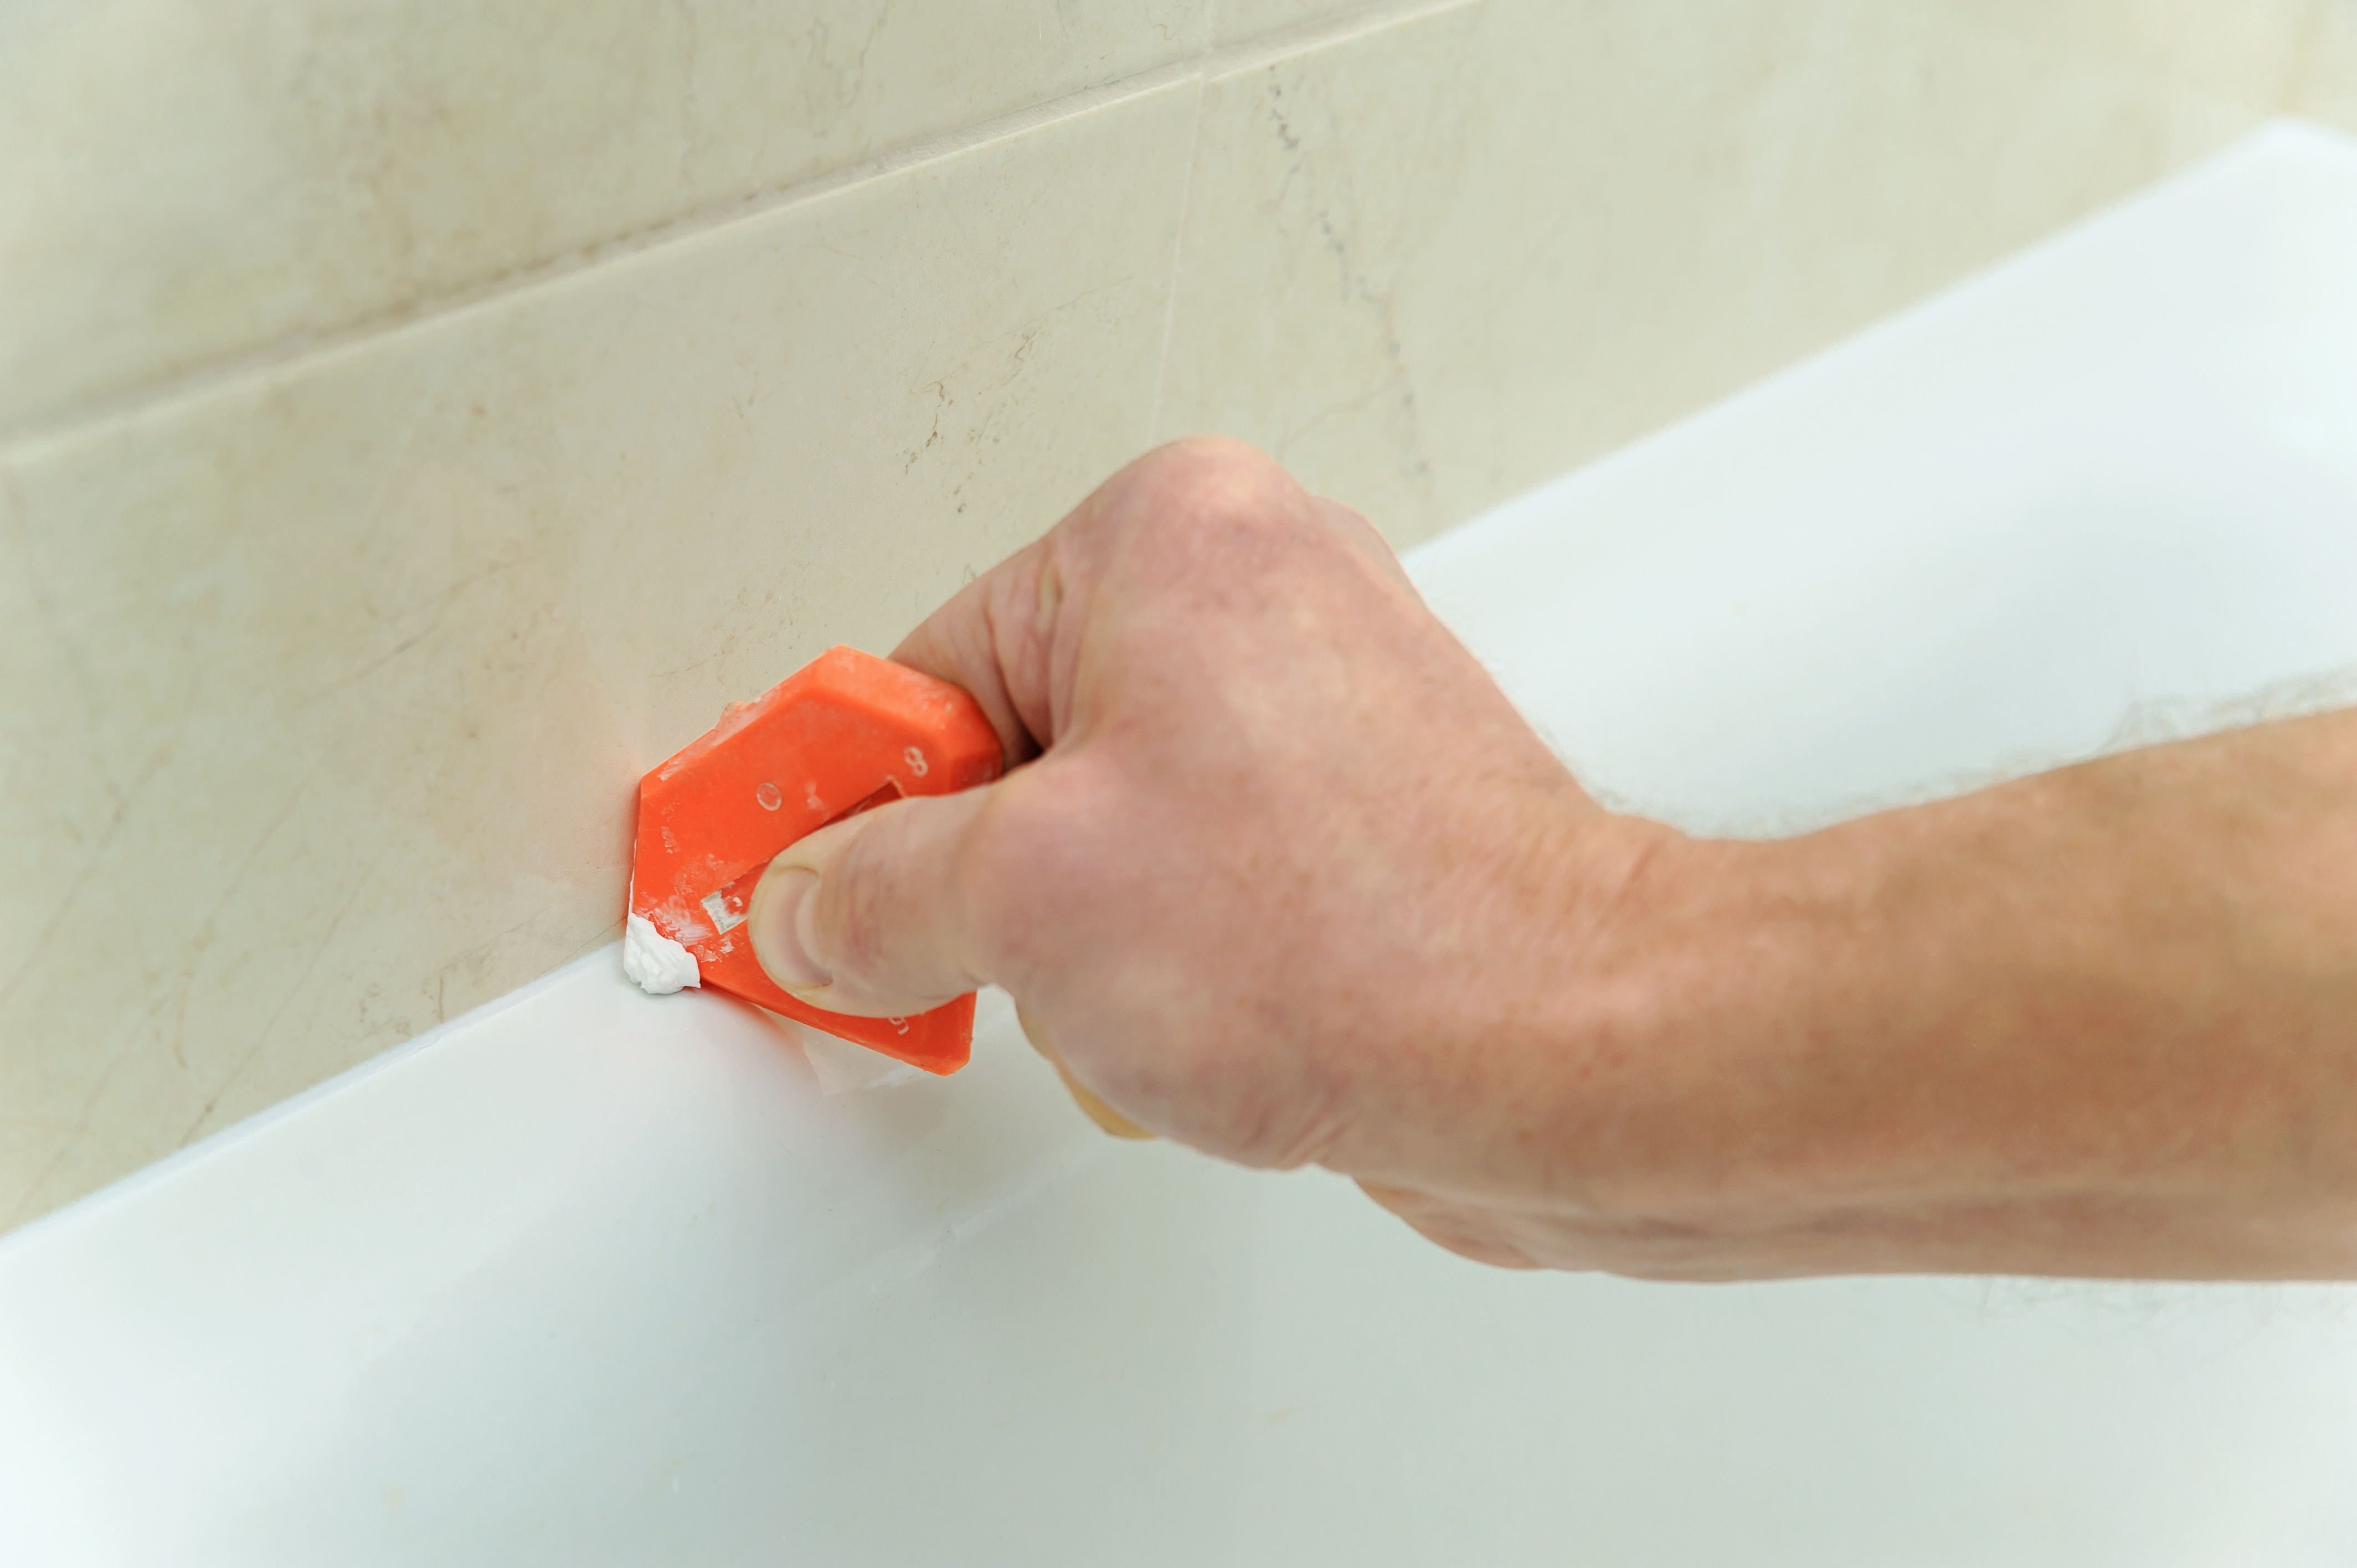
A common cause of leaks is too old, frayed silicone. Therefore, the easiest way to increase tightness is to replace the old product with a new one. Before starting work, locate the worn, leaky silicone. If mold has appeared on it, it should be removed along the entire length of the joint. A common mistake made by amateurs is applying new silicone over the old one. This is a huge mistake! Such a combination does not work. The products will not bond properly, and the leak will soon resurface. The area where the old silicone was removed should be thoroughly cleaned and, with the help of chemical products, cleaned of any greasy stains or dirt. The adjacent shower walls or bathroom walls should be protected with painting foil so they aren't soiled with silicone.
On the prepared surface, you can now apply silicone. Of course, a special silicone gun is indispensable. The tube with the product is placed in this tool, then by applying the tip to the joint - with gentle pressure, spread the silicone along the entire length. Once it appears in the gap, all that remains is to wipe the joint with a soap and water solution. The prepared connection will look elegant and classy. Moreover, it will not cause leaks, enhancing the enjoyment of using the shower for many years.