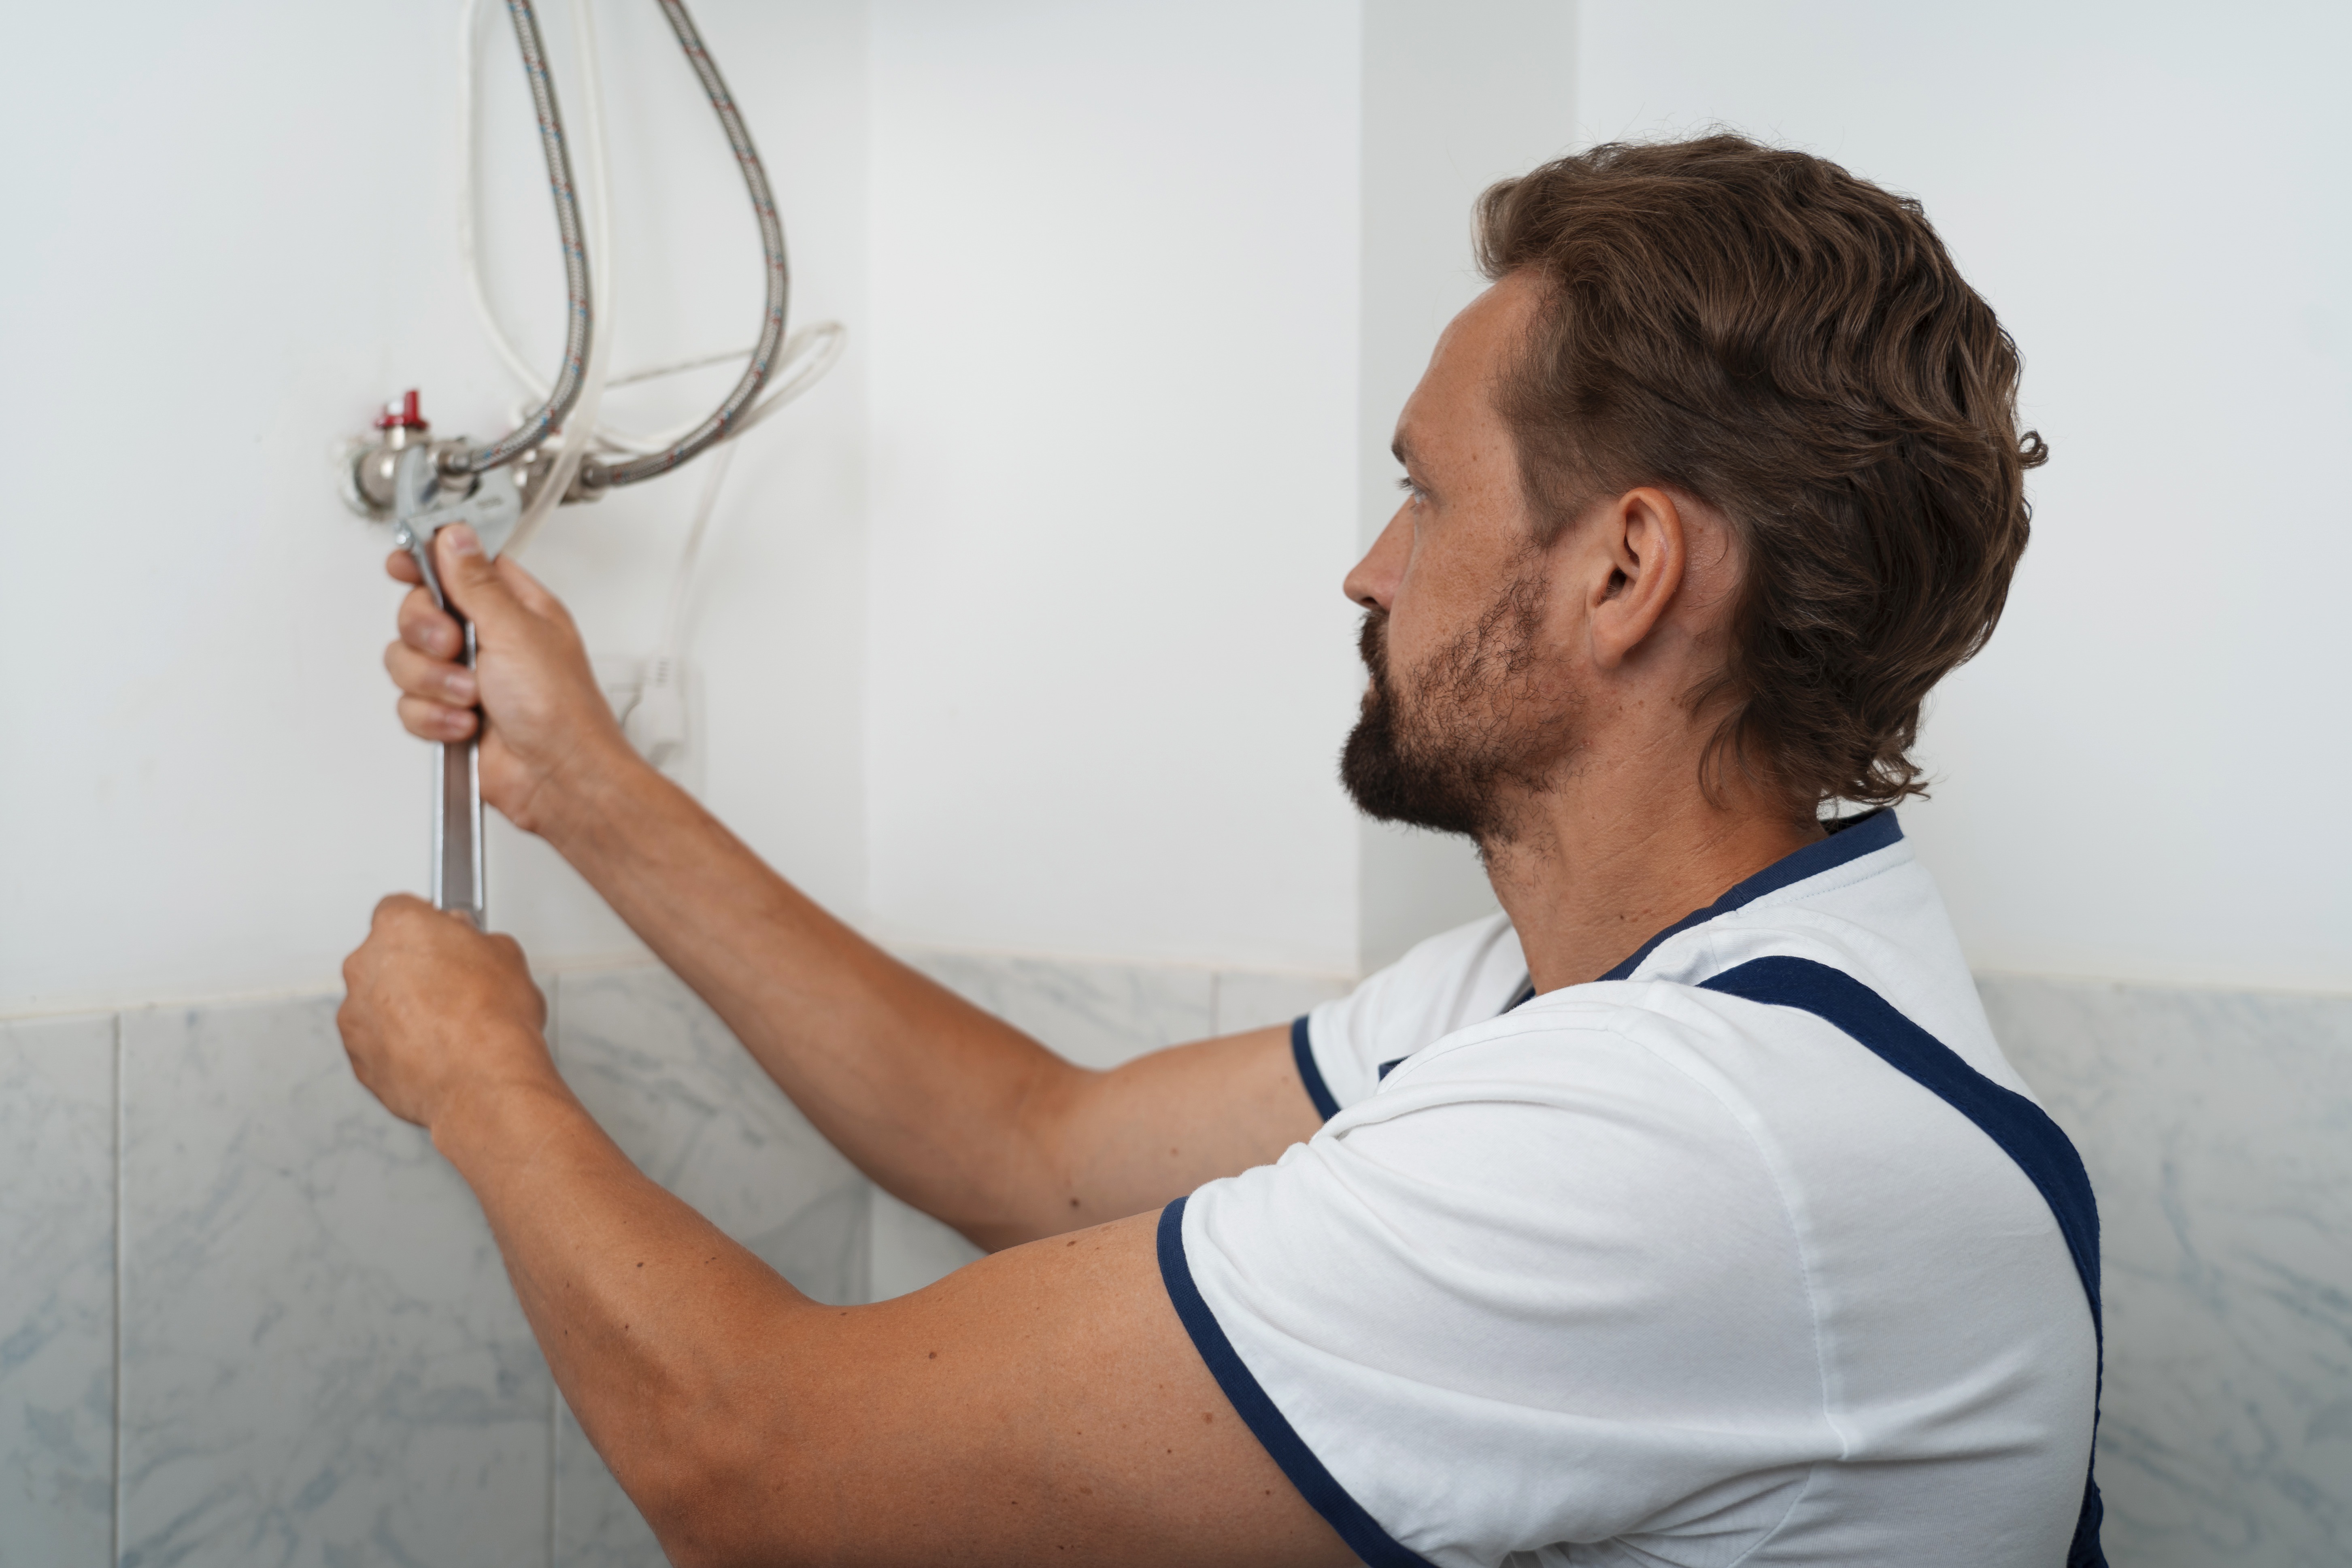
Concealed shower mixers with a rain shower are an integral part of modern and minimalist bathrooms. They are popular with interior designers and investors. Why? Due to their visual appeal and user comfort. Installers recommend them as a solid and reliable solution. Want to have a trendy concealed shower mixer in your bathroom? Find out how to install it without hassle. It's simpler than it seems.
What will you learn from this article?
Are you interested in concealed shower mixers with a rain shower in the wall or ceiling? Great! We have prepared an installation guide for a concealed shower mixer for you. What do we cover?
How to install a concealed rain shower and what the installation of a concealed mixer looks like.
The best height for a mixer in the shower.
How to connect the concealed shower mixer to the water system.
How to ensure safety and comfort when using a concealed shower set.
Step 1: Choose the right concealed shower mixer
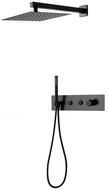
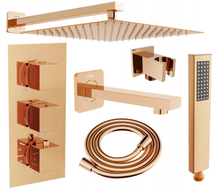
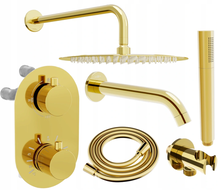
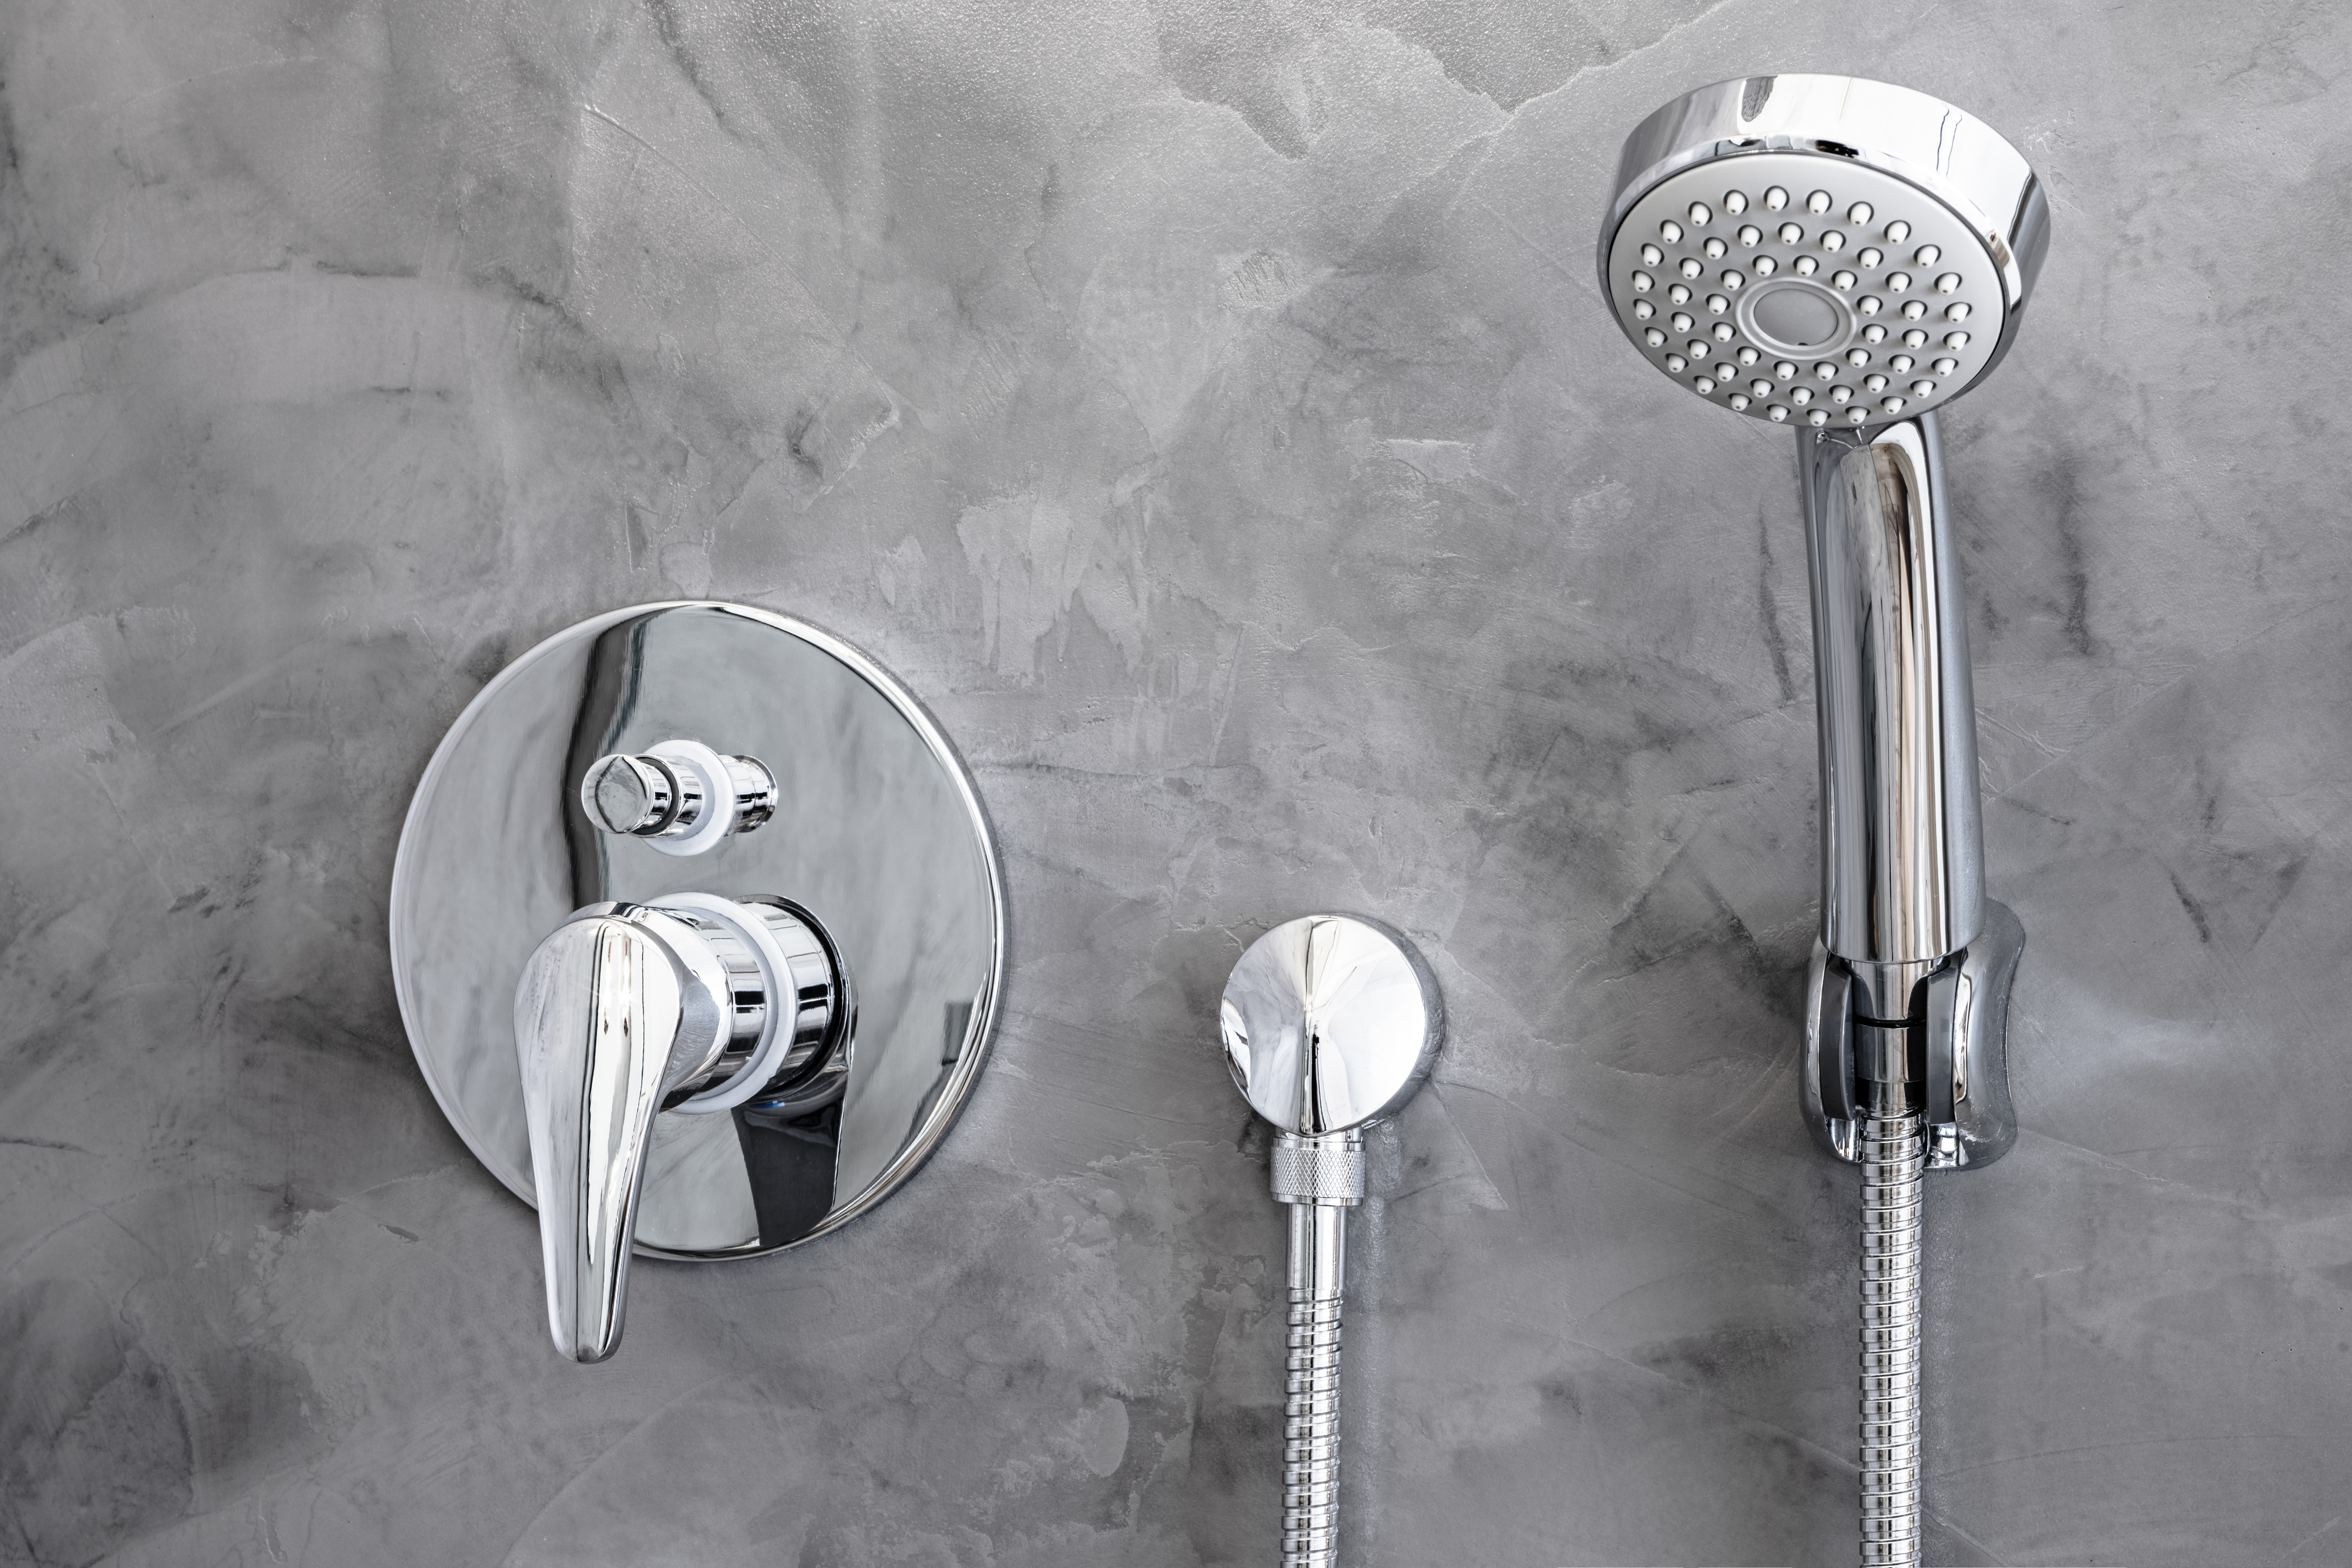
Want to install a concealed shower mixer in your bathroom? Before you buy a specific product, remember a few things. First, check whether it is a complete concealed system designed for a shower with a rain shower. The sets should include such elements as:
a mixer with a concealed body (includes the water mixing mechanism and valves),
a rain shower with a shower arm,
an angle connection,
a shower hose with a shower handle,
the shower set can also be equipped with shower jets or a spout – depending on user needs.
Also, pay attention to the materials from which the selected product's individual elements are made. How do you recognize a durable and high-quality concealed shower mixer? Ideally, if the body and internal elements are made of brass. This material is durable and corrosion-resistant, easy to work with (threads are precise), and bacteriostatic, so you don't have to worry about bacteria. The best concealed mixers are equipped with ceramic valve heads. They guarantee smooth and reliable operation.
Step 2: Determine the installation height of the concealed shower mixer and rain shower
Then check the manufacturer's instructions for the specific model. Why? It specifies the dimensions of the body and the required installation depth. With this information, you'll properly prepare the wall for installing the concealed mixer. This is very important because the concealed mixer or rain shower head cannot be installed just anywhere. What height should you choose?
Concealed mixer (center of the body) – usually placed 110 – 130 cm above the floor level (measured to the axis of the connections) – at the height of a user's hand bent at the elbow. It's best to adjust the specific height (within the given range) to the height of the adult household members.
Rain shower head – wall-mounted is usually installed at a height of about 200 –210 cm from the floor (measured to the center of the head). If the people using the bathroom are short, a recommended installation height for the rain shower is 180 cm. For a ceiling-mounted concealed rain shower, the face of the head should be about 15–20 cm above the tallest person's head in the house.
Shower handset – is typically installed at a height of about 100 –130 cm above the floor, considering user comfort and safety.
Do you want a comfortable bathroom? Pay attention not only to the proper height of the shower set elements. Find out what else to keep in mind when the interior will be used by children and/or seniors.
Step 3: Prepare tools for installing the concealed mixer and rain shower
Want the installation of the concealed shower mixer with a rain shower to go smoothly? In the case of installing any type of faucet (not just a concealed shower mixer but also systems for a bathtub, sink, or bidet), it's worth preparing the necessary tools and accessories in advance. Whether you have them at hand at the right moments greatly affects the success and duration of the entire task. For installing the rain shower and mixer, you will need:
screwdriver or adjustable wrench for fastening faucet elements and tightening connections,
level (laser or classic) for correctly marking the installation line and setting elements vertically and horizontally,
PTFE tape for sealing threaded connections, e.g., between pipes and valves,
sanitary silicone for securing the contact points of the faucet with the plaster/tiles against moisture and leaks,
router, hammer and chisel or angle grinder for making grooves and holes in the wall where pipes and mixer body will be hidden,
installation foam or adhesive mortar for immobilizing and masking pipes and body in the wall,
dowels, screws, and mounting elements for permanently attaching parts according to the manufacturer's recommendations (e.g., rain shower head or handset holder).
Step 4: Make grooves and a hole in the wall
To install a concealed mixer, you need to make grooves and a hole in the wall for the pipes supplying water and the mixer body. This solution is therefore most often used in newly built bathrooms and during their general renovation. What rules apply during this step? First, using a level, mark vertical and horizontal lines to properly position all elements. Mark on the wall:
position of the mixer body,
point of the outlet pipe to the rain shower (if wall-mounted).
place where the angled connector for connecting the shower hose should be mounted.
Then, taking care of your safety, make grooves in the plastered wall without tiles – for the pipes with hot and cold water leading to the mixer body, as well as for the mixed water pipes already going from the body to the shower handset (if included in the set) and the rain shower. Each should accommodate the water installation pipes with a diameter of 15 or 20 mm, and their spacing concerning each other should match the battery dimensions (usually 15 cm). Remember also about the hole for the body. Usually, it is made to a depth of 7–9 cm, but each model may have different dimensions.
Step 5: Install concealed elements and connect pipes
Are the cuts in the wall and the holes ready? It's time to install the concealed mixer and pipes. Place the pipes supplying cold and hot water from the main supply to the location of the body in the grooves. They should not be stretched or bent forcibly. Then insert the body into the previously prepared hole. Level it carefully and attach it to the wall or frame with dowels and screws (check the manufacturer's instructions). Ensure it is stable and doesn't move under pressure.
Check again the spacing of hot and cold water connections – they should be perfectly level relative to each other, at the distance recommended by the manufacturer. This is the right time to route tubes for mixed water to the other elements of the shower system, such as the spout, shower handset, rain shower, or possible massage jets. Ready? Connect all the pipes to the body, using gaskets and PTFE tape on the threads.
Step 6: Conduct a leak test
Before you cover the installation grooves for the pipes and the hole with concealed elements, perform a leak test on the installation. Turn on the main water valve and then turn on the cold water. Carefully inspect each joint of pipes with the body and at the outlets to the rain shower or shower handset. A good sign is no leaks or even single drops in these places. What to do if you see leaks? Turn off the water, tighten the connection and check again.
Now you need to arm yourself with patience and wait a few hours to perform a test with hot water at about 60°C. Why is this important? The seals of a concealed mixer may expand slightly under heat. It's better to find out that the concealed mixers are leaking before plastering and optional tiling.
Step 7: Plaster the grooves and holes
If the installation of concealed elements was successful, you can move to the next stage – covering the pipes and concealed elements. The pipes and body should be covered, e.g., with installation foam or adhesive mortar. Then you have to wait for the material to set – usually, a break of about 24 hours is enough. After that, level the wall surface and prepare it for further work, such as laying tiles.
Step 8: Install the external element
Do you already know how to install a concealed mixer? All concealed elements are working correctly and hidden in a wall finished according to your taste? It's time to install the external element, or rather the external part of the mixer, rain shower, and shower handset. How to do it?
Cover (plate) – allows you to cover the hole in the wall and the transition of the mixer body. Before setting it on its back, apply a thin layer of sanitary silicone to secure the cut tiles against water penetration.
Control handle (knob or lever) – mounted on the protruding axis of the mixer; tighten with an Allen screw. Check if it is properly aligned with the plate.
Shower handset – screw the handset hose to the angled connector. Make sure it's not twisted or stretched.
Rain shower – install the shower arm in the designated place, level, and tighten the rain shower head.
Not sure which shower handset to choose? Check our guide.
Done! Installing a trendy concealed mixer on your own may seem difficult, but with a proper plan and tools, you can easily accomplish this task. Remember to choose high-quality concealed mixers, such as Mexen. They guarantee safety in use, are aesthetic, and – thanks to the lack of visible pipes – offer freedom in the shower, regardless of its size.

