


Preparing the substrate for tiles is crucial for the long-lasting durability of the surface finish. An uneven, unstable substrate can cause tiles laid on the floor and walls to detach and crack. To avoid this, follow the step-by-step instructions.
What will you learn from this article?
Proper preparation of the substrate on walls and floors is half the success when laying tiles. In the case of a dirty and uneven substrate, even the use of high-quality adhesive will not help. From this article, you will learn:
How to assess the condition of the substrate for floor and wall tiles.
What proper surface preparation for tiles involves.
After how long from priming can tiles be laid.
What happens if tiles are laid on a poorly prepared substrate.
Rules for proper preparation of the substrate for floor tiles
The basic stage of finishing floor and wall surfaces is the proper preparation of the surface. This translates into the durability and visual aspects of the final outcome. There are different types of substrates, but their unevenness and instability lead to the detachment and cracking of tiles. Regardless of which tiles you wish to choose for a small bathroom, apply the following substrate preparation techniques. They will be effective in conducting a renovation in any room in the house.
Assessment of substrate condition
Determine which materials were used to create the surface. Check if the substrate is old or new. Make sure it is:
strong and supportive,
stable,
even,
clean,
non-absorbent.
Assessment of substrate support
If dealing with a mineral substrate (cement-lime plaster, cement screed, anhydrite screed), you determine the support by scratching the surface with a sharp tool. If the substrate easily crumbles under a screwdriver or nail, it is weak. If it is hard to scratch, it is strong and supportive.
Remember that you can also check the substrate with a hammer. Where the plaster is detached from the wall, you can usually hear a hollow sound when tapping. Tiles should not be laid on such a surface. The wall or floor underlay has loose fragments.
Assessment of substrate stability
In a new building, tiling work should commence only 4-6 months after the raw state is complete. The property then has time to complete the settlement process. If the work is carried out too early, cracks will appear on the tiles.
If a new ceramic or concrete substrate has been prepared, pay attention to stresses. Only start work after the substrate is completely dry.
In the case of plasterboard and OSB boards, check their rigidity by pressing the surface with your hand. The deflection should not be more than 1 mm. Make sure the plasterboard is properly attached. Otherwise, the tiles will bend and deform.
Also remember!
The moisture content of the substrate on which the tiles will be laid must not exceed 4%.
Concrete is sufficiently stable after about 3 months, and new plasters after 4 weeks.
Tiling work can begin 4-6 months after preparing the raw state of the building.
Removing remnants of old tiles
To aesthetically lay tiles, you must first remove the old material from the surface. You can chisel it or lay a new layer on top of the old tiles, which is a good way if you want to refurbish a bathroom without a major renovation.
To completely chisel off old tiles, you need to spend a lot of time. Remember also to remove the old layer of mortar, especially if it does not adhere well to the wall. To save yourself a lot of time and money, opt for fastening tiles to the already existing layer. Before doing this, assess the condition of the surface, thoroughly clean and degrease the old tiles, and then apply primer to ensure better adhesive grip.
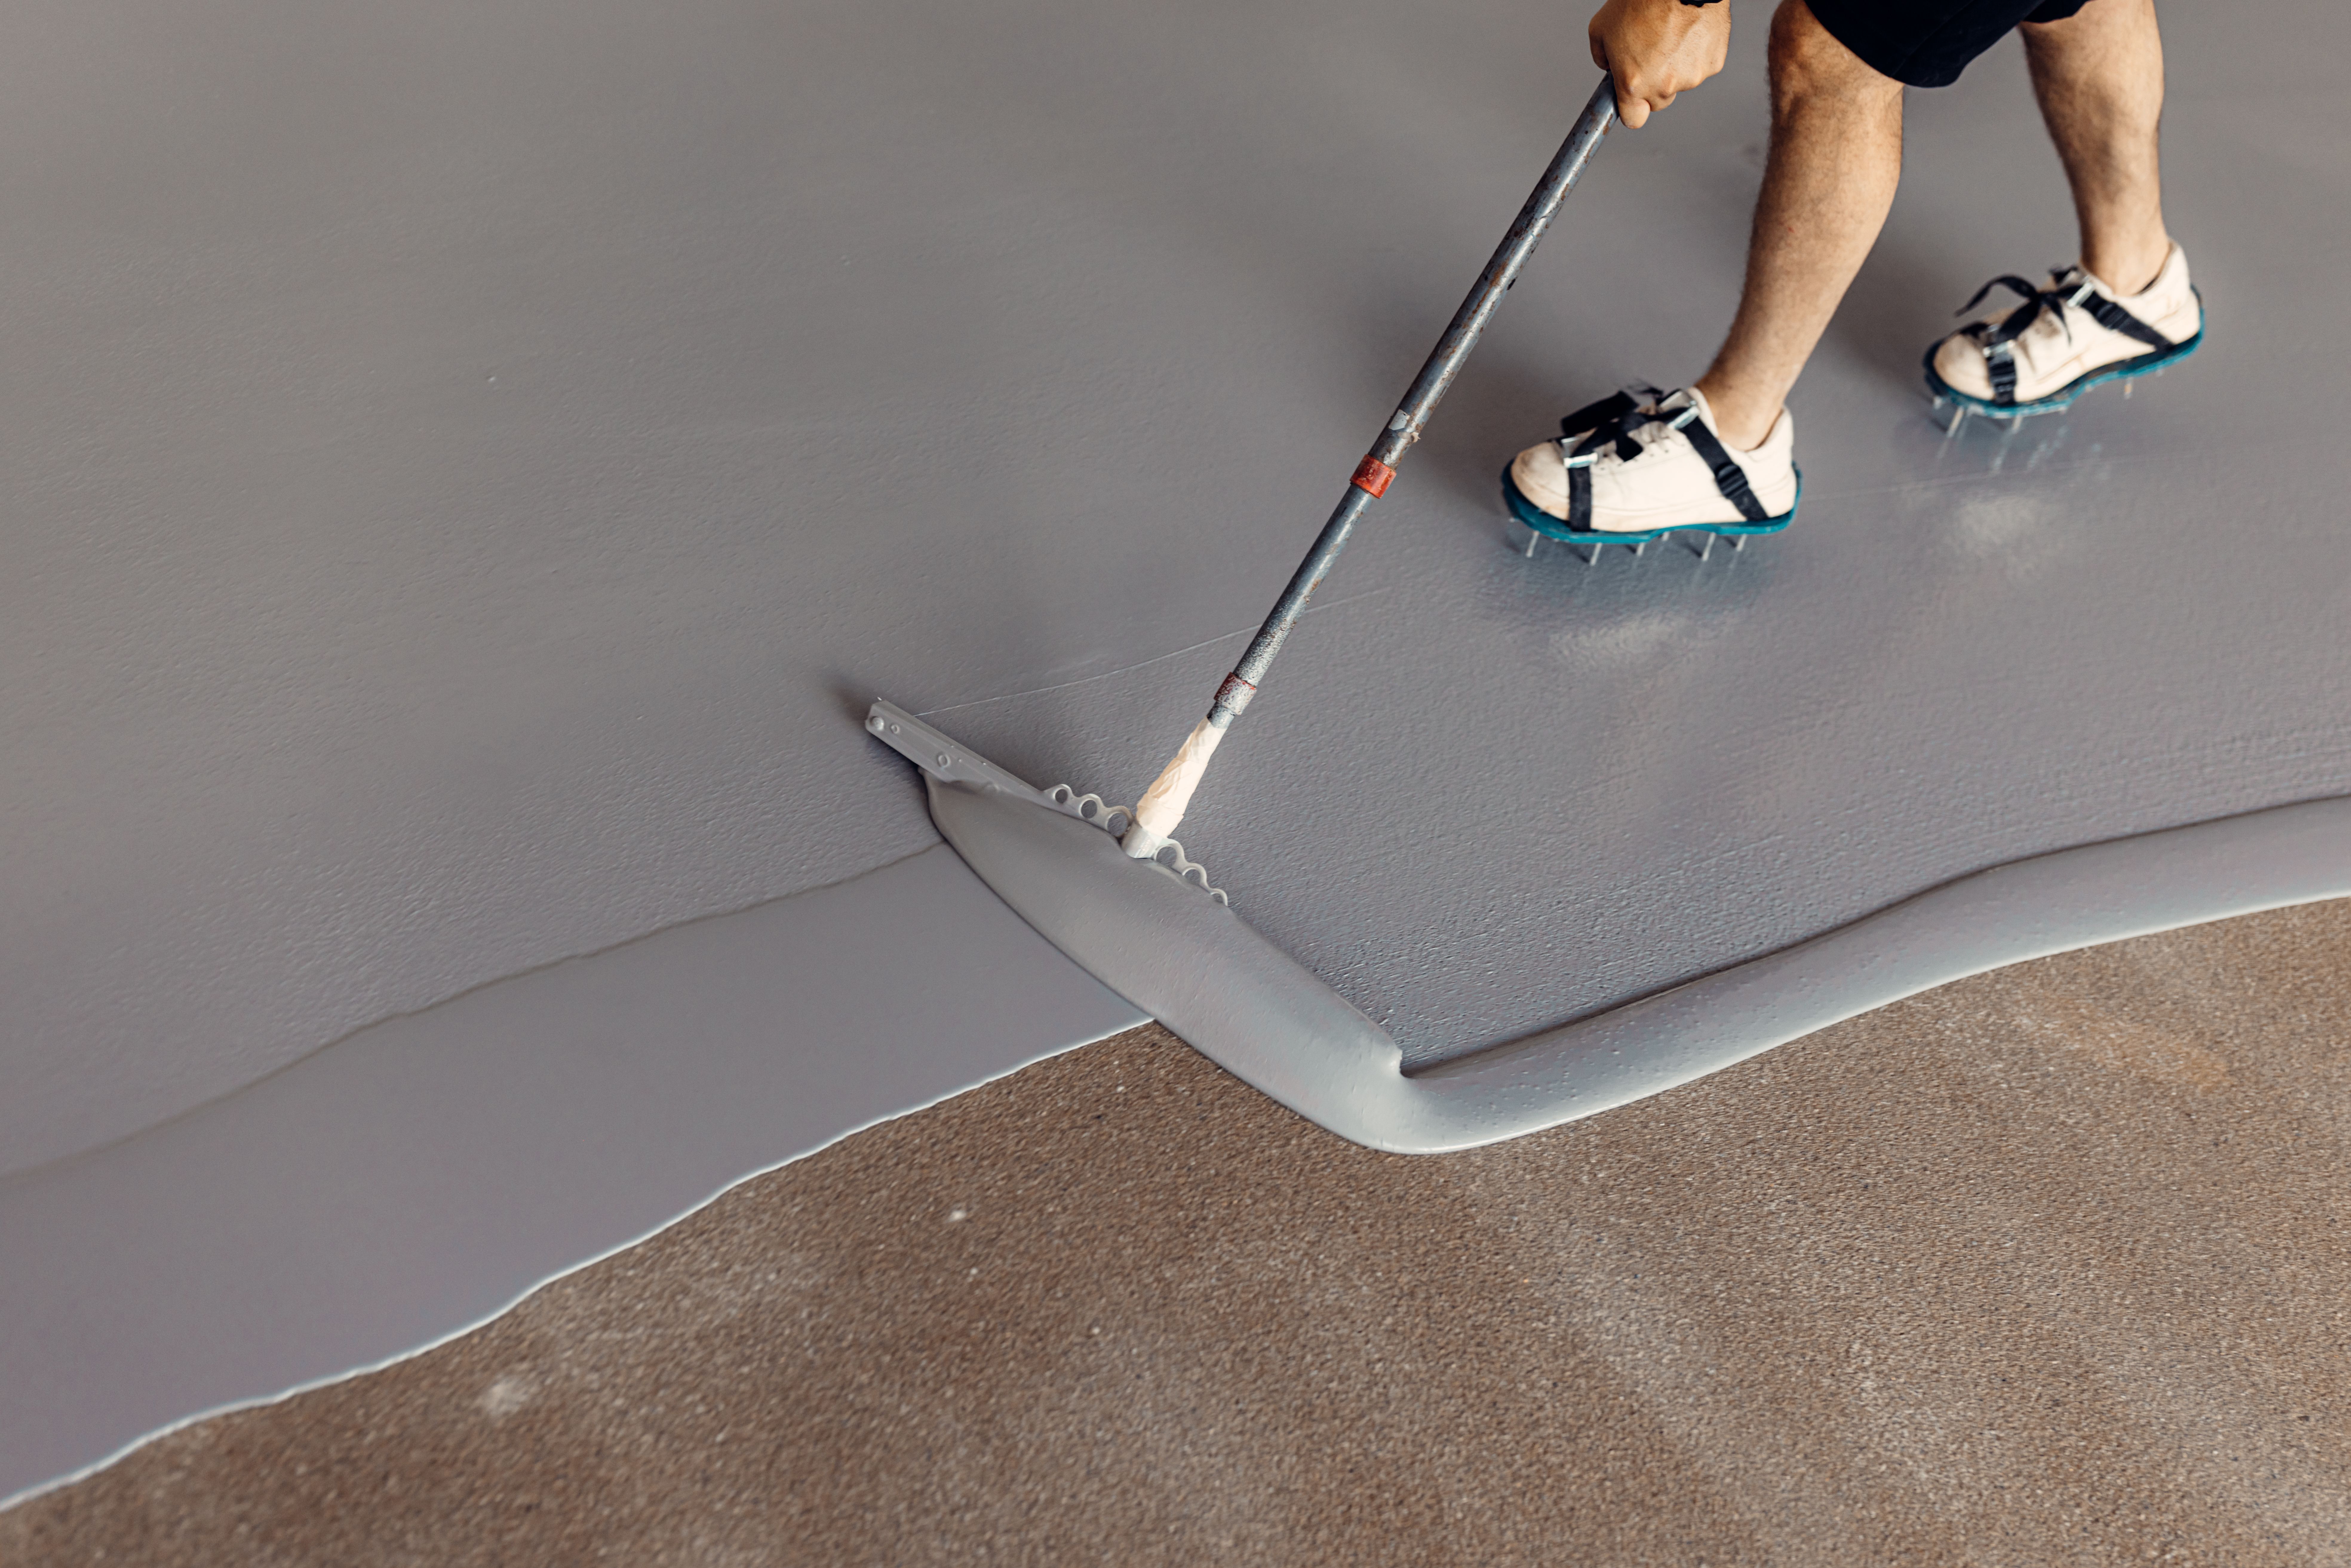
Leveling the substrate
Every old surface requires leveling of the substrate. Very often, there are also voids on the surface that need to be filled. When leveling walls, pay attention to the size of imperfections. Small millimeter voids should be filled with tile adhesive. Larger imperfections can be corrected with leveling mass. However, to level the floor, it is best to use a self-leveling compound.
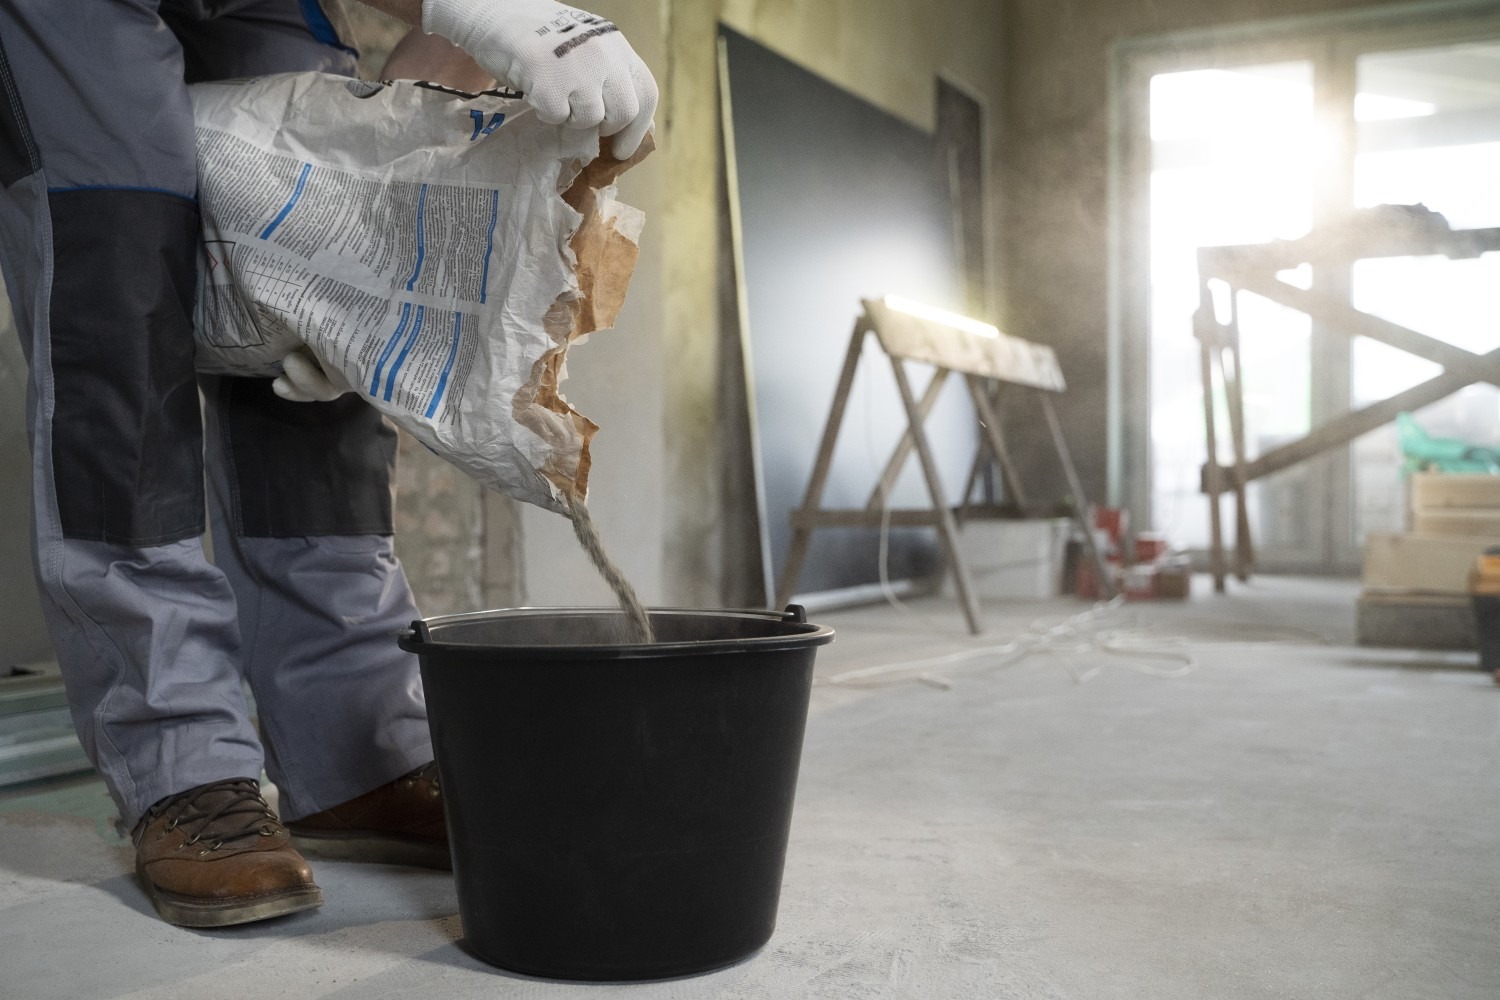
Cleaning the substrate
It is now time to clean the substrate. The next stage after previous difficult work is to clean the substrate. You can use a domestic vacuum cleaner for this. Greasy stains and dirt can be removed using dedicated cleaning agents.
Priming the substrate
The low absorbency of the substrate is highly significant when laying tiles. To achieve good parameters, opt for priming. This will provide greater surface adhesion, and additionally, the structure of the substrate will be strengthened.
Priming should be performed:
using products tailored to the type of substrate,
at a temperature above +5°C,
on a clean surface free of other impurities.
Do not do this if you want to properly prepare the substrate for ceramic tiles
If you're wondering how to prepare a wall for tiles or which primer to choose for floor tiles, refer to expert advice that shows the bathroom renovation process step by step. We will, however, suggest what mistakes to avoid when preparing the substrate for tiles. The most common mistakes are:
insufficient cleaning of the surface,
incorrect assessment of the substrate condition,
skipping priming,
improper leveling of the substrate,
using poor quality or incorrect materials,
preparing the substrate and starting to lay tiles in inappropriate humidity and temperature.
By knowing how to prepare the substrate for tiles and avoiding the most common mistakes, you'll reduce costly expenses associated with corrections. You'll achieve a durable and aesthetic result in your home.
Remember this before laying the tiles
Here is a checklist of activities that will help prepare the substrate for tile gluing in the correct manner:
Assess the condition of the substrate for tiles. Check the plaster support, surface stability, and evenness.
The substrate for tiles should be thoroughly cleaned of dust and debris.
Do everything to reduce the absorbency of the substrate. You can even opt for double priming when necessary. This will strengthen the surface structure and enhance the durability of the glaze.
Related products


- Mega Discounts
Mexen Mek Natural glazed rectified porcelain stoneware G1, floor-wall tile 120 x 60 cm, matte GT - TL504-120-060-02
€35.71/m2 -19.92%
€28.59/m2List price: €35.71/m2
Lowest price: €28.59
Availability: In stock


- Mega Discounts
Mexen Mek Nero glazed rectified tile G1, floor-wall tile 120 x 60 cm, matt GT - TL504-120-060-03
€35.71/m2 -19.92%
€28.59/m2List price: €35.71/m2
Lowest price: €28.59
Availability: In stock


- Mega Discounts
Mexen Merison Black glazed rectified G1, floor-wall tile 120 x 60 cm, high gloss - TL203-120-060-00
€33.90/m2 -19.79%
€27.19/m2List price: €33.90/m2
Lowest price: €27.19
Availability: In stock


- Mega Discounts
Mexen Nolte Gold glazed rectified porcelain tile G1, floor-wall tile 120 x 60 cm, gloss - TL111-120-060-00
€28.60/m2 -19.97%
€22.89/m2List price: €28.60/m2
Lowest price: €22.89
Availability: In stock


- Mega Discounts
Mexen Romania Grey glazed rectified tile G1, floor-wall tile 120 x 60 cm, sugar - TL501-120-060-01
€35.71/m2 -19.92%
€28.59/m2List price: €35.71/m2
Lowest price: €28.59
Availability: In stock