


Day-to-day, we rarely think about how the toilet cistern works - just a press of a button and the problem disappears. It's only when the mechanism starts to fail that we realize how important it is to us. Water that doesn't flow from the reservoir or, conversely, keeps running after flushing can significantly disrupt the comfort of using the bathroom and strain the household budget. That's why it's worth knowing how to react when the concealed cistern starts leaking and isn't working as it should.
What will you learn from this article?
This article will help you understand the mechanism step by step, identify faults, and repair them on your own. You will learn, among other things:
How to recognize the first signs of a concealed cistern failure and when to react.
What to do if water flows from the cistern and simple repair methods don't work.
How to open the concealed cistern and independently repair the most common faults.
How to clean the diaphragm of the needle valve to restore proper cistern function.
What tools are needed for the repair and when it's worth calling a plumber.
What types of cisterns do sanitary ware manufacturers offer?
Before we get into the issue of repairing a leaking concealed cistern, let's briefly present the types of cisterns available on the market. The definite hit of recent years are concealed models, whose mechanism is hidden in the wall. A more classic solution is cisterns mounted above the WC bowl. You most often encounter a low-level cistern, which is a tank placed just above the seat - a simple, proven system where you can choose a larger or smaller amount of water. The high-level cistern, with the tank suspended high near the ceiling, is now rare. Remaining are cisterns inWC compacts, where everything is in one: bowl and tank as a complete unit.
Given the installation method, it's easy to guess that the most demanding is the concealed WC cistern—repairing such a mechanism can pose challenges for an inexperienced user. See how to repair a built-in cistern and when it's necessary to replace the built-in cistern.
The choice of cistern goes hand in hand with the purchase of a WC bowl. See what types of bowls are currently available on the market.
How does a concealed cistern work?
A concealed cistern consists of two valves. The basic element is a float connected to a line allowing water inflow. When pressing the button, the container empties, and water flows into the toilet. Then, the reservoir refills, and when the cistern is full, the float reaches the selected level and closes the filling valve. The second element, the flushing valve, blocks the water outflow to the toilet bowl. Part of the flushing valve is the so-called bell, which fills with water and presses the flushing valve back to the outlet, blocking the self-flowing water.
How to recognize a broken toilet cistern?
One of the most common problems that can hinder toilet use is cistern failure. If you notice water flows in a continuous narrow stream, it could mean the cistern is leaking. It is not a situation that would prevent toilet use, but it's worth addressing as it could lead to increased water usage costs and reduced comfort in the bathroom.
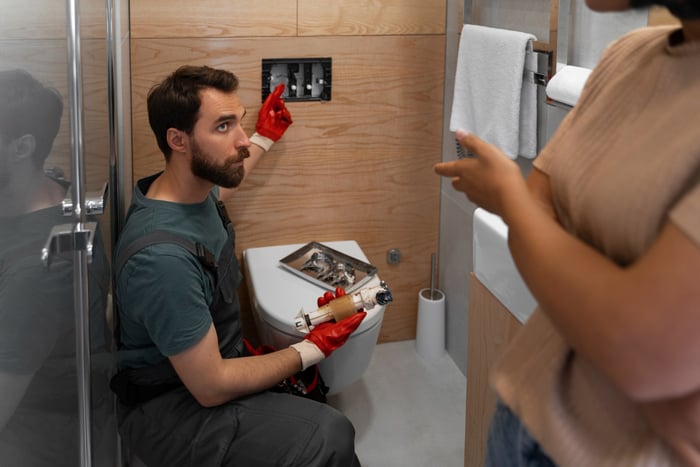
An emergency solution could be turning off the filling valve after every flush and refilling the tank. A damaged filling valve is unfortunately a bigger problem. It would definitely be a better idea to repair the leaking WC cistern. In most cases, repairing a concealed cistern does not require the help of a plumber and can be done independently.
How to repair a leaking concealed cistern?
In most cases, the cause of uncontrolled water leakage is a damaged flush valve seal or improper float adjustment. In both situations, you should turn off the water valve, remove the cistern cover, and check which problem you are dealing with. With a concealed cistern, you will also need to remove the cover plate of the concealed frame.
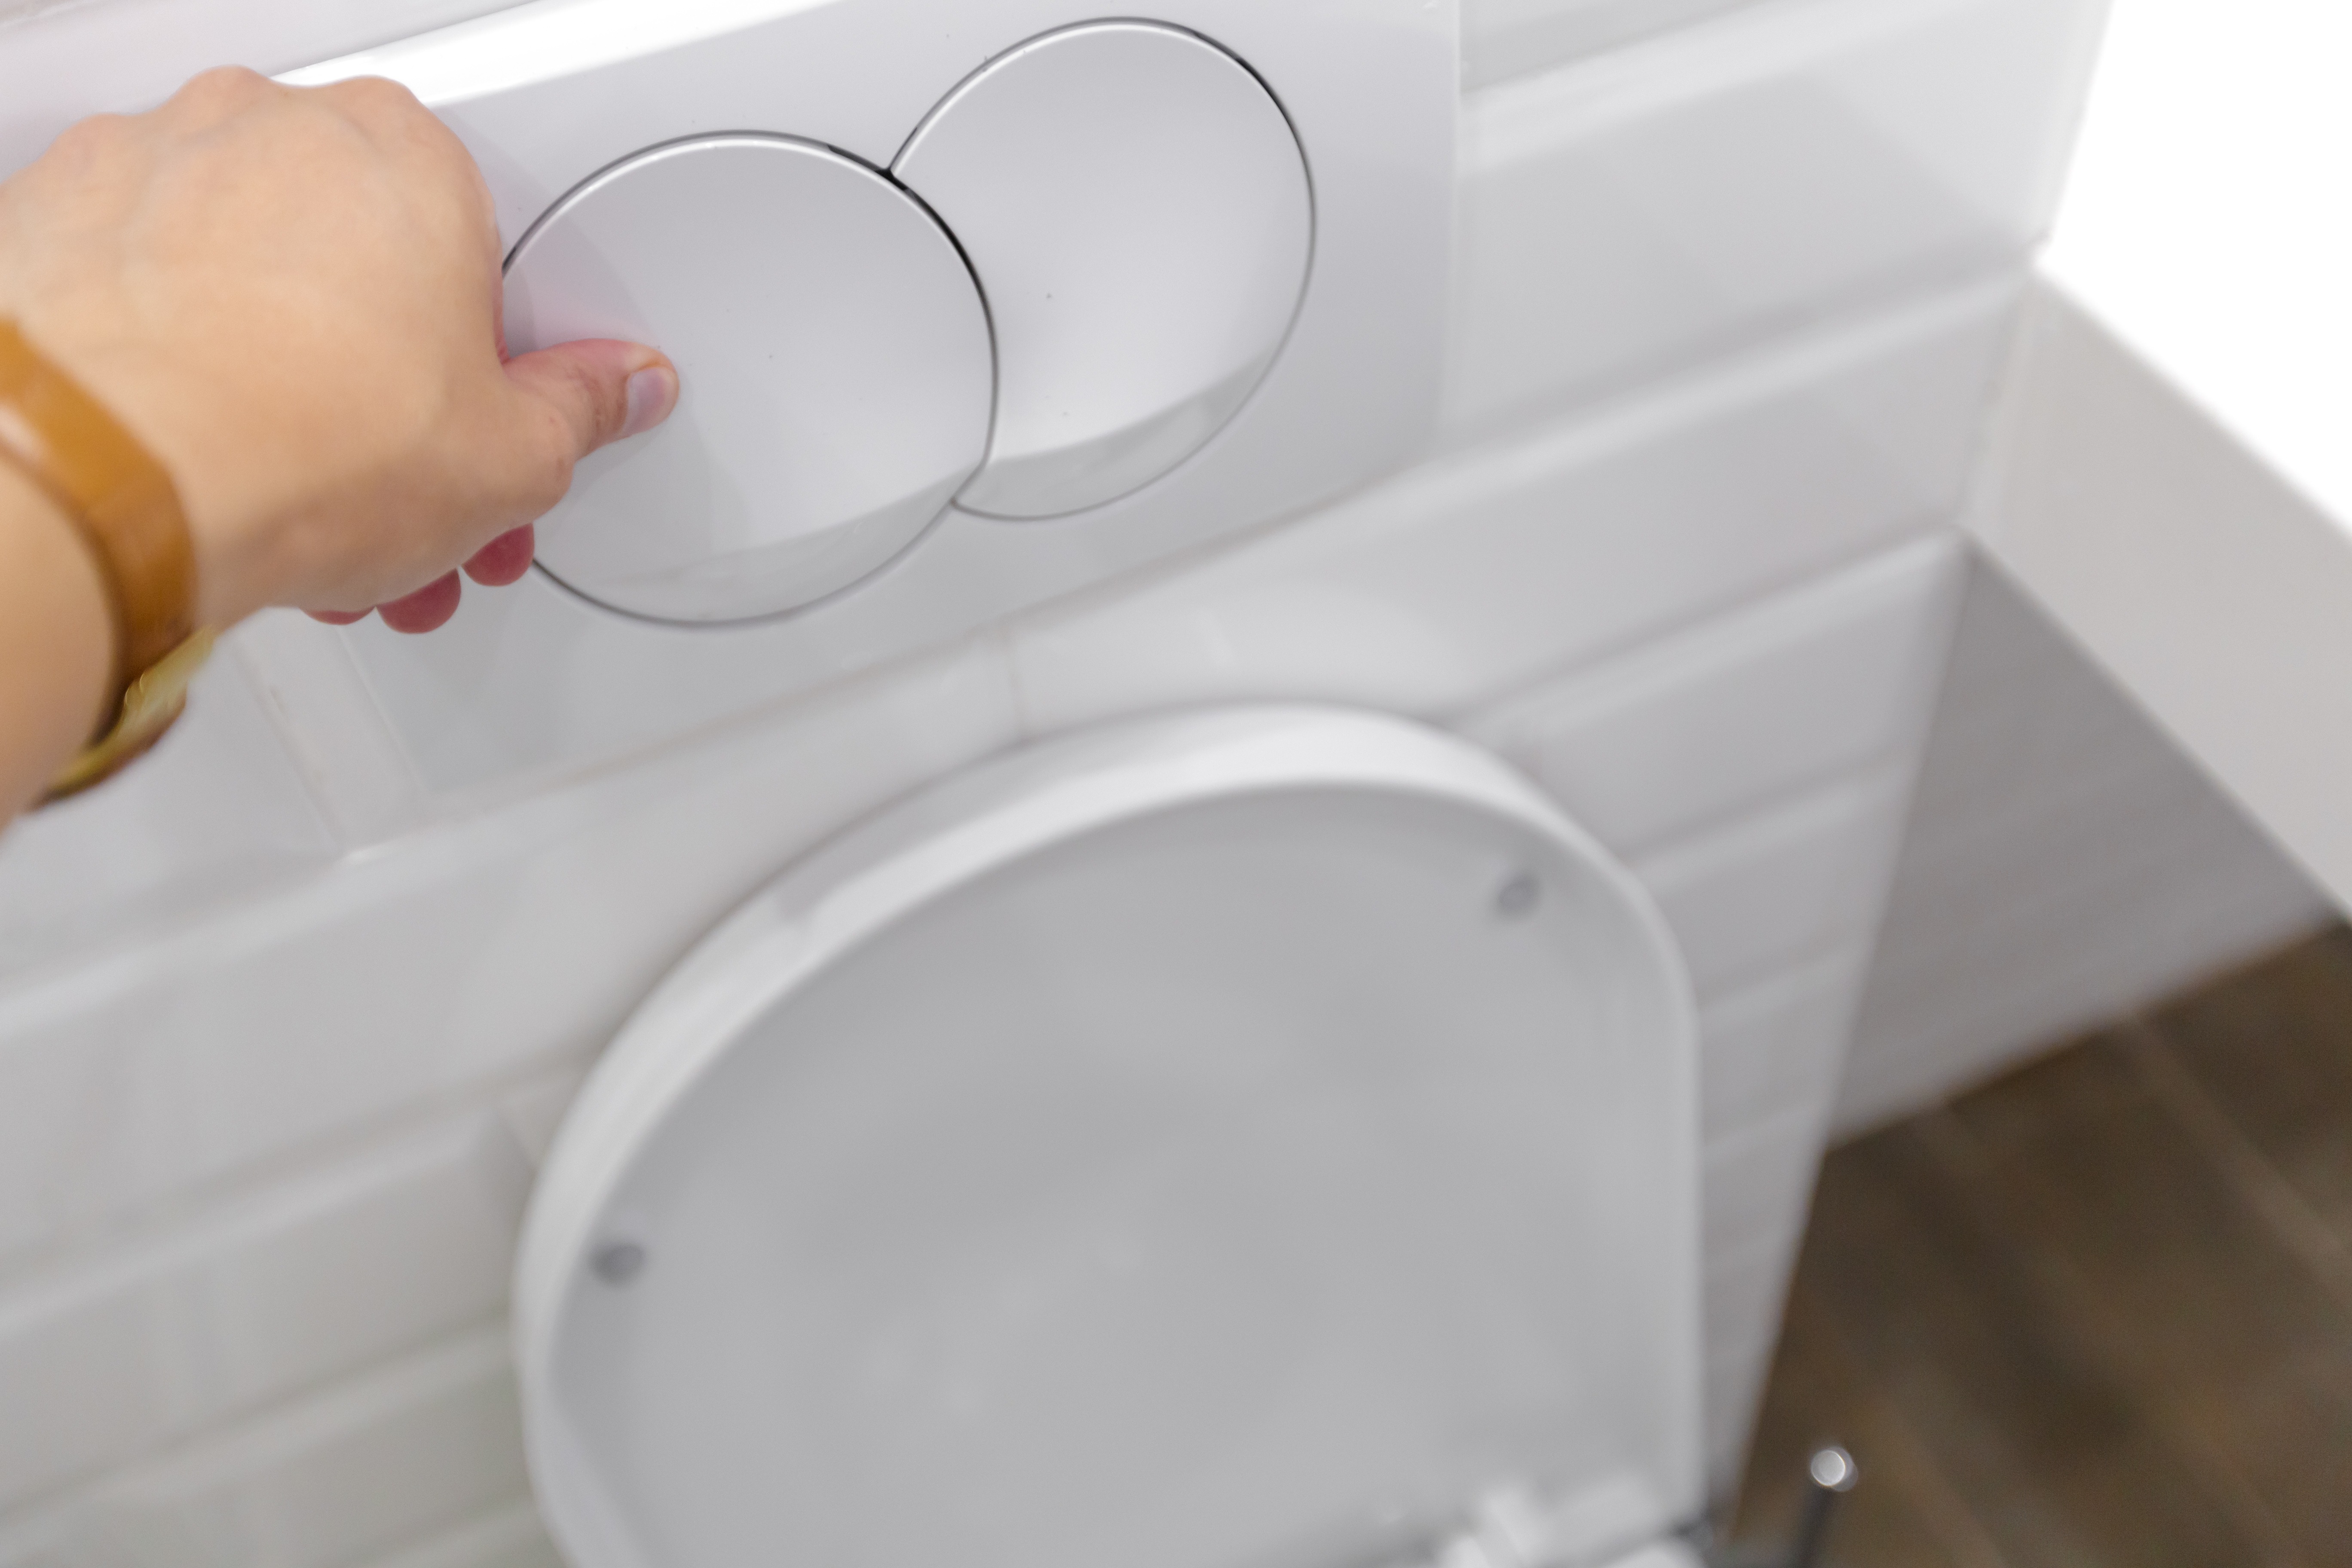
How to open the cistern in the wall?
Concealed cisterns have a flushing button or panel on the wall. Usually, you just need to remove or gently slide it aside to access the mechanism. In some models, the button is mounted on clips or screws. Once you remove the panel, you will see the inside of the cistern – the float, filling valve, and flushing valve. If the concealed cistern is not filling up, you can clean the filling valve.
Overflowing is most often caused by a damaged flushing valve or float. If the fault is due to the improper position of the float, it suffices to manually adjust its balance or tighten the screw adjusting the water level. After prolonged use, it may be necessary to adjust the float and set it back to the desired position. Such cistern repair can be done independently.
Cleaning the needle valve diaphragm in a concealed cistern
Water to the concealed cistern flows through a special diaphragm with a needle valve located at the water inlet. It may get blocked due to water mains debris. Such a situation significantly hinders the closure of the water supply, which will keep filling continuously. Its excess will be continuously drained through an emergency overflow tube placed in the filling valve.
The diaphragm of the needle valve in a concealed cistern can become blocked due to contaminants like limescale or water deposits. To clean it, the water valve should be shut off, and the reservoir emptied. Then, you need to remove the cistern cover and unscrew the needle valve. The diaphragm should be gently removed and cleaned using a solution of water, vinegar, and soda. After thorough cleaning, the diaphragm should be reinstalled, and the needle valve screwed back in place. After filling the reservoir with water, check that the valve operates correctly and that water doesn't continuously flow. Cleaning the diaphragm is a simple way to restore cistern functionality.
What do you need to repair a concealed cistern?
Repairing a concealed cistern doesn't require specialized tools. A basic set, typically found in any home, will suffice. Handy will be flat or socket wrenches to unscrew the flushing, filling valve, and many others, as well as a screwdriver for float adjustment and pliers for seal removal. When cleaning the needle valve diaphragm, a water, vinegar, and soda solution will also come in handy. It's also advisable to have a new seal on hand if the old one is worn out.
Replacing the flush valve step by step
We've explained how to repair a concealed cistern, but if you still have concerns about executing the task yourself, follow our quick tips. We've gathered all the vital information so you can proceed step by step.
What do you need? A flat screwdriver, pliers or adjustable wrench, new flush valve (matched to the cistern model), towel or bowl for water.
Step 1. Turn off the water
Find the shut-off valve (usually under the button or near the bowl).
Turn it off completely.
Press the cistern button to drain the water from the tank – avoid spillage during disassembly.
Step 2. Remove the button and frames
Gently pry the button plate and remove it.
Unscrew the mounting frame to expose full access to the inspection opening.
Step 3. Remove the old flush valve
Locate the flush valve (it's the central mechanism in the tank).
Turn it according to the manufacturer's instructions – usually just twist left and lift.
Carefully remove the entire element through the inspection opening.
Step 4. Check and clean the seals
If they are hard, cracked, or limescale-covered, they were likely causing the leak.
Clean the tank interior from deposits (especially where the valve attaches to the outlet).
Step 5. Install the new flush valve
Insert the new valve in the same place.
Press it down and turn until you feel it lock.
Ensure the seal fits well.
Step 6. Adjust the mechanism
Set the valve height according to the instructions (too low – weak flush, too high – water may overflow into the bowl).
If necessary, also adjust the filling valve so that the water level ends 2-3 cm below the overflow rim.
Step 7. Check everything works correctly
Turn on the water supply.
Wait for the tank to fill.
Check for leaks.
Do a few test flushes.
Fit the frame and button.
Done! No need to break the wall or immediately call a plumber.
Tip: If you are unsure of the valve model, take the old element to the plumbing store – the seller will help find the right part.
When is it worth calling a plumber to repair a concealed cistern?
In most cases, repairing a concealed cistern is a task you can perform on your own. However, there are situations where it's worth seeking a plumber's help. If, after performing basic repairs such as replacing a seal or adjusting the float, the cistern still doesn't function correctly, this may indicate a more complex fault. In such a case, a plumber will be able to accurately diagnose the problem and propose an appropriate solution. Additionally, if you don't have experience in plumbing work or don't feel confident to repair the cistern yourself, it's better to entrust this task to a professional.
How to prevent concealed cistern failures?
To avoid concealed cistern failures, it's a good idea to regularly inspect and maintain the device. First and foremost, check the condition of the seals and replace them with new ones if necessary. It's also a good idea to regularly clean the needle valve diaphragm to prevent blockage from contaminants. Additionally, monitor and adjust the float setting as needed to ensure the proper operation of the filling valve. Taking care of the concealed cistern will not only extend its lifespan but also help avoid unpleasant surprises such as water leaks or increased water bills.
Wondering whether to purchase a compact or concealed WC? If easy repair is important to you, the former option wins. On the other hand, compacts are gradually replaced by concealed sets, so consider carefully, especially since it's a decision for at least several years.