


If you prefer a minimalist design and like to keep your bathroom and kitchen tidy, opt for hanging dispensers instead of traditional soap dishes and liquid soaps. Available in many styles and finishes, they will not only enhance the functionality of the interior but also boost its aesthetic appeal. Find out how to quickly and easily install such a dispenser.
Why are Liquid Soap Dispensers so Popular?
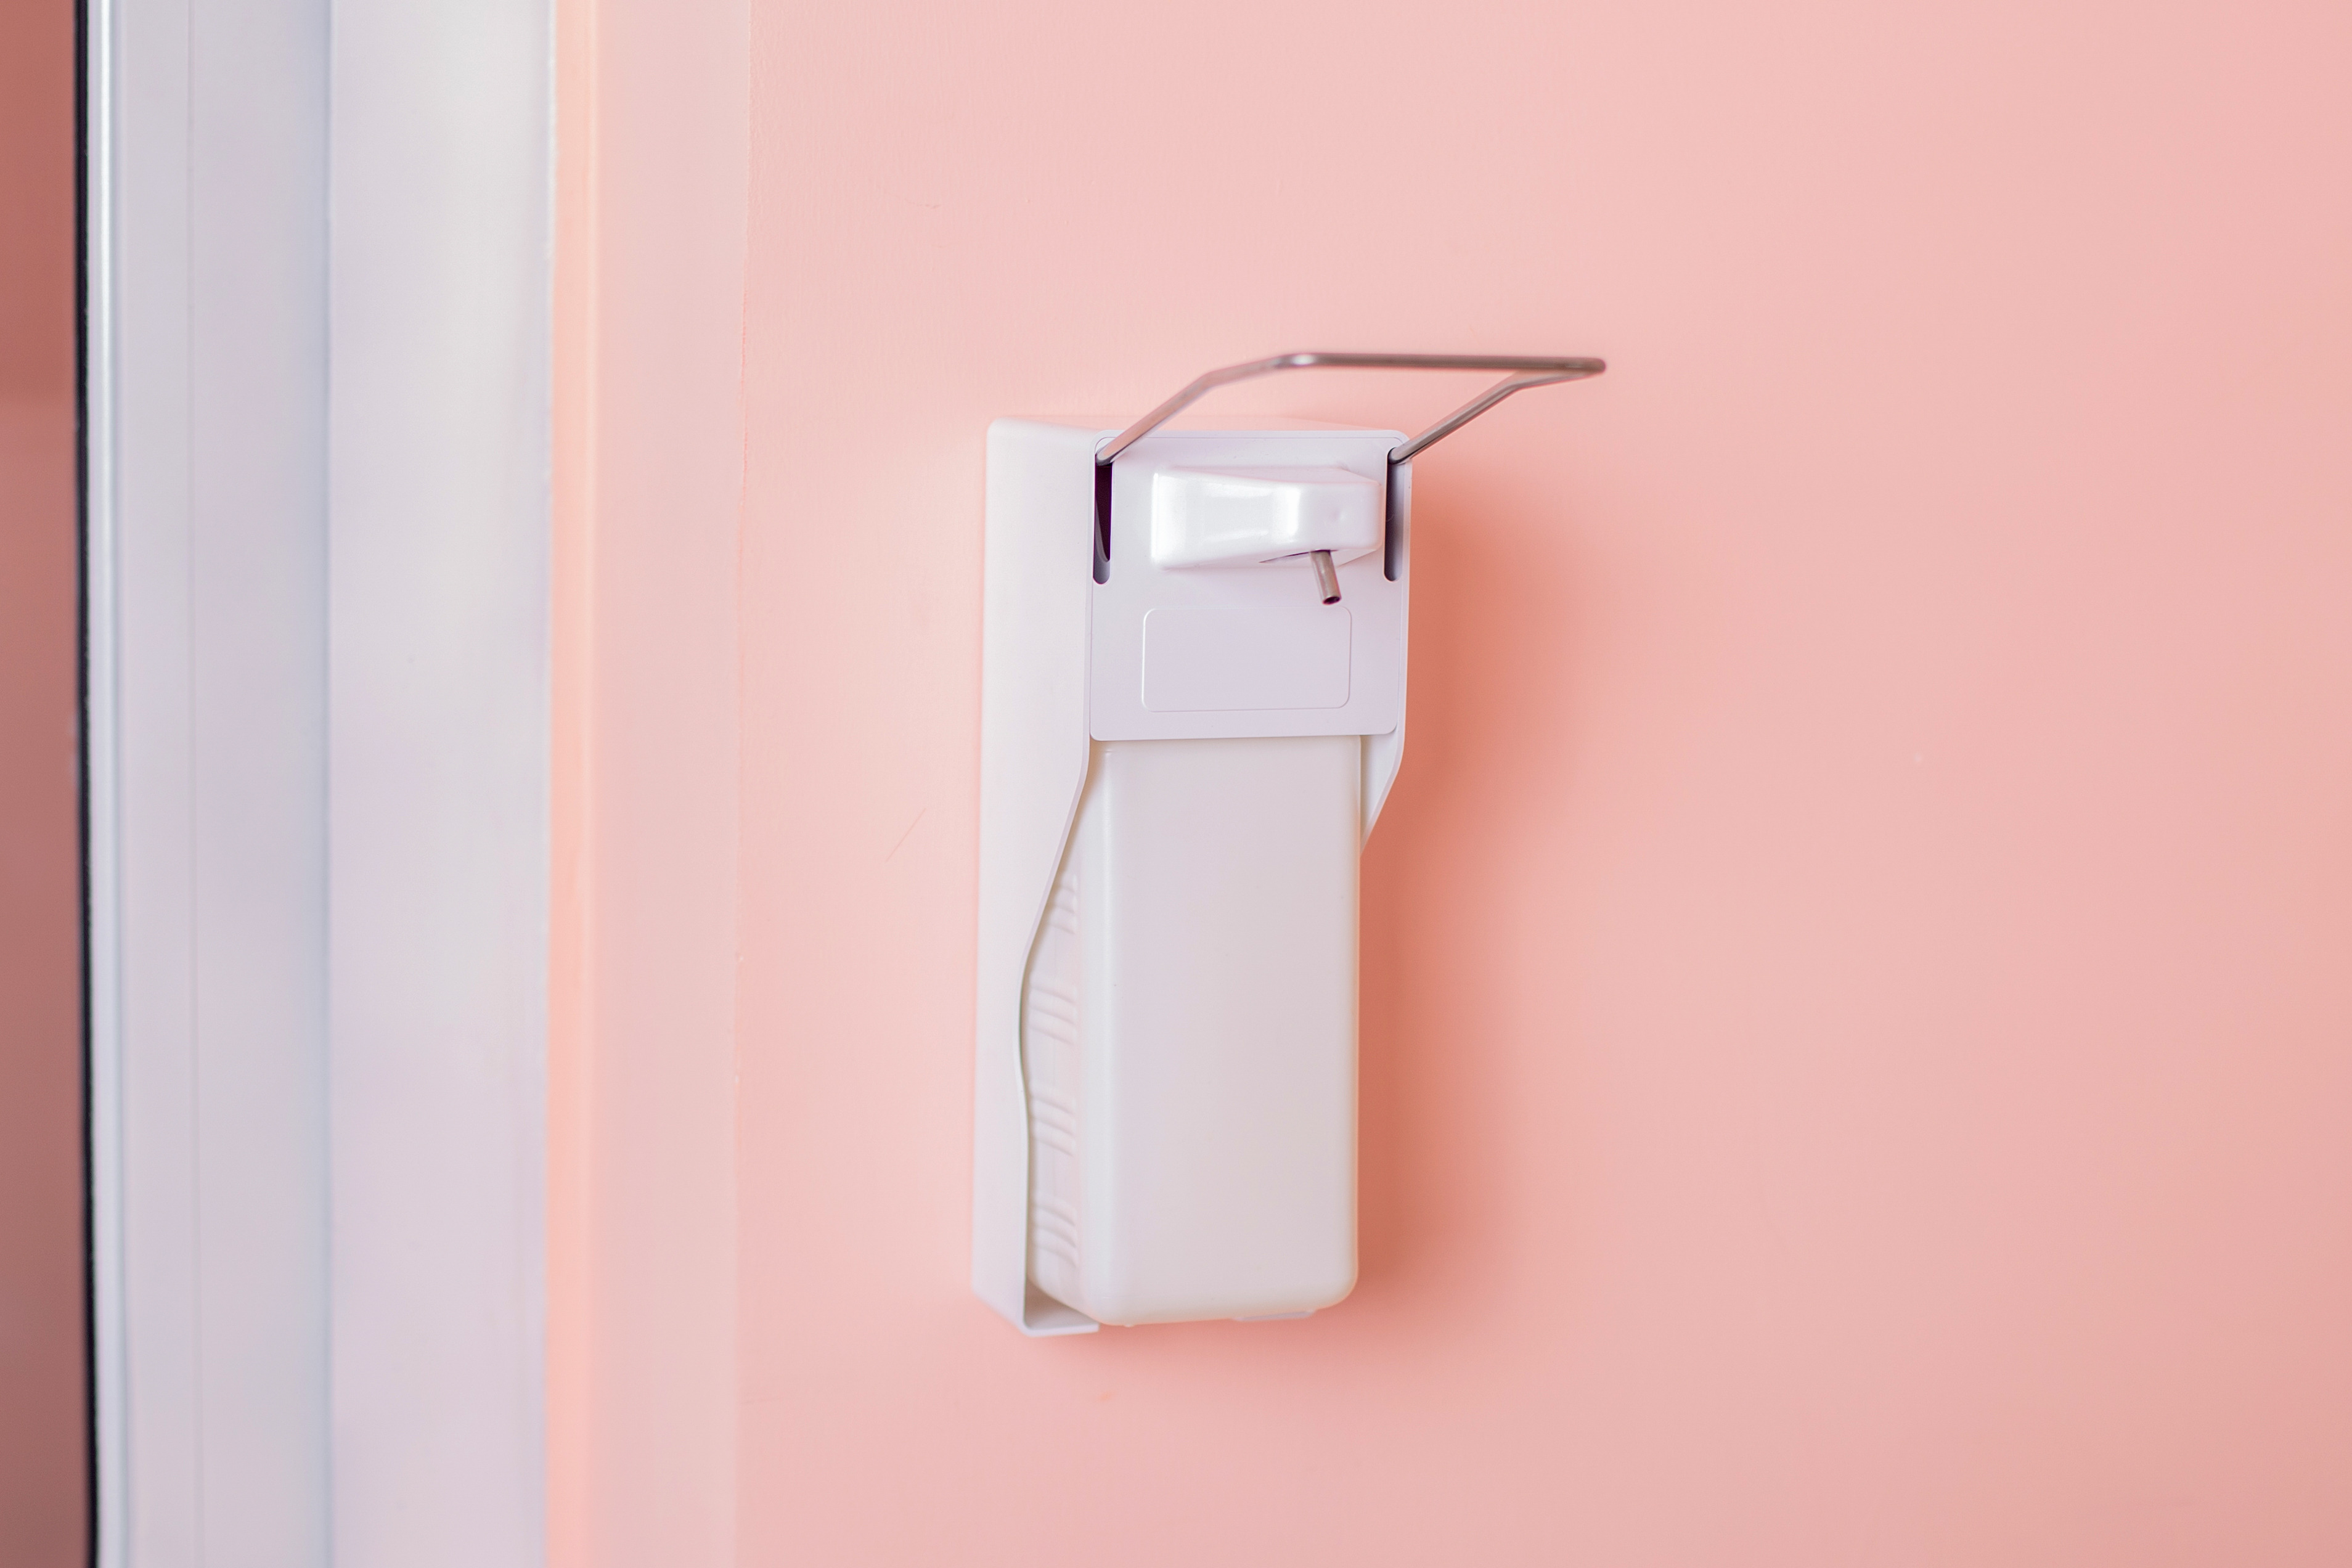
Wall-mounted soap dispensers are a better and safer alternative to bar soap. They promote better hygiene habits, help keep hands clean, and encourage economical use of liquid. Moreover, dispensers help keep the sink cleaner and save valuable countertop space, which is particularly important in small interiors. If you want to elevate your standard of living, invest in an automatic device that requires no hand use, thus eliminating the risk of spreading bacteria. Besides convenience and safety, automatic dispensers are gaining popularity because they are quite affordable and allow you to control the amount of product used.
Wall-Mounted Liquid Soap Dispensers
If you already know why it's worth investing in a wall-mounted soap dispenser, let's move on to the technical aspects and see what the installation looks like.
Location
Before purchasing the device, determine its location. Consider all the people who will use it and ensure that each household member can use the dispenser comfortably. Also, think about the other items you store in the chosen area and consider whether the new device will fit there. Make sure you can refill the tank easily after installation. Once you have determined the installation location, disassemble the casing according to the manufacturer's instructions to access the back of the panel to be attached to the wall. Use a spirit level to ensure that the dispenser is set straight, pressing the back panel against the wall. Once you achieve the desired position, use a pencil to mark the mounting points.
Drilling Wall Holes
The liquid soap dispenser should be mounted using dedicated screws, so ensure the drill bit you use is the right size. If drilling in tiles, use masking tape to prevent the tip from slipping on the surface. Drilling is a crucial stage of installation, so remember to start at a low speed. Installation in masonry is much simpler but needs expansion plugs to make the screws more stable.
Mounting the Back Part
When the holes have been made, press the back part of the soap dispenser against the wall and insert the screws to keep it in place. If you're worried about damaging the dispenser's structure, use a screwdriver for this purpose. If you want to achieve even better stability, secure the bottom of the dispenser with masking tape.
Full Dispenser Installation
After placing the base, attach the remaining part of the soap dispenser, fixing it in place with the screws provided in the set. With this, the liquid soap dispenser is ready to use.
Of course, not all dispensers are installed in the same way. Products intended for non-invasive installation are becoming increasingly popular. If you don't want to spend a lot of money on purchasing an accessory, choose a plastic soap dispenser. It's an excellent choice for any bathroom, regardless of the finishing style.
Is Dispenser Installation Simple or Complicated?
As you can see, installing a dispenser can be done correctly and quickly if we are precise enough and plan each step of the process. It is not a complicated task—just remember each step, ensure precision and accuracy, and in consequence, enjoy the dispenser we installed ourselves! So, let's get to work!
Related products

- Mega Discounts
Mexen Arno soap dispenser, black - 70207388-70
€23.20 -19.87%
€18.59List price: €23.20
Lowest price: €18.59
Availability: In stock

- Mega Discounts
Mexen Arno soap dispenser, chrome - 70207388-00
€21.40 -19.67%
€17.19List price: €21.40
Lowest price: €17.19
Availability: In stock

- Mega Discounts
Mexen soap dispenser, black - 70622-70
€33.90 -19.79%
€27.19List price: €33.90
Lowest price: €27.19
Availability: In stock

- Mega Discounts
Mexen Soap Dispenser, Chrome - 70628-00
€30.30 -19.84%
€24.29List price: €30.30
Lowest price: €24.29
Availability: In stock