


A suspended ceiling is a solution most often used to lower an excessively high room. This helps, for example, to restore the proper proportions of the interior. However, a suspended ceiling is not just a decorative issue; it's also a solution that allows for soundproofing and insulating the room. Moreover, it excellently reduces the amount of thermal energy needed to heat it. Smaller volume heats up faster, and an additional layer protects against heat escaping through the ceiling. What other advantages do suspended ceilings have, and is it worth deciding on one?
What will you learn from this guide?
Are you wondering how to properly plan and execute a suspended ceiling in the kitchen? This step-by-step guide will walk you through the entire process—from preparing materials to installation and finishing. You will also find information about:
- How to make a suspended ceiling?
- What materials will you need, and how to choose them correctly to ensure the structure is solid and aesthetic?
- You will learn about the most common problems that arise during installation.
- How to install wall and supporting profiles to ensure the stability of the structure?
How to make a suspended ceiling?
Installing a suspended ceiling is quite a labor-intensive task, but it doesn’t mean it can’t be done by oneself. However, before starting work, familiarize yourself with the instructions, which you can find, among other places, in our guide.
How to make a suspended ceiling in the kitchen? – check what you need to buy!
If you want to make a suspended ceiling in your kitchen or living room, first you need to stock up on the necessary materials. They will allow you to install your dream ceiling. Remember, it will be made of gypsum boards, so you need to carefully measure how many you will need to buy. In addition to the boards, you will primarily need:
- wall profiles,
- main profiles,
- supporting profiles,
- electrical wires,
- mineral wool,
- joint compound.
It is important to gather all the materials in one place before starting work and check that their quantity matches the room area. If planning LED lighting installation, remember about the proper arrangement of electrical wires and purchasing LED strips and spotlights. Before starting installation, it is also worth ensuring that the ceiling surface is dry, clean, and stable to ensure proper construction performance.
Suspended ceiling – how to start installation work?
Before starting the installation of a suspended ceiling, you need to decide whether it will be a suspended ceiling made of gypsum boards or tiles. The latter solution is somewhat less labor-intensive. However, most often, a suspended ceiling is installed using boards with insulation from mineral wool.
The first step is to plan the layout of the boards. They usually come in different sizes, so it's best to arrange them in such a way that there are minimal gaps requiring jointing. Next, you need to plan the mounting of so-called hangers, which are the points of attachment for the individual boards. This involves marking areas to attach the supporting profiles, which are also the main profiles. Usually, they are mostly guided along the length of the room, with the distance between them being approximately 1 m. It should be remembered that they cannot be further from the wall than 40 cm. Hangers are installed along the main profiles at a distance of up to 90 cm while maintaining a distance from the walls of no more than 40 cm. To outline the appropriate places, you can mark the line on the ceiling using a laser pointer.
Before fastening gypsum boards, determine further actions!
Planning the structure is a stage that determines the stability of the entire suspended ceiling. When installing in large kitchens or living rooms, it is worth using additional supporting profiles to strengthen the entire structure. Gypsum boards should be distributed evenly, and the joints between the boards should be located in the middle of the main profiles. If you plan to install spot lighting, consider additional reinforcements in the places where the spotlights will be mounted.
Additional tips:
- Before starting installation, ensure that all UD wall profiles are perfectly leveled. You can use a laser level for this purpose.
- Installing main CD and supporting profiles requires precise determination of their spacing. Keeping equal distances between hangers (maximum 90 cm) will ensure greater stability.
- For large drywall, it is worth using special mounting holders that allow easy holding during fastening.
Installing a suspended ceiling, next steps
Secure attachment of the suspended ceiling guarantees its durability and safety. Therefore, metal dowels are usually used for its installation. Plastic dowels do not work in case of really large loads. After planning the locations for installing the hangers, the height at which the ceiling will hang is determined. It is usually at at least 10 cm below the existing ceiling surface. The height is marked around the entire room perimeter, and then along the designated line, wall profiles are mounted.
Remember, when using drywall, UD wall profiles should be used, which are mounted along the walls at intervals of about 60 cm. There is no need to precisely join the ends of the individual profiles; small gaps can be left between them.
How to attach gypsum boards to the created structure?
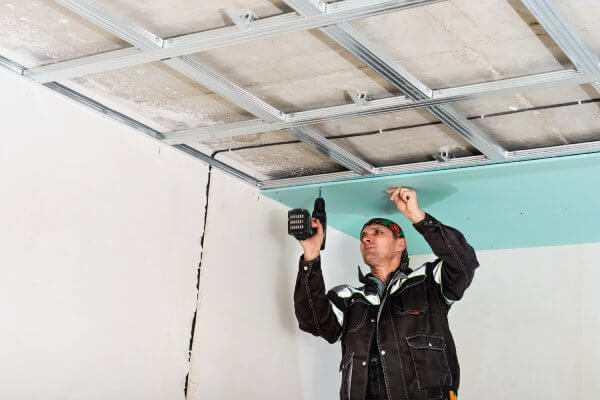
The next step is the installation of a grid for drywall. This involves leveling the extreme mounting CD profiles and adjusting the position of the main CD profiles to them. Remember that each wall profile must be firmly attached to the wall. It is important to use hangers every 90 cm, whose task is to hold the weight of the structure for many years. Profiles are mounted on the hinges and lowered into the mounting profiles inserted in the wall strips. Remember to maintain the distance of the first profile, no further than 15 cm from the wall. At the installation stage of the grid, it is worth testing the stability of the structure before proceeding to screw the boards.
Suspended ceilings in your home – learn further steps
The next step in the installation of a suspended ceiling is laying the entire frame on which it will be supported. Using special snap-on connectors, the main profiles are connected to the supporting ones in turn. The individual mounting profiles are inserted into the wall profiles at a distance of 50 cm from the previous one, and the process is repeated until the entire frame of the suspended ceiling is laid.
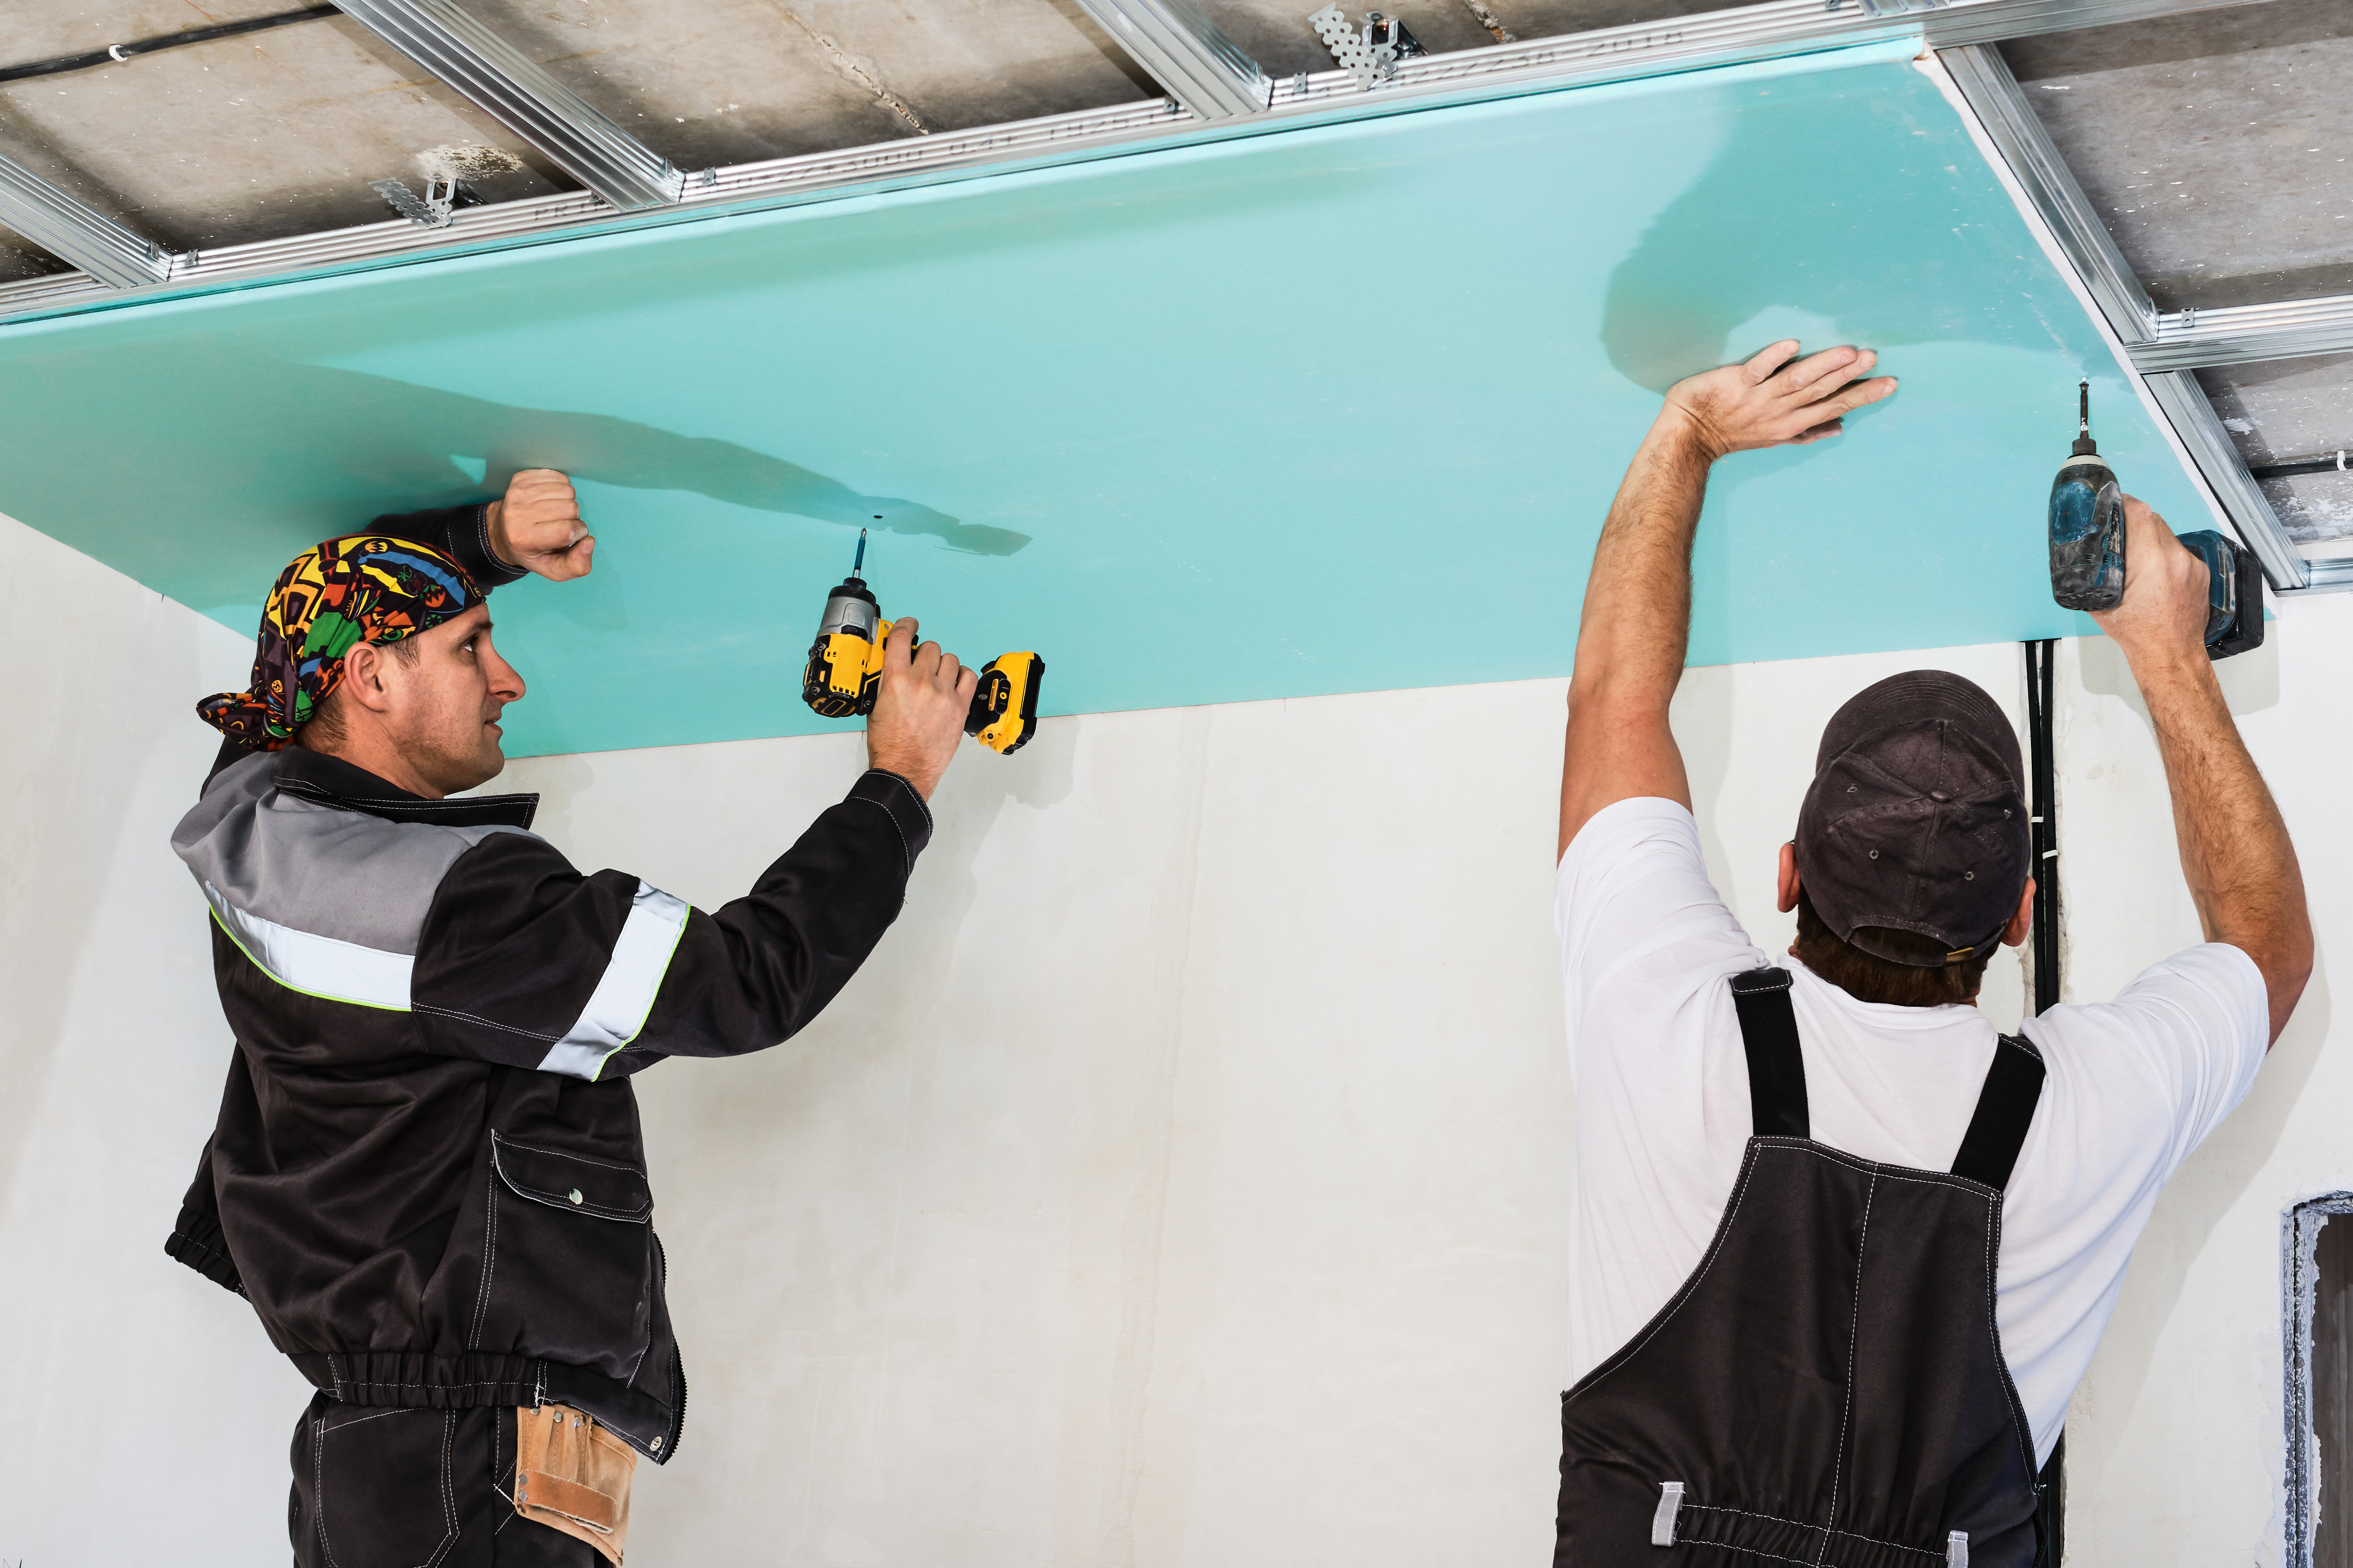
Now the work begins, which will be difficult for one person to perform. To suspend the ceiling, full-size gypsum boards must be mounted with the help of a second person, and a makeshift ramp may also come in handy to use to support them while attaching them to the specific profiles. It is important to ensure that the board is set with its longer side perpendicular to the mounting profiles, also remembering that the connections of the subsequent boards should be located at the midpoint of the wall and supporting profiles.
What to remember during board installation?
During the installation of the frame, exact leveling of the whole is also crucial. For this purpose, you can use a leveling laser or a traditional level. Installing gypsum boards requires the help of another person, as they are heavy and difficult to position precisely. Remember, all joints must be on the middle of the supporting profiles, which will ensure greater stability.
Suspended ceiling installation, further steps
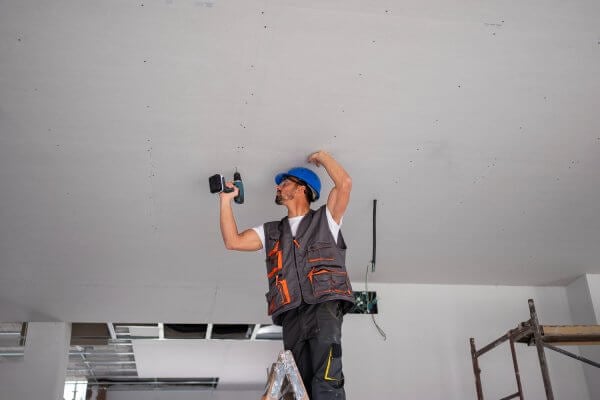
The next necessary step to install a suspended ceiling is to secure the ceiling boards to the grid. This goal is achieved using self-drilling screws of 25 mm length along with a drill, which significantly speeds up the fastening process. Screws are spaced every 20 cm along the line defining the center of the profile. At the edges, it should be a distance of about 1.5 cm from the edge. At this point, possible insulation is also placed, usually in the form of mineral wool.
Screws should be recessed in the board at least to a depth of 1 mm. Such secured boards require final finishing, namely jointing all connections, filling gaps between drywall and walls. The final stage is impregnating and painting the boards in the chosen color.
Cross suspended ceiling — how to make it?
A cross suspended ceiling is a solution that allows creating a stable and durable structure, ideal for larger rooms, such as kitchens combined with a living room. It is important to use main and supporting profiles arranged in a cross shape, which ensures even load distribution of the drywall. Thanks to this arrangement, the ceiling does not deform and allows the installation of heavier lighting, such as spotlights or pendant lamps.
Suspended ceiling and lighting installation
Before hanging the suspended ceiling, you must plan the arrangement of the electrical installation. This should be done no later than during the grid installation stage. The placement and routing of individual electrical wires are very important because after suspending the ceiling, there will be virtually no way to access its surface without destroying it. If you plan to hang heavy lamps, you must ensure access to the ceiling, where you will attach the appropriate mounts. If instead, you choose spotlights, you can embed them directly into the ceiling surface.
It is most convenient to entrust all work to professionals. However, with adequate determination and equipping with the necessary accessories, you can attempt to make a suspended ceiling step by step by yourself.
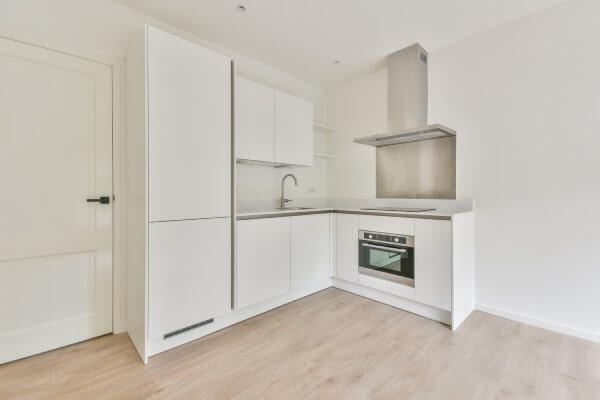
A suspended ceiling in the kitchen is functional and aesthetic
Suspended ceilings in the kitchen are not only a practical feature but also greatly affect the appearance of the entire interior. By utilizing different materials and installation techniques, you can tailor the structure to your own needs. Here are some factors that make the suspended ceiling a popular choice:
- Concealing installations – a suspended ceiling allows hiding the entire electrical installation, ventilation ducts, or lighting wires. This is especially important in modern kitchens, where aesthetics play a key role.
- Improved acoustics – in kitchens open to the living room, a suspended ceiling made of drywall with an additional insulation layer, such as mineral wool, improves room acoustics by reducing noise levels.
- Possibility of personalization – thanks to various finishing options such as painting, installing LED strips, or introducing decorative elements, the suspended ceiling can be fully adapted to the interior design style.
Modern solutions in suspended kitchen ceilings
Contemporary suspended ceilings offer many possibilities that can significantly enhance kitchen functionality. Thanks to the incorporation of new technologies and materials, such constructions are durable, aesthetic, and also convenient to use. Below are several solutions worth considering when designing the ceiling in the kitchen.
List of innovative features:
- Suspended ceiling with built-in ventilation systems – in kitchens with limited space, you can integrate ventilation systems directly into the ceiling structure. This allows effective removal of water vapor and odors.
- Lighting with motion sensors – installing spotlights or LED strips with automatic light activation can be a practical solution, especially in intensively used kitchens.
- Soundproof ceiling tiles – in kitchens open to the dining room or living room, this type of tile is worth using as it minimizes sound transfer to adjacent rooms.
- Decorative multi-level ceilings – a two-level suspended ceiling in the kitchen can serve to distinguish work and dining areas. Level differences further emphasize selected interior elements.
How to avoid mistakes during the installation of a suspended ceiling?
Making a suspended ceiling requires precision, so it's very easy to make a mistake during installation, especially one that might affect the durability and aesthetics of the entire structure. To avoid this, it's worth paying attention to several key aspects that are crucial for the outcome.
The first and most important step is carrying out accurate measurements. Before starting installation, you should thoroughly measure the room's height and determine the level at which the new ceiling should be placed. For this task, it's best to use a laser level, which precisely marks lines on all walls. The installation height should be adjusted to existing electrical and ventilation installations and should also account for any obstacles such as beams or wires. An incorrectly determined ceiling level can lead to difficulties in fitting gypsum boards, resulting in an unsightly appearance.
The next important element is the solid attachment of the profiles that form the structure's base. For the installation of UD wall profiles and CD main profiles, you should use expansion dowels appropriate to the type of ceiling—different dowels are used for a concrete ceiling than for wooden ceilings.
Lowered ceiling in the kitchen – what else should you remember?
Incorrect attachment can lead to deformation of the structure or even its slipping off after some time. It's also important to maintain appropriate distances between rotating hangers – a maximum of 90 cm – to prevent the ceiling from sagging under the weight of the plasterboard.
In kitchens with increased humidity, proper insulation of the suspended ceiling is especially important. The space between the ceiling and g-k boards should be secured against moisture with vapor barrier film. This film prevents water vapor from penetrating the thermal insulation, which is particularly important when mineral wool is used in the construction. Lack of film can lead to insulation dampening, mold growth, and deterioration of its thermal properties.
The careful jointing of gypsum board connections is also crucial. All joints must be thoroughly filled with joint compound and then reinforced with joint tape or reinforcing mesh. This prevents cracking that could occur due to natural settling of the structure or minor ceiling movements. After the joint compound dries, the surface should be thoroughly sanded with medium-grit sandpaper to achieve a perfectly smooth surface. Inaccurate jointing can lead to visible unevenness and reduce the ceiling's aesthetics, especially after paint application.
What kind of ceiling in the kitchen? Preferably suspended and self-made!
A suspended ceiling is a solution that combines aesthetics with functionality, making the kitchen more practical and modern. By hiding installations, improving acoustics, and introducing innovative elements such as LED lighting or acoustic ceiling tiles, the suspended ceiling becomes not only a decoration but also a practical addition to the interior. Its installation process requires precision, from accurate planning, through proper profile arrangement, to careful finishing and painting.
Remember to pay attention to the leveling of the construction and careful finishing of joints during installation. If you plan to use LED lighting, install it at the grid installation stage to avoid later difficulties. You should also consider using moisture-resistant gypsum boards, which are well-suited for the kitchen. A suspended ceiling is undoubtedly a way to create an interesting space arrangement—check it out!