


Connecting a radiator from below is a solution that is increasingly used both in new buildings and when upgrading an existing heating system. This solution effectively hides the installation and also provides an aesthetic appearance. However, for the installation to function correctly, it is crucial to properly connect the radiator and match it to the heat source.
Considering that this may be somewhat problematic, we provide a comprehensive guide. We will explain here what lower connection involves and which technical dependencies must be considered to enjoy the expected effect. Welcome.
What will you learn from this article?
Proper installation of a radiator with bottom supply has a real impact on heating comfort, installation appearance, and its efficiency. In this article, we discuss all the key technical issues that are particularly important when planning a system with a lower connection.
If you are just getting familiar with types of radiators and are considering those with a bottom connection, from this guide you will learn:
-
How do bottom-supplied radiators work?
-
How to properly install a bottom-supplied radiator?
-
Which valves and other connecting elements are necessary for this connection?
-
When is it worth considering a bottom radiator connection instead of a classical one?
Here you will find useful tips and tricks that will help you not only execute but also plan the installation in the safest possible way.
Can all room radiators be connected from below?
Not every room model is suitable for such installation. It is always necessary to consider the recommended radiator connection by the manufacturer. There are different types of radiator connections that affect the method of heat carrier flow. The variants we focus on today hide the so-called nipples precisely at the bottom, not for example, on the right side of the radiator. Cross-connection is also very popular, often found in models where the length of the radiator is very large. For larger dimensions, it is necessary to arrange the supply and return nipples diagonally of the radiator.
It is worth mentioning that in new construction, bottom installation is almost a standard solution because installations are very often conducted in floors and walls. Meanwhile, in older buildings, it can be more challenging because such installation often requires a significant upgrade.
And if you are just planning a heating installation in your home, be sure to read: What Pipes to Choose for Central Heating?
Decorative and classic radiators. Advantages of bottom-mounted models
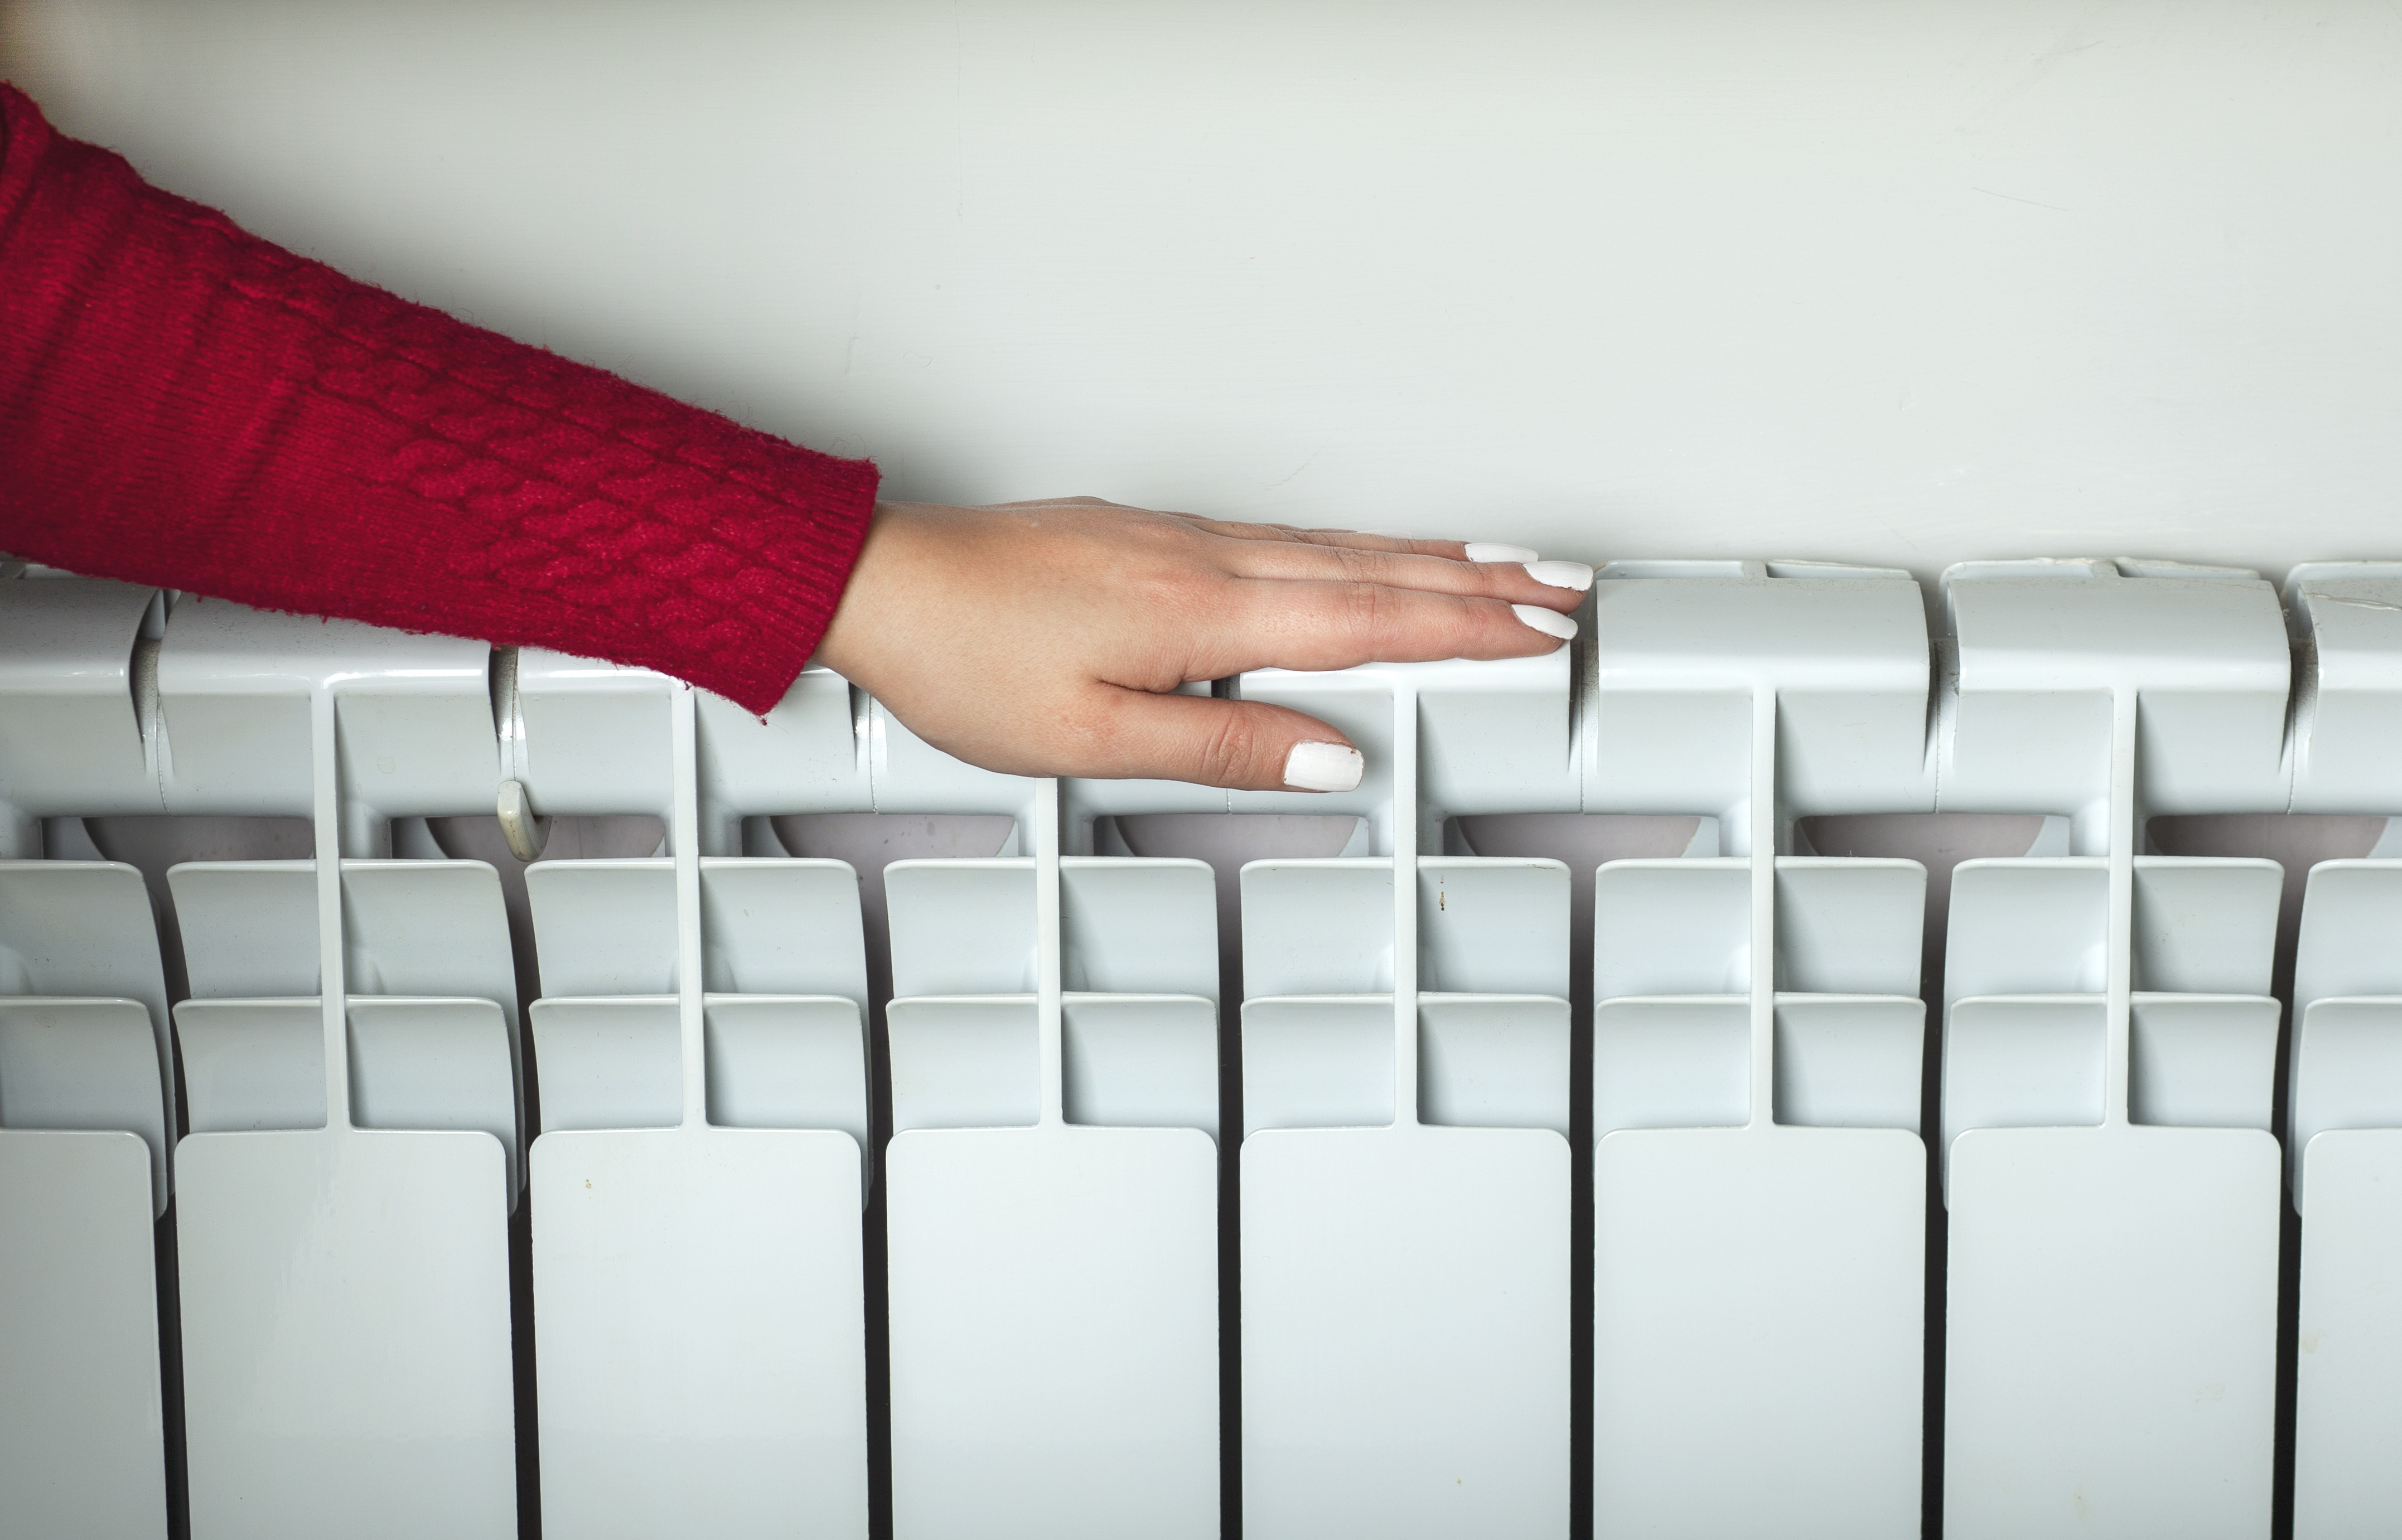
Classic and decorative bottom radiators provide a very even heat distribution over the entire radiator surface. Of course, provided they are properly installed. This results in effective heating, stable operation, and avoiding potential power losses. A major advantage of such variants is also the possibility of freely using thermostatic heads, which allow freely adjusting the temperature of a given room.
Bottom-mounted models are popular due to their minimalist look and aesthetics. The lack of visible pipes makes it easier to arrange individual rooms in the home, and also helps to maintain order.
This article will help you choose radiators: Which Electric Radiator to Choose — Top 5 Models from Mexen
Bottom Radiator Connection Step by Step
You already know how important it is to properly connect a radiator. Bottom supply requires precise planning and proper preparation of the installation, as well as necessary tools such as a drill, level, wrenches, or gaskets.
How to do it?
-
Check the type of radiator. Regardless of whether you opt for a room variant or want to buy a bathroom radiator, make sure it is adapted for this type of connection.
-
Determine the installation location. A ladder radiator and a classic one must be hung maintaining appropriate distances from the floor, wall, but also the window sill if it is to be located under a window.
-
Install the brackets in a way that they are perfectly even. Remember it is extremely important to maintain the proper spacing of supply and return.
-
Hang the radiator. Carefully place it in the prepared brackets. Correct its alignment relative to the floor.
-
Install the connecting set. Preferably one with integrated valves, which are mounted on one side to the central heating installation and on the other to the radiator connection nipples.
-
Connect the installation pipes to the radiator valves, check the tightness of the connections.
After connecting the installation and venting the selected model, also check whether the radiator heats evenly. With a bottom connection, it is also necessary to ensure that the nipples are in line with the installation pipes. If not, the use of additional adapters or angled valves may be necessary, also to allow for quick cut-off of water supply and return.
In the bathroom context, choosing the right radiators for this room is just one of many issues you need to consider. Also read: How to Design a Bathroom Yourself - Online Bathroom Designing
What else to pay attention to when mounting a radiator from below?
During installation, it must be taken into account that not every installation layout will allow for exactly the same connection. For long models, cross-radiator connection may prove necessary to ensure even heating of the apartment. It is also extremely important to precisely identify where the supply pipe is located and where the return is, as swapping them may significantly reduce heating efficiency.
The market offers a wide selection of radiators, radiator valves, and various types of accessories for them. This allows us to match them to a specific installation and prevailing conditions, which will be especially important in older buildings.
Choose Bottom-Connected Radiators and Enjoy a Modern Heating System
By opting for radiators with bottom connections, you ensure both aesthetically pleasing and functional installation. You now know how important it is to correctly lay the wires, including in wall grooves. From below, both classic steel radiators and aluminum variants can be connected, allowing for easy adaptation of preferred options to your space.
Related products


- Mega Discounts
Mexen CV22 panel radiator 600 x 1200 mm, bottom connection, 1983 W, white - W622-060-120-00
€214.30 -19.98%
€171.49List price: €214.30
Lowest price: €171.49
Availability: In stock


- Mega Discounts
Mexen CV22 panel radiator 600 x 1400 mm, bottom connection, 2314 W, black - W622-060-140-70
€326.80 -19.98%
€261.49List price: €326.80
Lowest price: €261.49
Availability: In stock


- Mega Discounts
Mexen CV22 panel radiator 600 x 600 mm, bottom connection, 992 W, anthracite - W622-060-060-66
€183.90 -19.96%
€147.19List price: €183.90
Lowest price: €147.19
Availability: In stock


- Mega Discounts
Mexen CV22 panel radiator 600 x 800 mm, bottom connection, 1322 W, white - W622-060-080-00
€162.40 -19.96%
€129.99List price: €162.40
Lowest price: €129.99
Availability: In stock


- Mega Discounts
Mexen CVH10 Hygiene Panel Radiator 400 x 1800 mm, bottom connection, 778 W, white - W610H-040-180-00
€162.40 -19.96%
€129.99List price: €162.40
Lowest price: €129.99
Availability: 2026-08-14