


Installing a shower tray is not difficult and won't be a problem for you, but under a few conditions. You're a hundred percent man. (Very rarely do women do this, because who would supervise the installation then?!) You don't have two left hands. You have genuine willingness and the necessary tools. You're not daunted by instructions that are not always clear and understandable; you have a lot of patience to study them. You didn't buy the cheapest Chinese set, where the individual elements don't fit together. If you meet the above criteria, you're ready! You can start installing the shower tray using our tips.
Installing a Shower Tray - The First Step is the Hardest, but the Second Can Also Be Uphill...
The first step before installing a shower tray is so-called gaining official power. Well, maybe not for everyone, but most men have to think whether it's even worth starting a bathroom renovation to install some kind of shower tray. The second step, probably much more difficult, is mandatory consultations (let's say that's what they're called!) with the better half. And then the discussion begins: Low tray or high, and if the latter, what height? Or perhaps a completely flat one set on the floor or recessed into the tiles? Which model will be the best solution for our bathroom? And then there's the long debate about choosing the right place. Sometimes it's hard to convince a woman that installing the tray in a certain place is impossible, if only because the water and sewage pipes run on the other side of the bathroom.
Rectangular Shower Tray, but High or Low?
When choosing a shower tray for our bathroom, we should check the height of the inlet to the sewage pipe, as this will determine which model we can afford. A high rectangular shower tray can be installed almost anywhere because it is equipped with legs that allow it to be set at a specified level, so the siphon fits. The legs also enable stable placement of the tray on the floor. In the case of a flush-mounted tray, the matter will be slightly more complicated. A low tray requires the appropriate preparation of the floor slope, i.e., chiseling off the screed in this place and installing a linear drain. An alternative solution, although rarely used, would be to raise the floor level in part of the bathroom outside the tray. Properly profiled tiles on the floor and a high-capacity linear drain will ensure that water freely flows to the siphon.
Conditions for Installing a Shower Tray
The location of the shower tray is mainly determined by important construction considerations. If it is not possible to place the tray and drain in the floor, you cannot make the floor slope or the appropriate recess to accommodate the siphon, or the distance from the drain hole to the inlet to the sewage system is considerable, you should opt for installing a high shower tray. You can then be sure that setting the tray on legs will allow connection of the drain with the siphon, and the use of a masking panel will hide all installation imperfections.
Finally, at the Shopping Stage...
Whew, after long negotiations and numerous measurements, it's finally time to choose a tray. Time for the next step - a trip to the selected store for the necessary products and installation materials. We will need a tray (legs should be included for a high one) and a compatible shower cabin, siphon, pipes, drain, glue, and gaskets. During the installation phase, a level will also be useful to check if the tray and shower cabin are straight. Have we forgotten anything?! Just the choice of silicone and the shopping is done. Well, now it's all downhill from here!
Shower Tray Installation Guide
All necessary products purchased, installation materials prepared, so let's get to work! Use the information on how to correctly install a shower tray in the bathroom and proceed with the implementation:
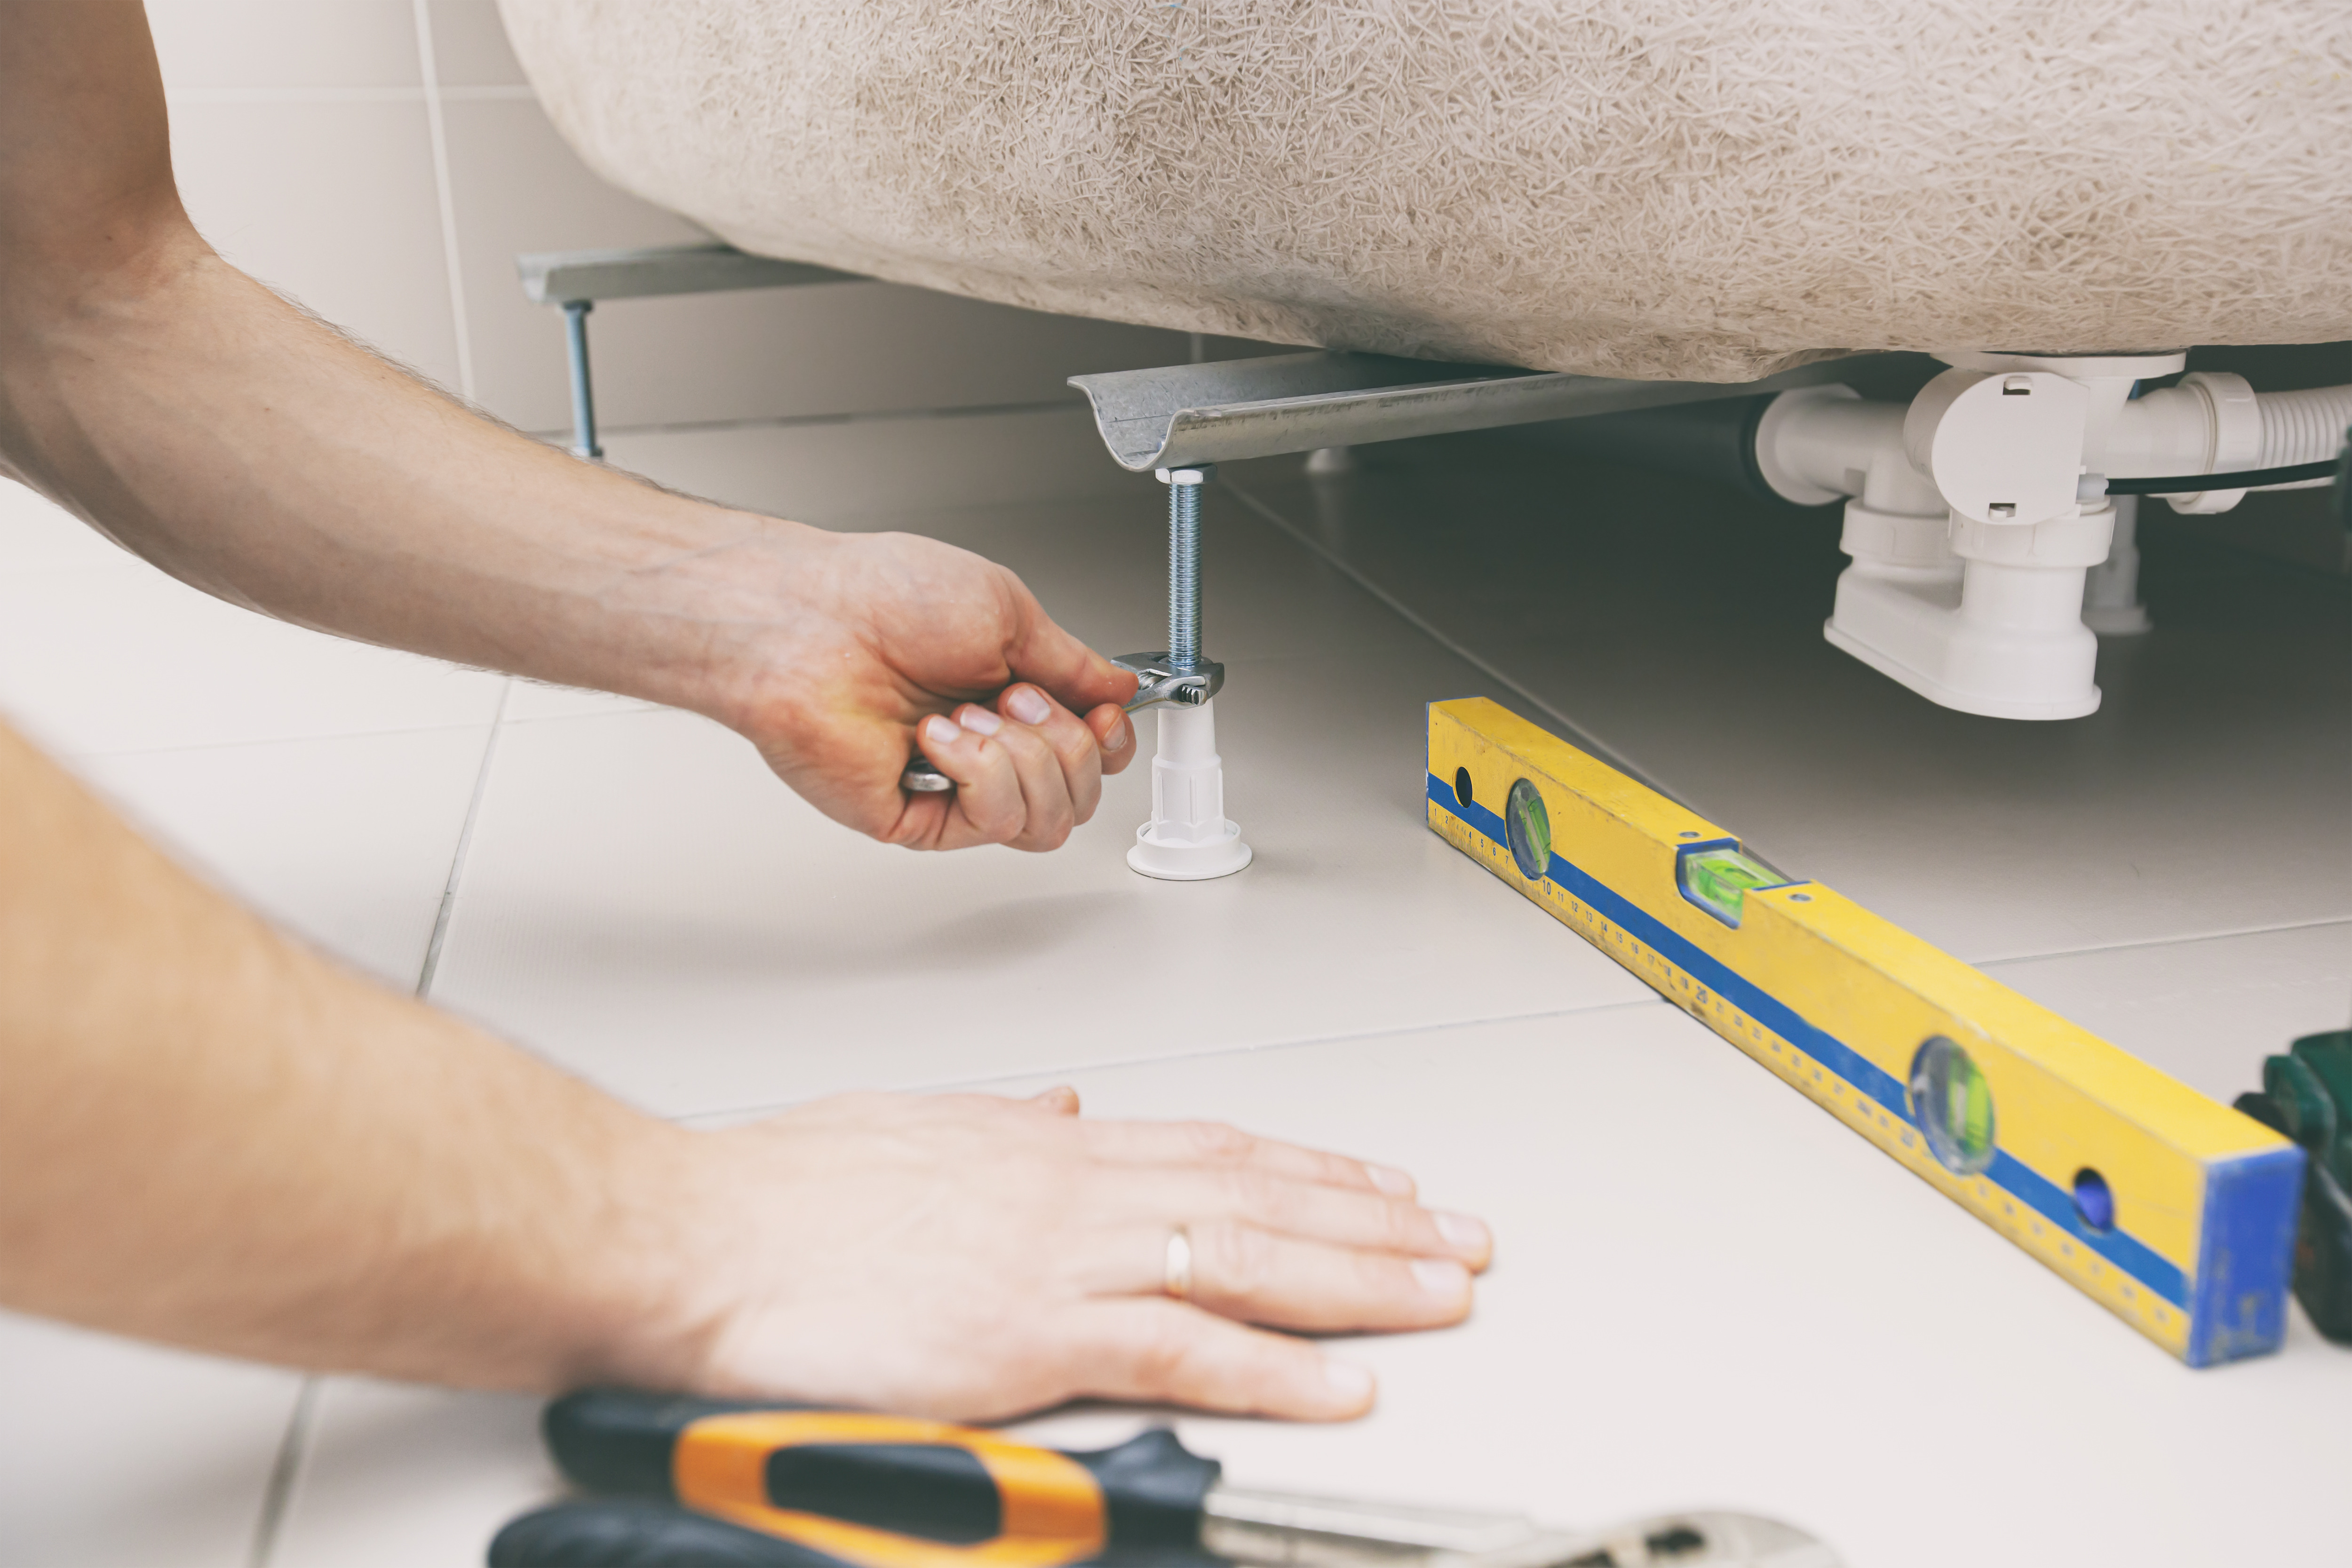
- determine the height of the tray by screwing in the legs and placing them on the tiles,
- mark on the floor the point where the drain will be (this is where you will install the siphon),
- begin installing the siphon by connecting it to the sewage system,
- when installing the siphon, properly install the gaskets to avoid leaks,
- place the tray in the right position and check if everything fits,
- connect the bottom part of the siphon with the drain pipe, and its end with the wall drain,
- apply a decorative finish cover on the siphon,
- attach the masking panel using clips or mounting glue,
- seal the edges of the tray with silicone (the choice of silicone colour depends on its placement).
Done! Shower tray installation is complete, and you have become the hero of the house.
Related products

- Mega Discounts
Mexen Flat rectangular slim shower tray 100 x 80 cm, black, chrome drain - 40708010
€158.90 -19.96%
€127.19List price: €158.90
Lowest price: €127.19
Availability: In stock

- Mega Discounts
Mexen Flat slim rectangular shower tray 120 x 80 cm, black, chrome trap - 40708012
€176.80 -19.97%
€141.49List price: €176.80
Lowest price: €141.49
Availability: In stock

- Mega Discounts
Mexen Rio rectangular shower tray 100 x 80 cm, white - 45108010
€155.30 -19.97%
€124.29List price: €155.30
Lowest price: €124.29
Availability: In stock

- Mega Discounts
Mexen Rio rectangular shower tray 120 x 80 cm, white - 45108012
€192.80 -19.97%
€154.29List price: €192.80
Lowest price: €154.29
Availability: In stock