


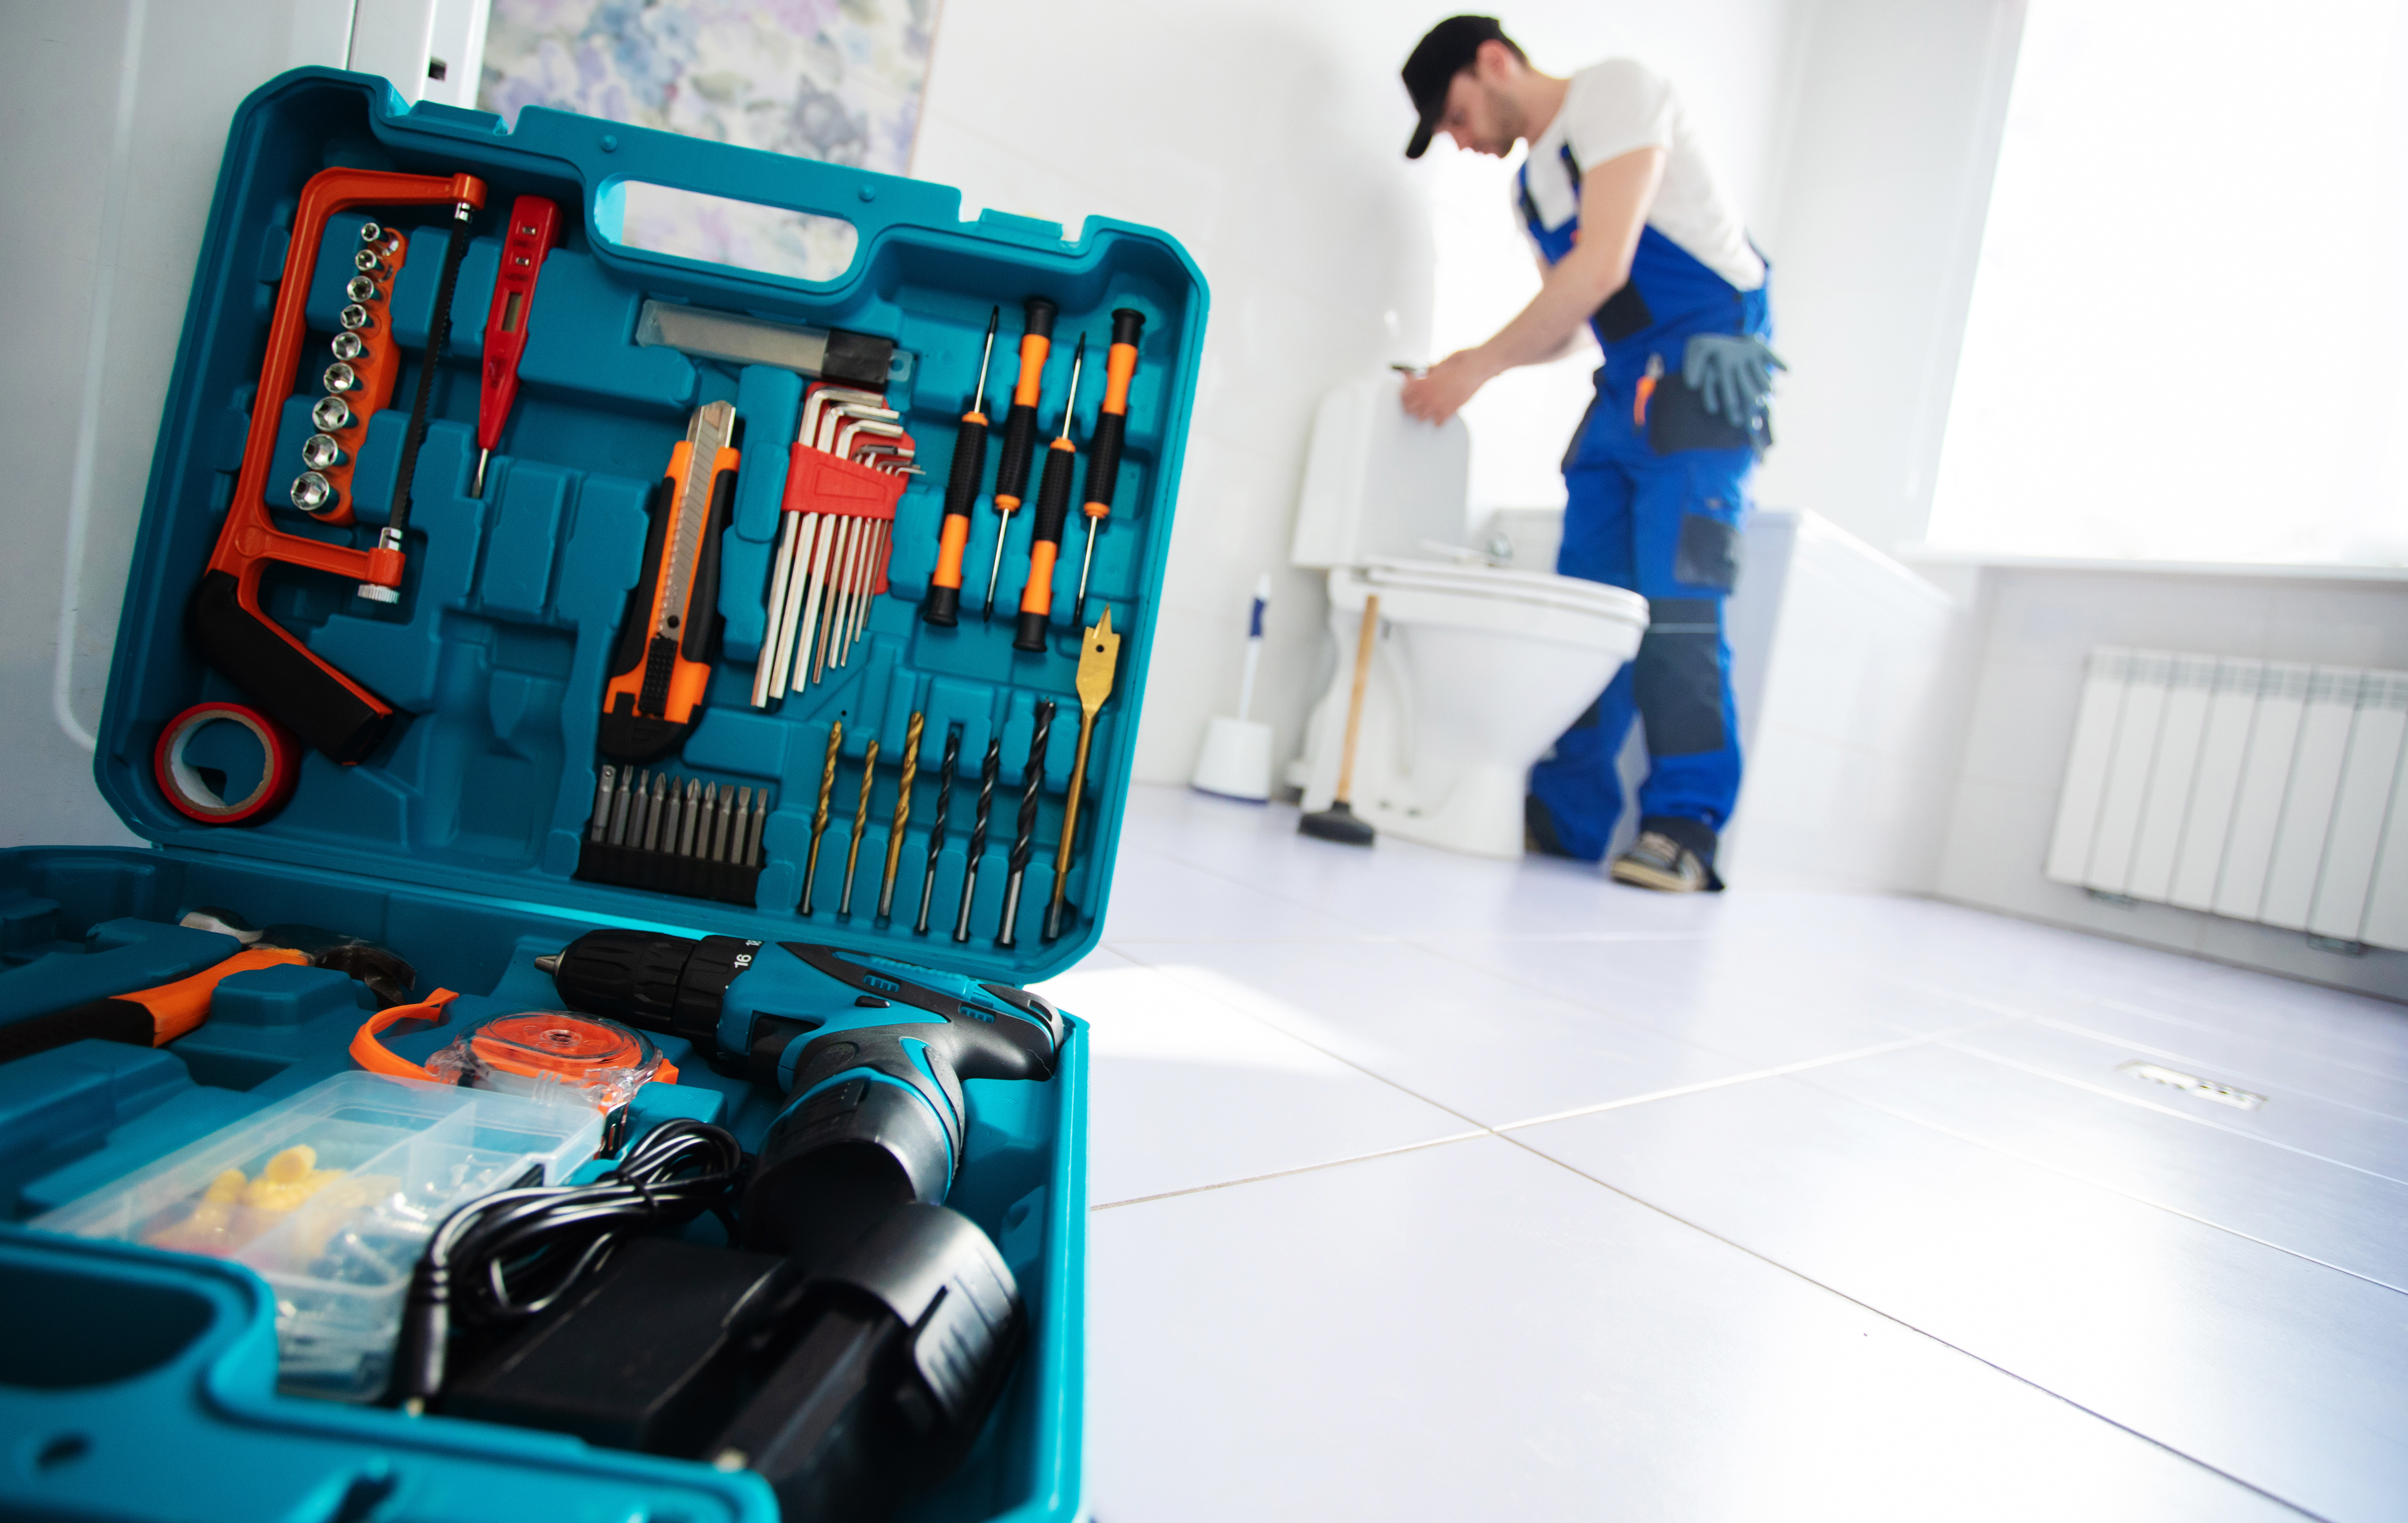
Wall-hung toilet bowls are modern and functional solutions that are slowly replacing the once-popular compact units. Although their installation seems complicated, it is, in fact, manageable even for a beginner DIY enthusiast. Find out which plumbing elements are necessary for a proper installation and what tools to use to independently and correctly install a toilet bowl.
Installing a Floor-standing Toilet Bowl - Where to Start?
The first step of the job is attaching the toilet to the floor using screws. If you opt for a low cistern installation, remember to check its width! Installing the toilet bowl too close to the wall may prevent the cistern from fitting behind it. With limited space, users won't be able to lean the lid against the bowl, significantly reducing the comfort of using the toilet. If you want the bowl and reservoir to fit perfectly, consider purchasing a compact unit, which includes both the toilet bowl and the flush tank as one piece.
Rules for Installing a Toilet Bowl
The water approach, connecting the toilet bowl to the stack or waste pipe, must be located no further than 1 m from the stack. It is equally important to maintain an appropriate height difference between the siphon and the connection point of the bowl to the stack (no more than 3 m). Adhering to these basic rules is especially important if you plan to position the toilet bowl elsewhere. The approach to the toilet should be separate and connected to the stack lower than all the approaches on the given floor.
Low or High Cistern - Which Solution to Choose?
The market offer for high cisterns is becoming increasingly sparse - no surprise, since the low cistern installation seems more advantageous in every way. Aesthetic, functional, and quiet, it surpasses old-fashioned solutions and provides greater user comfort. Its construction is based on installing flushes on-wall or under-wall at a height of about 130 mm above the bowl, allowing for faster filling of the flush tank. Plumbing elements require connection to the installation via an angle valve at a height of about 1000 mm.
When installing a toilet bowl, you can also use a pressure flush valve, which is particularly recommended for large interiors. Unfortunately, such a solution has certain disadvantages, including high noise levels, low resistance to contamination, and inadequate flushing. Warning! Pressure valves must be installed on the same axis as the toilet bowl. The water approach should be finished with a 3/4 thread, maintaining an appropriate distance from the floor (not less than 100 cm).
Installing a Wall-hung Toilet Bowl - What Should You Know?
The installation of a wall-hung toilet bowl requires the use of specialist plumbing elements, such as an in-wall frame installed to the wall and floor or solely to the floor. Before starting work, you should consider whether the wall-hung toilet bowl will be mounted to a partition wall or a brick wall. In the first case, an installation for light cladding is sufficient, while in the second - for heavy support. Precisely defining your needs and outlining a work schedule will greatly facilitate the subsequent steps.
How to Install a Wall-hung Toilet Bowl? Installation Stages
The installation of a wall-hung toilet bowl frame begins by placing it against the wall, leveling the entire unit, and marking the installation site of the upper edge of the structure. Next, you should drill holes in the designated spots and attach the brackets - this stage of work requires great precision, so be sure to use a level and check that the support is perpendicular to the floor.
After installing the frame, proceed to the installation of the waste pipe and pins for hanging the bowl. Before installing the outlet bend into the clamp, close the waste and water supply with two plugs. Then, screw the pins for hanging the wall-hung toilet bowl into the holes. How to Mount the Toilet Bowl to the Frame? Well, to mount the frame to the plumbing, connect the flush valve to the installation, and then enclose the structure using plasterboard.
The final step you need to undertake is to connect the drains by cutting the pipe supplying water from the flush and connecting it to the bowl's outlet. Finally, remember to mount the bowl and the flush button using the pins.
Related products


- Mega Discounts
Mexen Carmen Rimless WC Bowl with Soft-close Slim Seat, Duroplast, Glossy White - 30880100
€192.80 -19.97%
€154.29List price: €192.80
Lowest price: €154.29
Availability: In stock


- Mega Discounts
Mexen Carmen Rimless WC Bowl, Black Matte - 3388XX85
€253.60 -20%
€202.89List price: €253.60
Lowest price: €202.89
Availability: In stock


- Mega Discounts
Mexen Elis Rimless WC Bowl with Soft-Close Slim Seat, Duroplast, Glossy White - 30910700
€210.70 -19.99%
€168.59List price: €210.70
Lowest price: €168.59
Availability: In stock


- Mega Discounts
Mexen Lena toilet bowl with a slow-close hard seat, white gloss - 30298000
€185.70 -19.98%
€148.59List price: €185.70
Lowest price: €148.59
Availability: In stock


- Mega Discounts
Mexen Margo Rimless WC Bowl, White Gloss - 3342XX00
€160.70 -19.98%
€128.59List price: €160.70
Lowest price: €128.59
Availability: In stock