


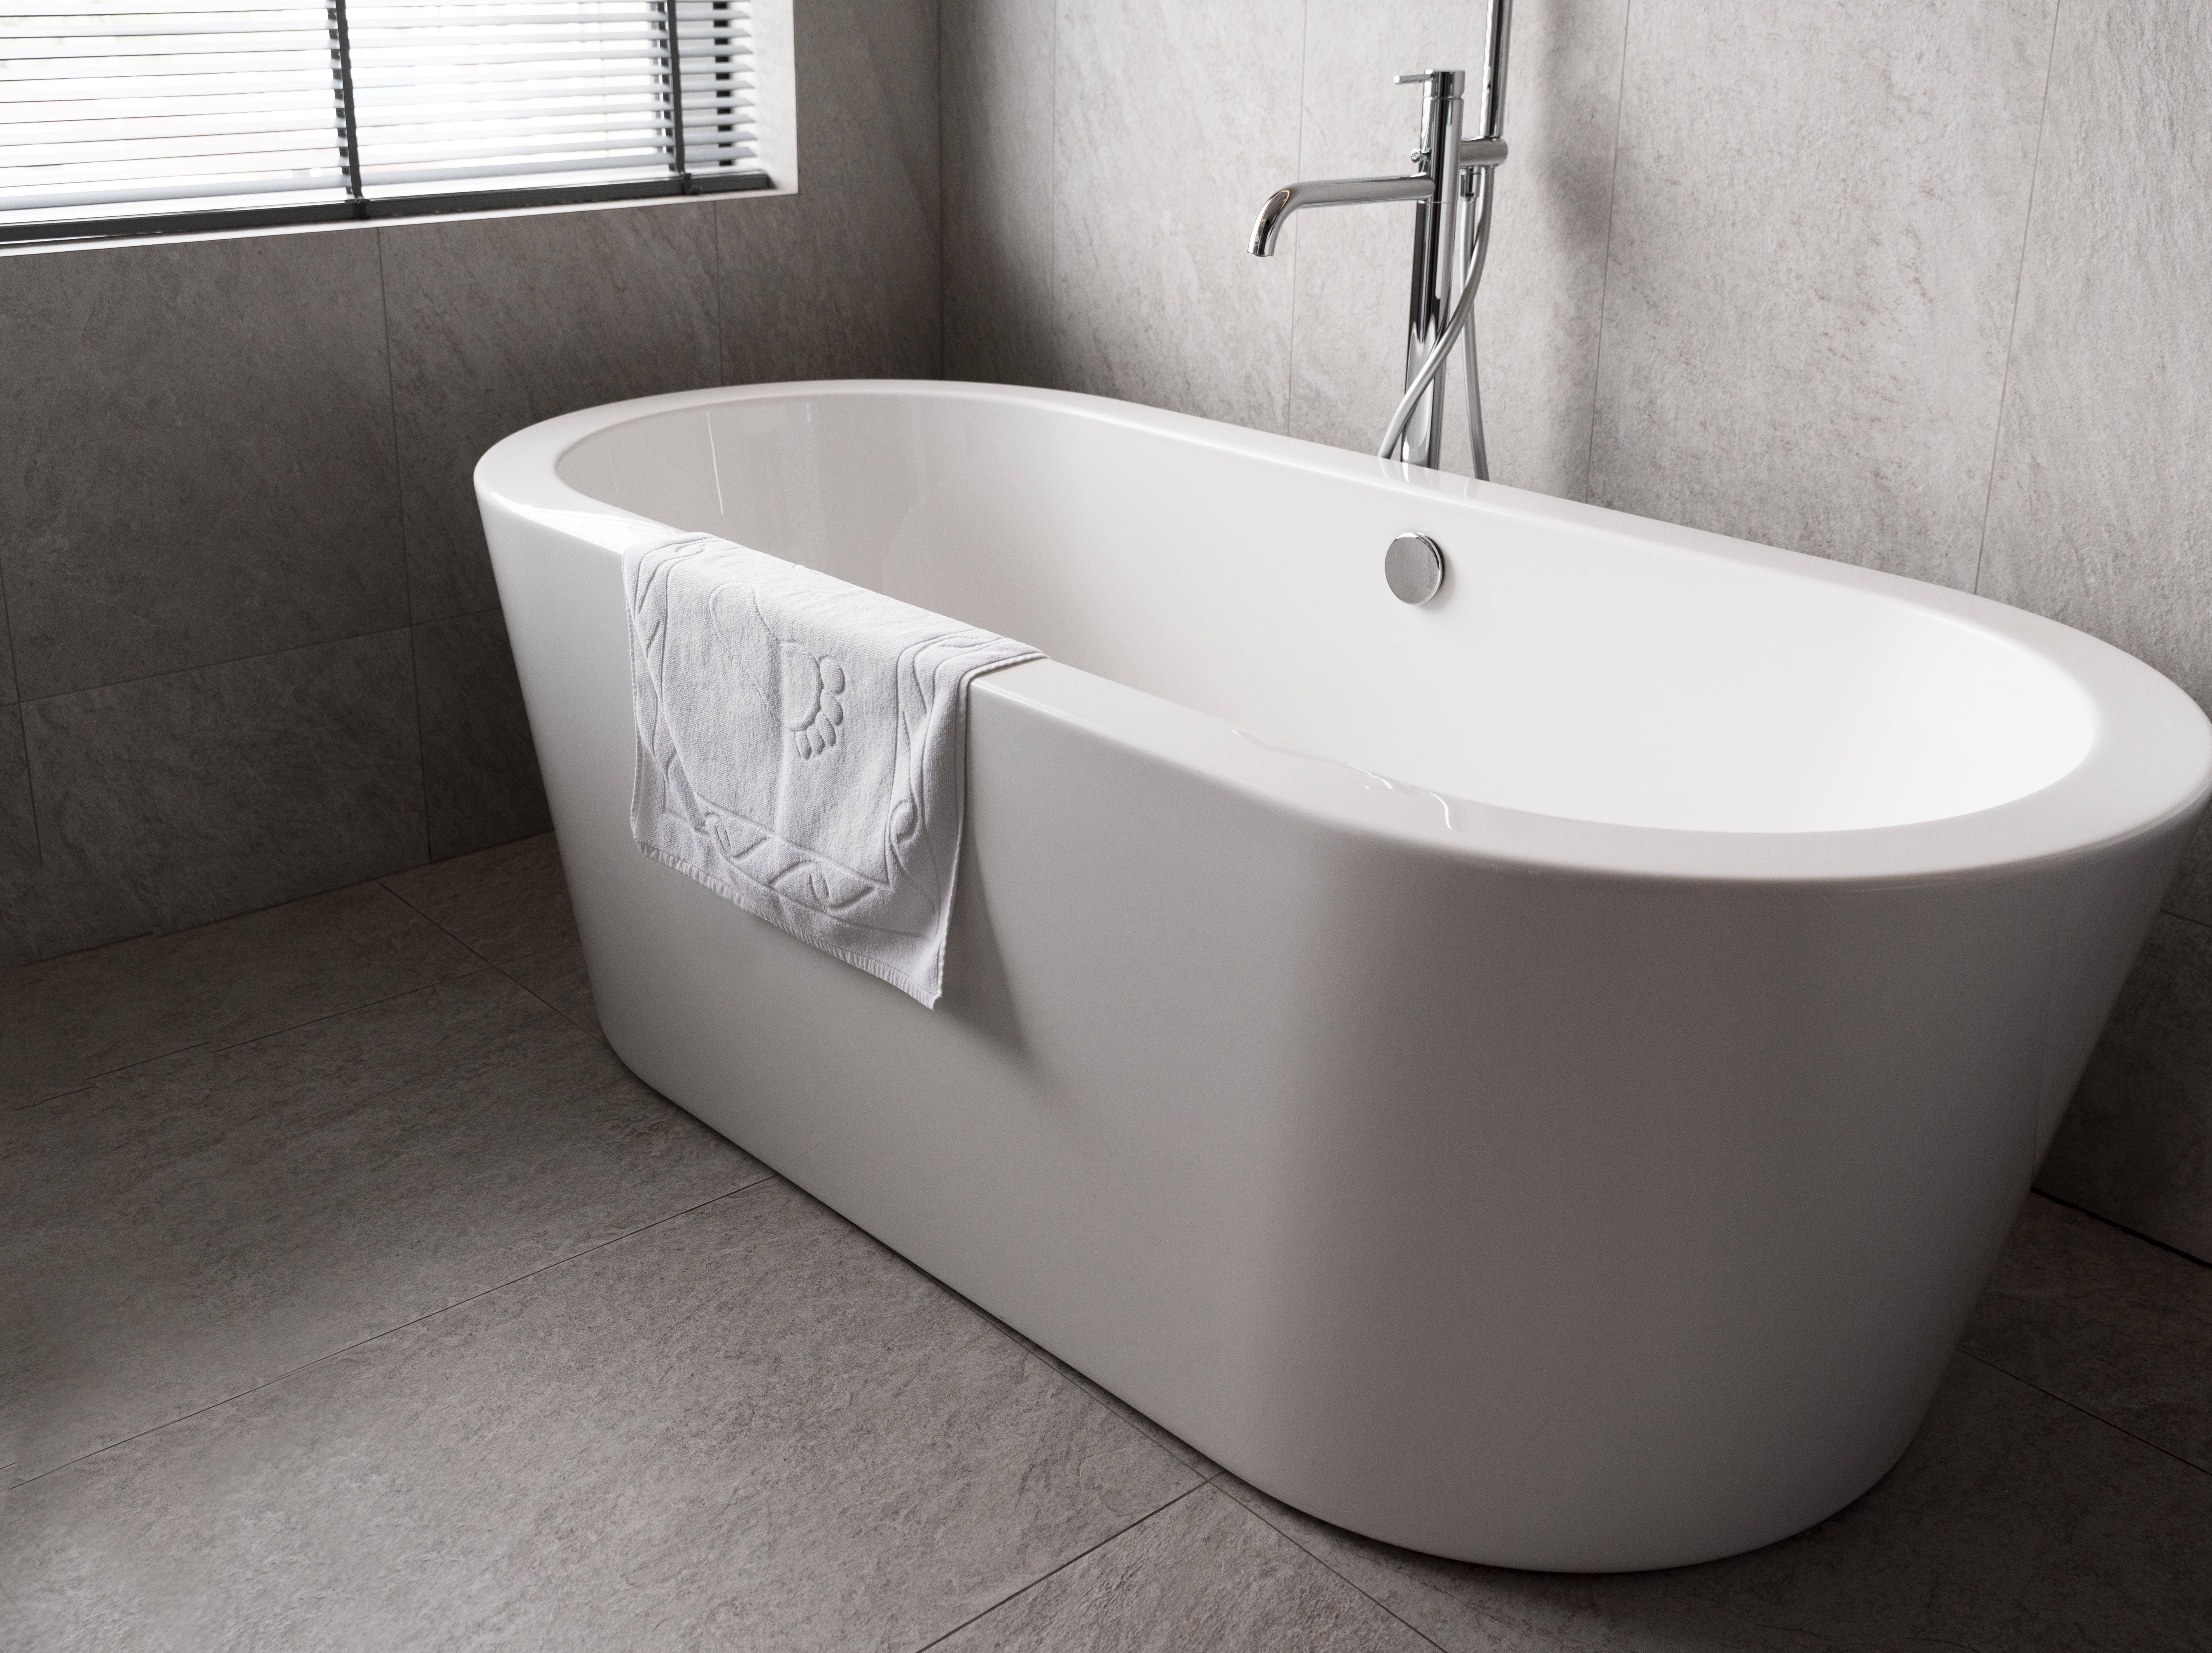
Acrylic bathtubs remain one of the most popular models used in both traditional and very modern bathrooms. Their choice is influenced by their aesthetic appearance, lightness, and wide availability of various options. Unfortunately, daily use can lead to scratches, cracks, and other unsightly mechanical damages on the surface.
Does this mean that such a bathtub will no longer be fit for use? Of course not! Especially since many of these problems can be resolved on your own. Find out how.
What will you learn from this article?
Not only can the care of acrylic surfaces be simple, but also their repair. In the following guide, we have described what makes acrylic highly popular and answered questions related to the most common problems.
You should know that acrylic, unlike other materials, allows for effective restoration without specialist equipment. Use our instructions and find out:
- What are the advantages of acrylic bathtubs?
- What do you need to equip yourself with for home repair of an acrylic bathtub?
- How to repair a cracked acrylic bathtub?
- How to ensure the bathtub's surface remains free from unsightly marks?
The prepared tips will allow you to easily assess whether a given defect is suitable for self-repair. You will also find tips here to help you maintain the aesthetic appearance of your bathtub surface.
Why are acrylic bathtubs in high demand?
The high demand for acrylic bathtubs is primarily due to their aesthetic appearance and excellent user comfort. Moreover, many different variants are available for sale. Your bathtub surface can be high gloss or finished in deep matte, depending on what you prefer.
The available models are made from acrylic of varying thickness, so you can fit both a very large and an extremely compact model in your bathroom. Acrylic bathtubs are pleasant to the touch and easy to keep clean, which is of great importance during daily baths.
Many people also choose them due to easy installation, resistance to discoloration, and the ability to repair both small scratches and larger cracks.
And if you care about your bathtub presenting very nicely, read our guide focusing on how to clean an acrylic bathtub.
Is bathtub restoration even possible?
A hole in the bathtub, visible scratches, and significant cracking. Can anything be done to restore the neat appearance of an acrylic bathtub's surface? Yes! At the same time, such restoration is often very effective. You must remember, however, that the result will depend on the extent of the damage and the repair method you use.
And since this article focuses on the extraordinary bathroom equipment that a bathtub undoubtedly is, be sure to also read our 5 ideas for a relaxing bath.
Acrylic bathtub repair step by step. What will you need?
As you can see, damage to the bathtub does not have to be a big problem. You don't have to buy a new model right away and plan a complete bathroom renovation. Just equip yourself with the right repair kit for the acrylic bathtub, which will allow you to tackle scratches, persistent dirt, or indentations. A good option would be to choose from the same manufacturer you have a bathtub from.
Gather:
- appropriate cleaning agent,
- sponges,
- sandpaper,
- liquid acrylic,
- acrylic hardener.
Polishing paste is also useful, allowing you to independently remove various types of scratches from the surface.
Besides the tools themselves, you also need to properly prepare and protect the renovation area. Cover tiles and the entire bathtub area so you can easily clean up afterward. Protective gloves will definitely be useful, preventing chemical exposure to your skin.
And if you're still in the process of selecting the right tub, find out: Freestanding or built-in bathtub? Find the perfect solution for your bathroom!
Independent restoration of an acrylic bathtub
Once the bathroom is properly prepared, it's time to proceed with the steps to restore your bathtub's former glory. Don't worry, it's easier than you might think. Especially if you only have minor scratches or chips to remove.
Properly clean the repair area
Before starting any repair, begin with thoroughly cleaning the bathtub. Use a reliable cleaning agent to remove dirt and greasy surfaces. The bathtub must be clean and well dried. If possible, turn off the valves and secure the shower faucet. Water cannot interfere with your work, as the bathtub must remain dry.
It's worth gentle sanding of minor scratches with sandpaper of the appropriate grit. This will make the surface smooth and improve its adhesion.
Apply liquid acrylic and hardener
For deeper cavities, it is necessary to mix liquid acrylic and hardener according to the manufacturer's instructions. The resulting mass should be evenly spread in the gap, then wait for it to dry completely.
Polish the surface
Excess applied mass can be removed using sandpaper and a soft brush. Initially, it is worth using paper made with coarser grain. Do not use water. After cleaning, the aforementioned polishing paste will be useful, allowing the bathtub to present itself impeccably again.
So the repair and regeneration of the bathtub is complete. However, you must wait at least 48 hours before the next bath.
Take care of the clean and aesthetic surface of your acrylic bathtub.
Polishing paste, sandpaper, brush, sponges, and acrylic are small tools that will allow your acrylic bathtub to present itself excellently again. You won't have to wait for the results of your work as they will be visible immediately. In the case of very serious damage, be sure to check your warranty terms, which may prove useful then.
At the same time, remember that the durability and aesthetics of the bathtub are influenced by its daily care. If you want the surface to remain smooth and shiny for years, don't skip cleaning and use your equipment cautiously.