


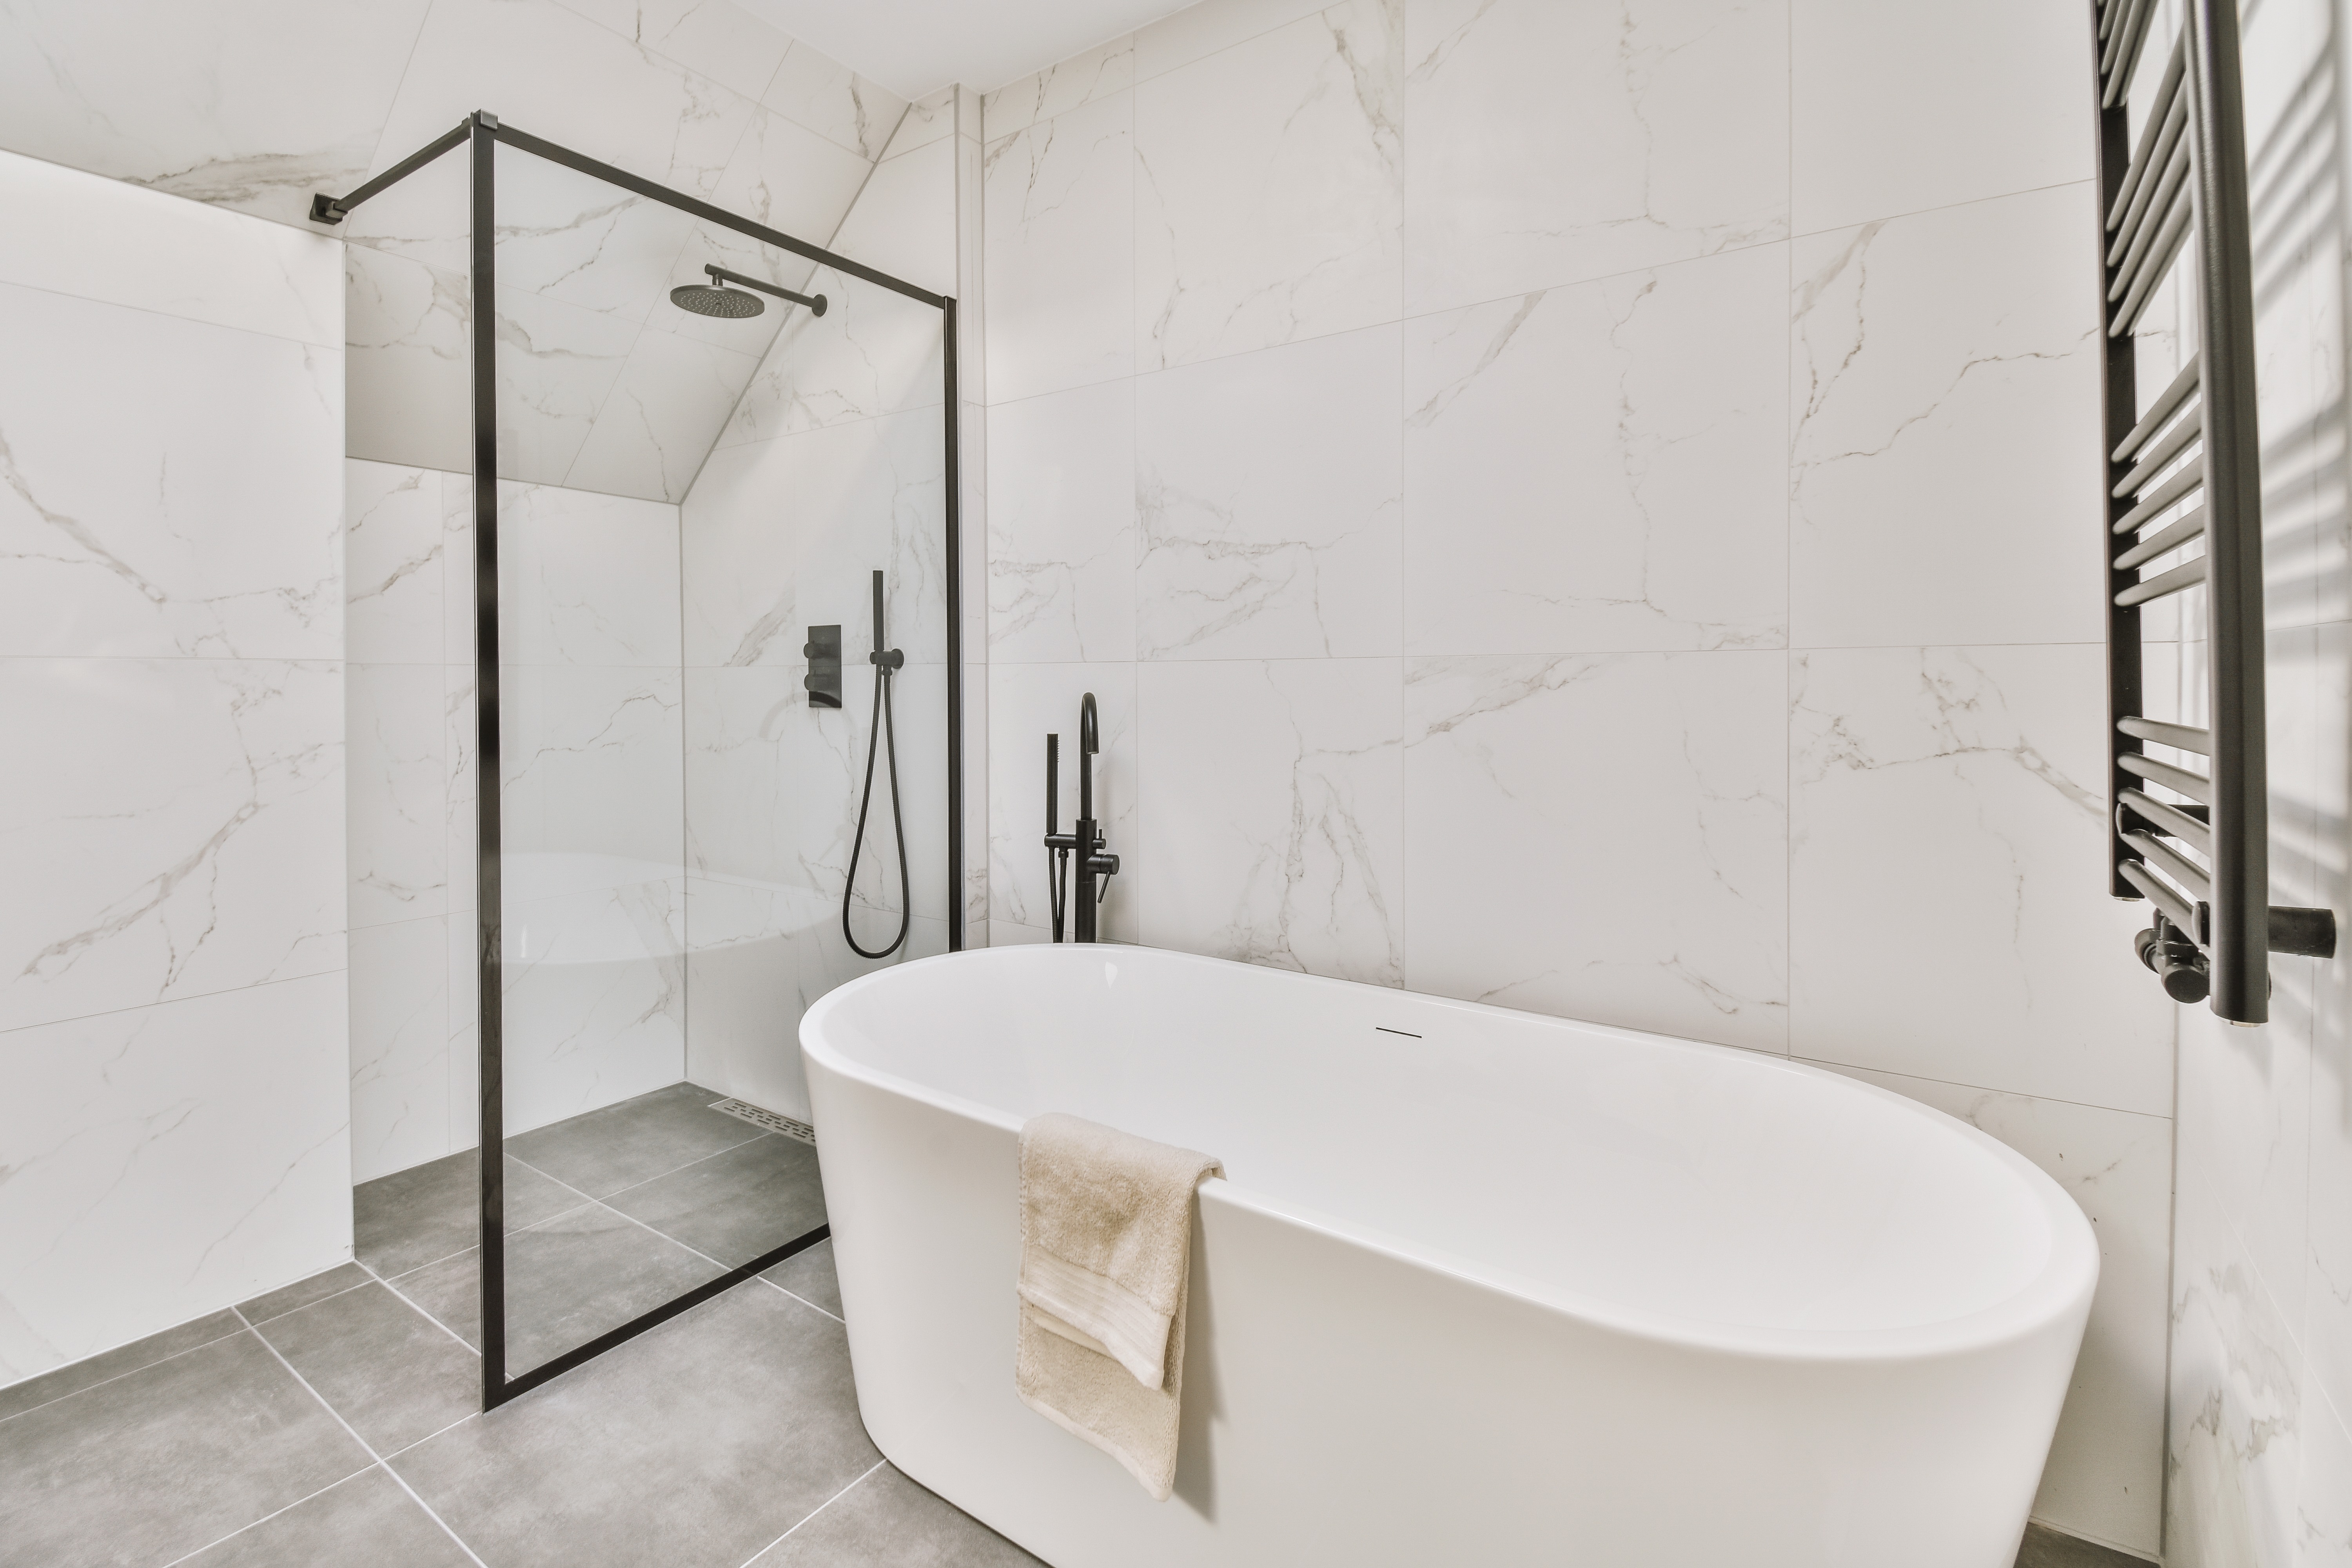
Tiles 60x60 cm are undoubtedly one of the most frequently chosen formats, both for classic and more modern interiors. Such tiles work well in bathrooms, kitchens, and even in living areas. The large size allows the entire floor surface to be visually organized, and it creates an even space without unnecessary divisions. However, it's important to remember that large-format tiles are more demanding in terms of installation — precision, proper technique, correct cutting, and well-prepared, solid ground are crucial.
To ensure that the arrangement of 60x60 tiles is durable and aesthetic, each one must be correctly seated, and the choice of grout cannot be random. Yes, it's the details that affect the long-term aesthetics of the floor and its comfort of use for years. The prepared article contains tips on how to lay 60x60 tiles on the floor step by step. Of course, we will also answer the question of how to choose the color and width of the grout, so that the whole is beautiful and practical.
What will you learn from this article?
Tiles 60x60 is a format that definitely requires thoughtful decisions already at the stage of finishing work planning and designing the entire interior. Just as important will be the preparation of the ground, installation technique, and finishing details at the room's edges. In our prepared guide, we will explain the most important issues step by step, thanks to which you will be able to avoid typical mistakes and enjoy an even space.
We will answer questions such as:
-
How to correctly calculate the amount of tiles needed, including spare for cuts and waste?
-
What to pay attention to when cutting tiles, so that the whole looks aesthetic?
-
What tile installation patterns 60x60 will work in different rooms?
-
How to lay 60x60 porcelain tiles to avoid air bubbles under the tiles and problems with their detachment?
With our tips, you will plan the entire process more easily and avoid corrections, which could turn out to be very expensive.
Why are 60x60 tiles so popular?
Tiles 60x60 are very popular, primarily because of their great versatility. They work well both in apartments and single-family houses. They fit well in both small and larger rooms. They can be used in the living room, kitchen, bathroom, and hallway. They allow for optical enlargement of the space, thus giving a very elegant look to the area where they are used.
At the same time, they are an excellent compromise between aesthetics and functionality. It's worth noting that large tile formats allow us to limit the number of joints, thanks to which the entire floor can look cohesive and very modern. The enormous variety of available patterns and finishes makes laying new 60x60 tiles offers great freedom of arrangement. You can choose variants that imitate natural materials such as marble, stone, or wood. Alternatives are concrete-like tiles or elegant variants polished to a high gloss. There is no shortage of classic white and black proposals or variants resembling terrazzo. In short, everyone can find such tiles in this format that will fit very well into the planned arrangement.
And if you still do not know which of the available large-format tiles to choose, this entry will be useful: What are the classes of tile abrasion? Check which porcelain tiles work well in the kitchen, bathroom, and living room.

How many new 60x60 tiles are needed for renovation?
To calculate the necessary number of tiles, you must measure the floor area you want to cover, measure the tiles themselves, and add the necessary spare. Correct tile calculation is a key step, especially when it comes to the 60x60 format. If you make a mistake, you may later have a problem with buying the same batch and have to deal with unwanted downtime during the work.
How to avoid this?
-
Calculate the floor area. Just measure the length and width of the room, then multiply those values together. The result in square meters is the area of the room you are planning to renovate. Remember, you must count the entire area, including any niches, columns, or irregular shapes.
-
Calculate the area and number of tiles you need. The 60x60 variations have an area of 0.36 m². Now, to calculate the number of tiles, use this value to divide the floor area you obtained earlier.
It will look like this: floor area: 0.36 = number of tiles you need to buy
Always round up the obtained result. If it comes out that you need 43.44 tiles, of course, buy at least 44 pieces, not 43.
-
Calculate the necessary spare. A very important step, which unfortunately many people overlook, is adding the necessary spare. When laying large-format tiles, this spare is even more crucial. Typically, it's 10-15% for possible cuts and waste, although for large surfaces and such a format, a larger surplus is recommended. Similarly, if we plan to mix formats and there are many cuts planned in the room.
Sometimes there's a desire to lay floor tiles on those already existing. For this to be possible, you must ensure that the old tiles are stable and also thoroughly cleaned. Preparing the substrate properly will also be extremely important, and planning the entire layout so that the joints do not overlap.
Read more about tile cutting here: How to correctly cut tiles?
What should be the grout width for 60x60 tiles?
For 60x60 tiles, the optimal grout width is usually 2-3 mm for rectified tiles. For standard models, it's 3-4 mm. The choice of the appropriate grout has a real impact on both aesthetics and floor durability. A safe standard is 2-3 mm, and in the case of underfloor heating, it's good to go with 3-4 mm for better thermal expansion compensation. The smoother the edges of the tiles, the narrower grout can be used.
Remember that too narrow a grout can lead to cracking and lifting tiles. The grout must compensate for substrate movements, minimal dimensional differences, and material expansion. Too narrow or uneven will literally — highlight every mistake, especially in the case of light tiles and large surfaces.
Apart from the width itself, it's also worth considering the right type of grout. Namely, you can opt for:
-
Cement grouts — the most popular and at the same time the cheapest. Often used in the case of floor tiles. Variants with polymer additives enhance their durability and also make them more resistant to moisture.
-
Epoxy grouts — two or three-component, are very resistant to moisture and dirt. They are excellent for heavily used, often humid rooms, such as the kitchen.
-
Silicone grouts — flexible and waterproof. They work very well around fittings and in so-called expansion joints.
-
Acrylic grouts — very flexible, ideal for small repairs and decorations. Acrylic variants are ready to use right away.
Regardless of which type of grout you choose, you must prepare the mortar very well and adhere to the working time according to the manufacturer's recommendations. This is to avoid the grout drying on the tile surface instead of in the gaps between them. Before you start grouting, check if there are any adhesive residues on the laid tiles.
DIY laying of 60x60 tiles step by step
DIY laying of 60x60 tiles is quite possible. It's essential to plan the work well and to prepare the proper tools. Check how to lay 60x60 tiles on the floor to make them even, aesthetic, and just as importantly, durable.
What is necessary to be able to lay tiles?
For laying tiles, appropriate materials, tools, and well-prepared ground are essential.
Before laying large-format tiles, you must prepare, among other things:
-
The tiles you have chosen.
-
Flexible adhesive for 60x60 tiles, which should be chosen relative to the substrate.
-
Electric vibrator for spreading the adhesive.
-
Primer.
-
Rubber spatula.
-
Distance crosses/wedges.
-
Sanitary silicone.
-
Bucket and drill with mixer.
-
Level and other elements of the tile leveling system.
-
Notched trowel/notched spatula for applying the adhesive.
Certainly, a damp sponge, rubber mallet, pencil, kneepads, or a manual or electric tile cutter will also be useful. Well-chosen tools will allow you to minimize errors and maintain a uniform space between the tiles.
Check out our guide, where we talk about: What adhesive to choose for tiles?
Preparing the substrate for floor tiles
The surface of the substrate must be clean, dry, and stable. There should be no residues of old materials, cement residues, dust, grease, or loose fragments on it. It's very important to level the substrate. Larger unevenness can be removed with the help of self-leveling compound.
The moisture content of the concrete substrate for tiles must be low, hence it's crucial to perform measurements with a moisture meter. The moisture content of the concrete should not exceed 2%. If the substrate is too wet, it can lead to weakening of the adhesive bond. In wet areas, it's necessary to apply waterproofing, i.e., liquid foil or special sealing compound.
How to lay 60x60 tiles on the floor?
It's recommended to lay 60x60 tiles using the double bonding method to maintain a flat and even surface. This involves applying adhesive mortar (it's best to opt for C2S1 or C2S2 class adhesive) both on the floor and the underside of the tile. By applying adhesive not only to the bottom of the tile, we ensure thorough filling and eliminate voids under the tile.
If you want to lay tiles, the work should start from the center of the room. Each tile must be gently pressed and its level checked. To perfectly level the entire surface, it is necessary to control the entirety using a level. Tiles 60x60 should be laid as precisely as possible, with corrections in the millimeters for perfect alignment.
As an interesting note, if you're dreaming of tiles laid in a herringbone pattern (you must choose a format like 11x60 cm), it's recommended to shift the tiles by half their length.
Tiles 60x60, a universal solution for many interiors
As you can see, laying 60x60 tiles requires both patience and precision. A well-conducted process will ensure you a durable and beautiful effect on the floor. Regularly check the level of tiles at each stage of work, to avoid future corrections. Finally, remember to thoroughly finish the details by filling the gaps, choosing grout that matches in width and color, so that your floor looks impeccable.
Related products


- Mega Discounts
Mexen Flamingo Black glazed rectified gres tile G1, floor-wall tile 60 x 60 cm, high gloss - TL215-060-060-00
€32.20/m2 -19.91%
€25.79/m2List price: €32.20/m2
Lowest price: €25.79
Availability: In stock


- Mega Discounts
Mexen Lac Grey Glazed Rectified Porcelain Tile G1, Floor and Wall Tile 60 x 60 cm, Glossy - TL107-060-060-01
€24.90/m2 -19.72%
€19.99/m2List price: €24.90/m2
Lowest price: €19.99
Availability: In stock


- Mega Discounts
Mexen Mileo Light Grey glazed rectified G1, floor-wall tile 60 x 60 cm, matte - TL301-060-060-05
€24.90/m2 -19.72%
€19.99/m2List price: €24.90/m2
Lowest price: €19.99
Availability: In stock


- Mega Discounts
Mexen Orienta Natural glazed rectified gres G1, floor-wall tile 60 x 60 cm, gloss - TL115-060-060-04
€24.90/m2 -19.72%
€19.99/m2List price: €24.90/m2
Lowest price: €19.99
Availability: In stock


- Mega Discounts
Mexen Simba Black glazed rectified G1 floor and wall tile 60 x 60 cm, high gloss - TL210-060-060-00
€32.20/m2 -19.91%
€25.79/m2List price: €32.20/m2
Lowest price: €25.79
Availability: In stock